To capture your flights like a pro, choose a cockpit camera with high resolution, good low-light performance, and stabilization features. Secure it properly using reliable mounts, and position it to avoid obstructing controls or views. Use smooth recording techniques, experiment with angles, and optimize settings for lighting. Afterward, edit your footage for clarity and share safely. Keep safety and legal guidelines in mind to avoid issues. Continue exploring to master every step of capturing incredible flight videos.
Key Takeaways
- Choose cameras with high resolution, good low-light performance, stabilization, and durable mounting options for clear, smooth footage.
- Securely install cameras using suction cups or adhesive mounts, ensuring minimal obstruction and stable positioning.
- Record with proper stabilization, experiment with angles, and optimize settings based on lighting for professional-quality videos.
- Edit footage to highlight key moments, enhance clarity, and add subtitles, then share via platforms supporting high-quality videos.
- Follow legal, safety, and privacy guidelines to avoid interference, protect confidentiality, and ensure compliance during recording.
Choosing the Right Cockpit Camera for Your Needs
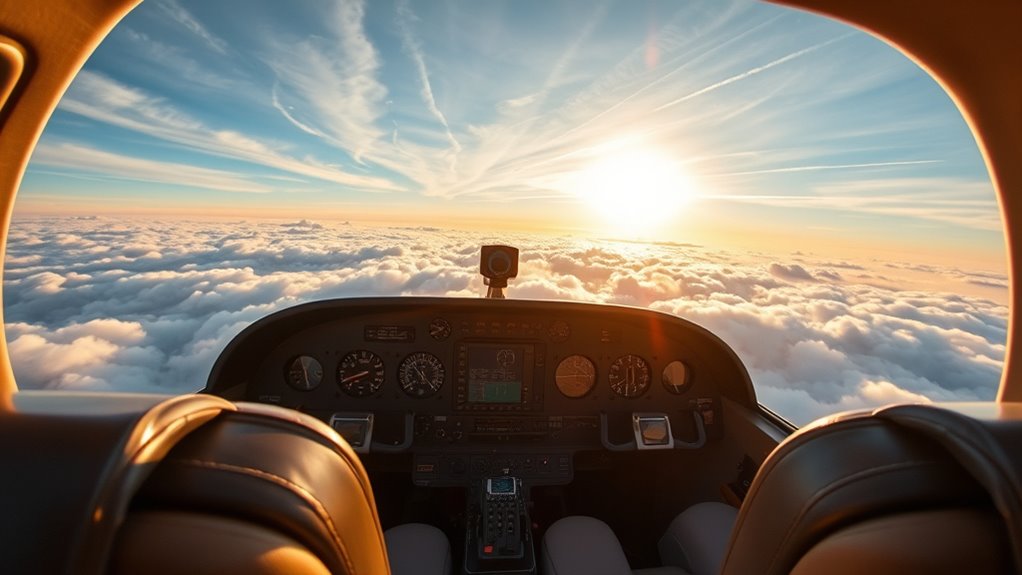
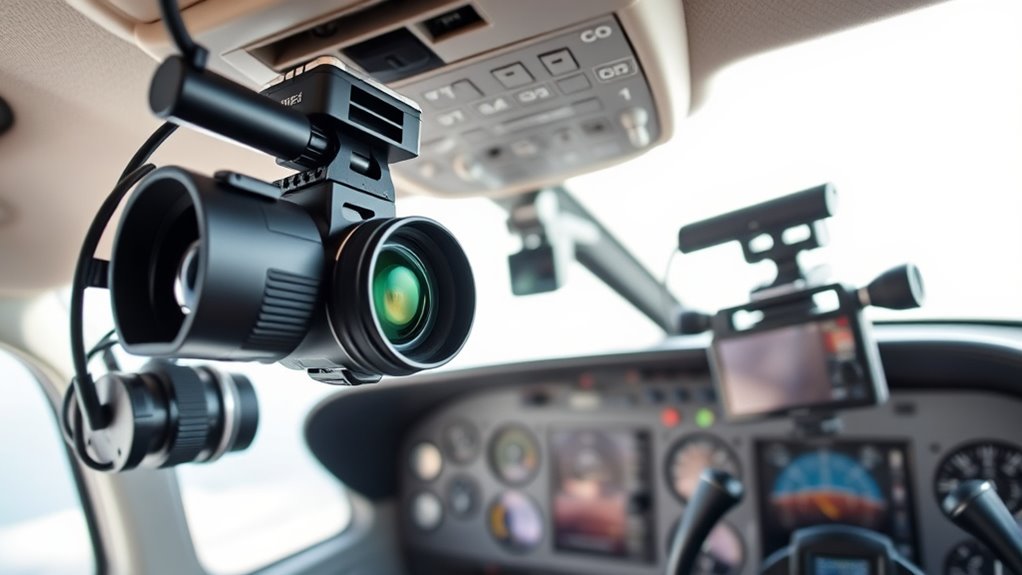
Choosing the right cockpit camera depends on how you plan to use it. First, consider camera placement—where you’ll mount it ensures ideal footage and minimizes obstruction. Think about whether you want a front-facing view of your controls or a broader cabin shot. Next, review camera specifications, including resolution, frame rate, and low-light performance, to match your recording needs. Higher resolution offers clearer footage, but may require more storage. Frame rate impacts smoothness, especially during fast maneuvers. Also, check for features like stabilization and durability, essential for capturing steady videos in dynamic environments. Additionally, understanding the eye patch benefits and how they relate to comfort and focus can help inform the best camera setup for your needs. By carefully evaluating where you’ll place the camera and understanding its specifications, you can select a device that captures your flights accurately and reliably.
Installation Tips for Secure and Clear Footage
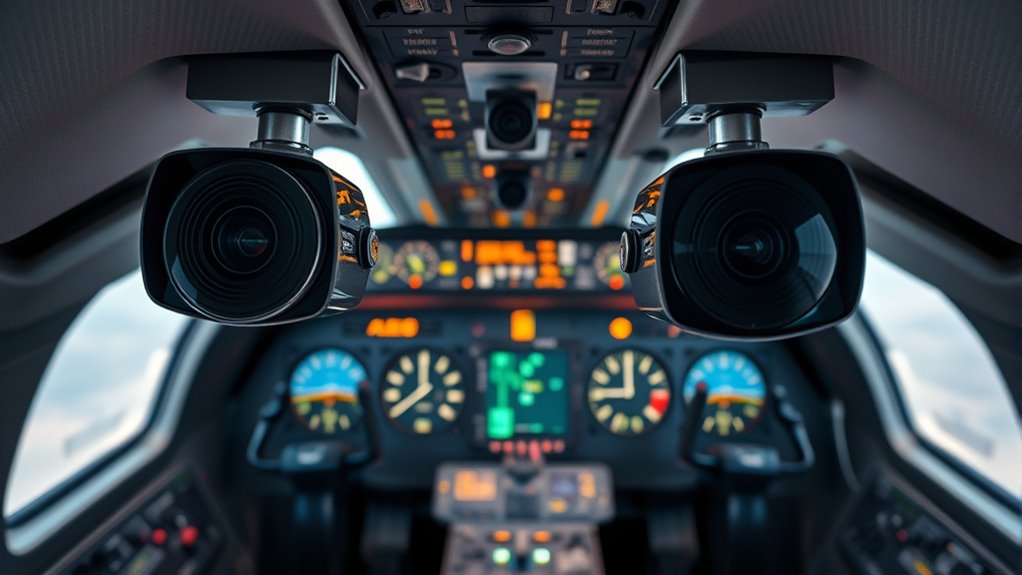
To guarantee your cockpit camera captures clear and secure footage, proper installation is essential. Start by choosing the right mounting options—whether suction cups, adhesive mounts, or clamps—to ensure stability during flight. Secure the camera firmly to prevent vibrations or dislodging. Position it where it won’t obstruct controls or views but still captures the most critical angles. Consider your storage solutions; opt for a mount that allows easy access to SD card slots or built-in storage. Make sure cables are neatly routed, avoiding interference with controls or safety equipment. Test the setup by powering on the camera and reviewing footage to confirm clarity and stability. Properly installed, your cockpit camera will deliver sharp, secure recordings that enhance your flying experience. Additionally, ensure your setup accounts for camera calibration to improve overall image quality and color accuracy.
Recording Techniques to Enhance Your Flight Videos

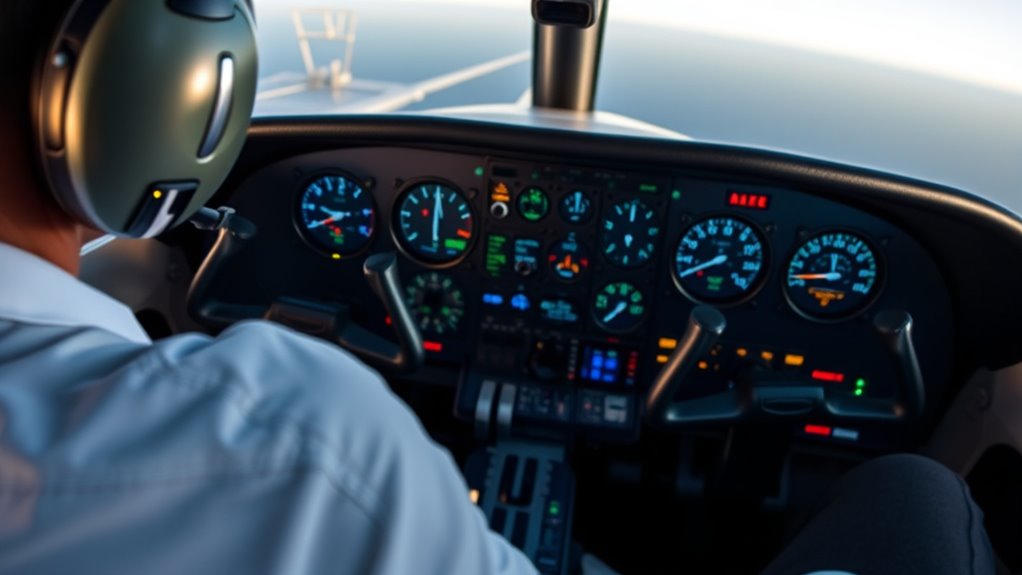
Enhancing your flight videos requires more than just proper camera placement; applying effective recording techniques can considerably improve the quality and impact of your footage. To do this, focus on stabilizing your camera to avoid shaky footage, and use a high-quality microphone to boost audio quality. Monitor your battery life frequently to prevent interruptions during critical moments. Experiment with different angles to capture diverse perspectives and add visual interest. Keep your camera settings optimized for lighting conditions, ensuring clear footage. Additionally, understanding resource and tool options can help you select the best equipment for your needs.
Editing and Sharing Your Flight Footage
Once you’ve captured your flight footage, the next step is editing and sharing to maximize its impact. Focus on refining your video by trimming unnecessary parts and highlighting key moments like pilot communication or smooth maneuvers. Keep weather impact in mind—if weather conditions caused turbulence or low visibility, consider adjusting brightness or contrast to improve clarity. Adding subtitles for pilot communication can enhance viewer understanding and engagement. When sharing, choose platforms that support high-quality video and allow for easy sharing with fellow aviation enthusiasts. Be mindful of privacy and safety; avoid revealing sensitive cockpit details. Effective editing not only showcases your skills but also preserves the professionalism of your flight recordings, making your footage more compelling and shareable. Incorporating proper lighting and sound techniques can further enhance the overall quality of your videos.
Legal and Safety Considerations for Cockpit Recording
Recording cockpit footage involves important legal and safety considerations you must not overlook. First, verify you adhere to regulatory compliance, which varies by country and airline policies. Some authorities restrict or require specific permissions for cockpit recording, especially if the footage could be shared publicly. Privacy concerns are also critical; you need to respect the confidentiality of crew and passenger information, avoiding recordings that could compromise their privacy. Always check your airline’s policies and local laws before filming. Additionally, be mindful that recording shouldn’t distract you during critical flight phases or interfere with cockpit operations. By understanding and following these legal and safety guidelines, you can confidently record your flights without risking violations or safety issues. For example, juice cleansing benefits can be a helpful analogy for understanding the importance of adhering to guidelines to maintain health and safety standards.
Frequently Asked Questions
How Long Can Cockpit Cameras Record Continuously?
You might wonder how long cockpit cameras can record continuously. It depends on the camera’s storage capacity and recording settings, but most can record for several hours before overwriting old footage. Proper camera placement guarantees you capture critical flight safety moments without missing details. Keep in mind, continuous recording is essential for safety and review, so choosing a camera with ample storage and reliable performance helps you monitor flights effectively.
What Is the Best Storage Capacity for Long Flights?
For long flights, you’ll want ample storage options like high-capacity SD cards or external drives to record extended footage. Consider a camera with a large storage capacity, at least 128GB or more, to avoid frequent data transfers. Also, check the battery life; longer flights demand batteries that last several hours. Combining high storage capacity with reliable battery life guarantees you capture every moment without interruptions.
Can Cockpit Cameras Operate in Extreme Weather Conditions?
You might wonder if cockpit cameras can handle extreme weather conditions. They often face weatherproofing challenges, but high-quality models are designed to withstand rain, snow, and vibrations. Proper camera mounting techniques are essential to guarantee stability and protection from harsh elements. Choose cameras with rugged enclosures and secure mounts to keep your footage clear and reliable, no matter the weather.
Are There Specific Brands Preferred by Professional Pilots?
Many professional pilots prefer camera brands with a strong reputation for durability and image quality, ensuring reliable footage in demanding conditions. While some might worry about brand limitations, their pilot preferences often lean toward trusted names like GoPro or Garmin, known for their ruggedness and clarity. Ultimately, choosing a camera brand with a solid reputation helps you capture your flights confidently, knowing your gear can withstand the rigors of aviation environments.
How Do You Troubleshoot Glare and Reflection Issues During Recording?
To troubleshoot glare and reflection issues during recording, start by adjusting the camera angle to minimize pilot glare and reflections. Use matte or anti-reflective screen covers to reduce surface reflections. You can also apply polarization filters to your camera lens, which help with reflection mitigation. Regularly clean your camera lens and screens, and experiment with different lighting conditions to guarantee clear footage without unwanted glare or reflections disrupting your shots.
Conclusion
Now that you know how to choose, install, record, and share your cockpit footage, you’re ready to capture your flights like a pro. Imagine recording a smooth takeoff and sharing it with friends, reliving the excitement whenever you want. For example, a pilot used a cockpit camera to document a challenging landing, turning the footage into a safety training tool. With the right setup, your flight videos can become unforgettable memories or valuable resources.