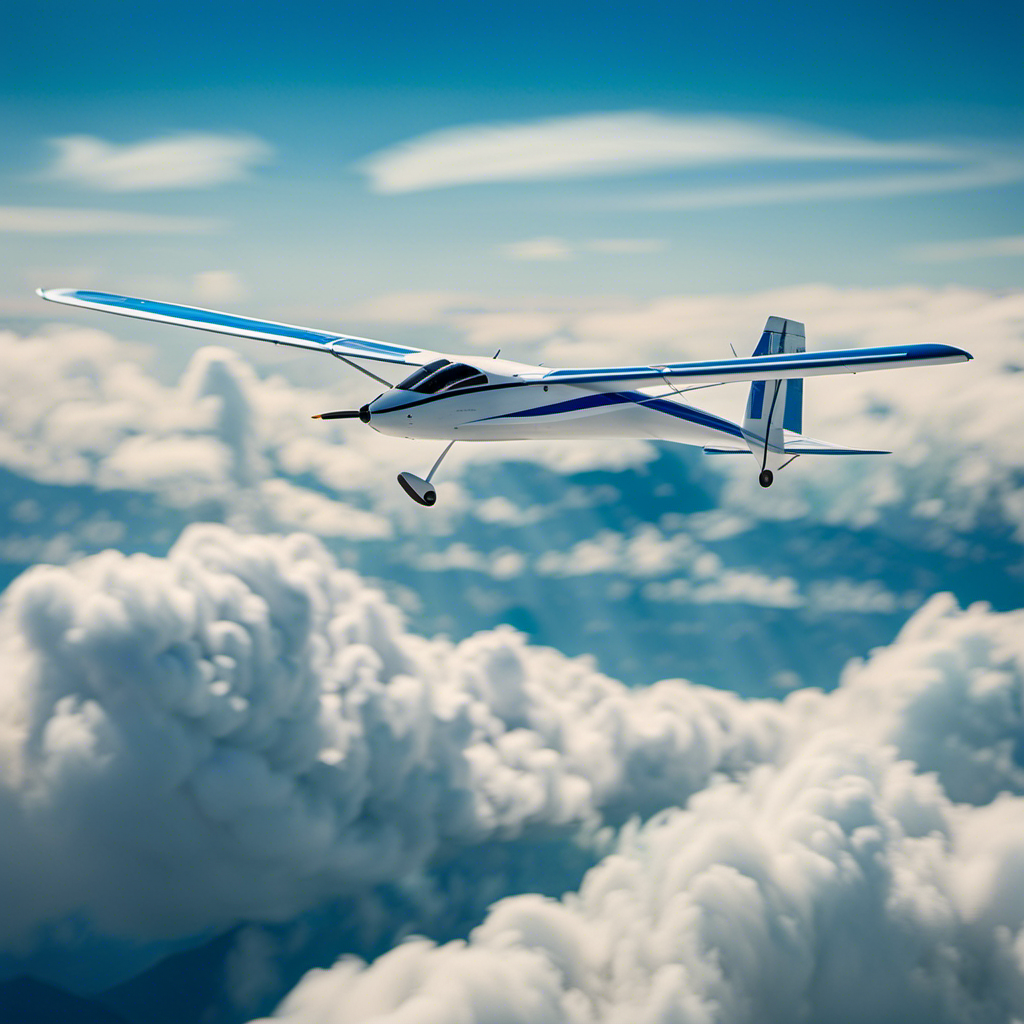
Upon landing, excitement courses through me as I prepare to take to the skies in a moto glider. The moment I’ve been waiting for has arrived.
In this article, I will guide you through the precise steps of launching this magnificent aircraft. From pre-flight checks to post-flight maintenance, we will leave no stone unturned.
So, fasten your seatbelt and prepare for an exhilarating journey as we delve into the technical intricacies of launching a moto glider. Get ready to soar like never before.
Key Takeaways
- Conduct a visual inspection of the exterior for damage or loose parts
- Verify the fuel system for leaks and ensure there is enough fuel
- Inspect control surfaces to ensure they move freely and are secure
- Familiarize yourself with the location and purpose of switches, levers, and gauges in the cockpit
Pre-flight Checks
Before taking off, it’s important to complete the pre-flight checks to ensure everything is in proper working order. Conducting a thorough pre-flight inspection is crucial for the safety of both the pilot and the aircraft.
Start by visually inspecting the exterior of the aircraft, checking for any damage or loose parts. Next, inspect the fuel system, ensuring there is enough fuel for the flight and that there are no leaks. Check the control surfaces, such as the ailerons and elevators, to ensure they move freely and are securely attached. Don’t forget to inspect the landing gear, brakes, and tires for any signs of wear or damage. Additionally, check all the instruments and avionics to ensure they are functioning properly.
Finally, review the aircraft’s maintenance records to ensure it is up-to-date with required inspections. By following these safety precautions during the pre-flight inspection, you can ensure a safe and smooth flight.
Now, let’s move on to familiarizing ourselves with the aircraft.
Familiarize Yourself with the Aircraft
Make sure you’re familiar with the aircraft before taking off. It’s crucial to familiarize yourself with the controls and understand the aircraft’s limitations.
As a pilot, knowing the layout of the cockpit and the function of each control is essential for a safe flight. Start by studying the flight manual and familiarizing yourself with the location and purpose of each switch, lever, and gauge.
Understand the aircraft’s performance capabilities, such as maximum speed, climb rate, and maneuverability. Additionally, be aware of any limitations, such as weight restrictions and structural limitations. Understanding these controls and limitations will enable you to operate the aircraft effectively and safely.
Now, let’s transition into the next section and discuss how to plan your flight.
Plan Your Flight
When planning your flight, it’s important to consider factors such as weather conditions, airspace restrictions, and fuel requirements.
Flight planning requires careful analysis of the weather to ensure safe and efficient operation of the moto glider. This involves studying weather forecasts, including wind patterns, temperature, and precipitation. By analyzing this information, I can determine the best time and route for my flight, avoiding adverse weather conditions that could compromise safety.
In addition to weather analysis, I also take into account airspace restrictions, such as restricted areas or temporary flight restrictions, which may affect my planned route.
Lastly, I calculate the fuel requirements based on the distance, wind conditions, and the specific performance characteristics of the moto glider.
Having considered all these factors, I can then proceed to prepare the glider for launch, ensuring a smooth transition from planning to execution.
Prepare the Glider for Launch
First, I position the glider in the designated launch area, ensuring that it is aligned with the wind direction for optimal takeoff.
Next, I attach the tow rope securely to the glider, making sure it is properly fastened and free from any tangles or knots.
If the glider is equipped with an engine, I carefully prepare it for start-up, checking fuel levels, ignition switches, and other necessary components before initiating the engine.
Position the Glider in the Launch Area
To position the glider in the launch area, you’ll need to ensure it is aligned properly with the wind direction. Positioning techniques are crucial to maximize your chances of a successful launch.
Before moving the glider, carefully observe the wind direction and strength to determine the best position. Considerations for the launch area include any obstacles, such as trees or buildings, that could affect the glider’s takeoff.
Once you have identified the optimal spot, carefully guide the glider into position, ensuring its nose is pointing into the wind. This will provide the necessary lift for a smooth takeoff.
Now that the glider is in the launch area, it’s time to attach the tow rope or prepare the engine for start-up, depending on the type of glider you are operating.
Attach the Tow Rope or Prepare the Engine for Start-up
Once you’ve positioned the glider in the launch area, it’s time to attach the tow rope or prepare the engine for start-up. Here are the steps to follow:
- Attach the tow rope securely to the glider’s tow hook, ensuring it is properly aligned.
- Check the tow rope for any signs of wear or damage that could compromise its strength.
- If you’re preparing the engine for start-up, ensure all fuel and oil levels are sufficient and that the ignition system is functioning properly.
- Double-check all engine controls, such as the throttle and mixture, to ensure they are set correctly.
- Confirm that all safety features, such as the fuel shutoff valve and fire extinguisher, are in place and operational.
With the tow rope attached or the engine prepared, we are now ready to move on to the next important step: performing safety briefings and communication.
Perform Safety Briefings and Communication
Before taking off, make sure you familiarize yourself with the safety briefings and communication procedures. Communication techniques are crucial for a safe and successful moto glider launch.
As the pilot, it is important to establish clear communication with the ground crew and other pilots involved in the launch process. This can be done through hand signals, radio communication, or a combination of both.
In the safety briefing, emergency procedures should be discussed, including what to do in the event of a rope break or other unexpected situations. By understanding and practicing these procedures, you can ensure a quick and effective response in case of an emergency.
Now, let’s transition to the next section and talk about the takeoff procedures.
Takeoff Procedures
Now that you’ve completed the safety briefings and communication procedures, it’s time to discuss the takeoff procedures. When it comes to launching a moto glider, proper takeoff techniques and runway selection are crucial for a successful departure. Takeoff techniques vary depending on the specific aircraft model, but generally involve maintaining a proper pitch attitude, managing airspeed, and smoothly applying power. Runway selection is also important, as factors such as wind direction, runway length, and surface condition must be considered. To help you better understand, let’s take a look at the table below, which outlines some key takeoff techniques and runway selection factors.
| Takeoff Techniques | Runway Selection |
|---|---|
| Proper pitch attitude | Wind direction |
| Managing airspeed | Runway length |
| Smooth power application | Surface condition |
Climb and Cruise
To maintain altitude and navigate during your flight, it’s important to understand the proper techniques for climb and cruise.
When it comes to climbing, it is crucial to maintain a steady airspeed and smoothly increase the pitch of the aircraft. This allows for a gradual ascent without sacrificing airspeed or stability. Additionally, monitoring the engine’s performance and adjusting the throttle accordingly is essential to ensure a successful climb.
On the other hand, cruising involves maintaining a constant altitude and airspeed. This is achieved by adjusting the throttle and trim settings to maintain the desired level flight. It is important to trim the aircraft properly to minimize control inputs and improve overall efficiency.
By mastering these climbing and cruising techniques, you can ensure a smooth and controlled flight.
Now, let’s discuss the next phase of flight, navigation and maneuvering.
Navigation and Maneuvering
When it comes to navigation and maneuvering in flight, it is crucial to utilize navigation instruments to ensure staying on course. These instruments, such as GPS and VOR, provide accurate guidance and help maintain the desired flight path.
Additionally, practicing basic maneuvers like turns and descents is essential for maintaining control and adapting to changing flight conditions. By mastering these skills, pilots can confidently navigate through the skies and handle various in-flight situations.
Use Navigation Instruments to Stay on Course
Make sure you’re using the navigation instruments to stay on course while flying the moto glider. The use of GPS and visual navigation techniques is crucial for maintaining accuracy and safety during your flight. Here are four key aspects to consider:
-
GPS Navigation: Set up your GPS system before takeoff and input your desired waypoints. Keep an eye on the GPS display to ensure you’re on the correct track.
-
Magnetic Compass: Verify your heading using the magnetic compass. Calibrate it if necessary and constantly monitor it to avoid any unintended drift.
-
Airspeed Indicator: Maintain a steady airspeed by referencing the airspeed indicator. Adjust throttle and control surfaces as needed to stay on target.
-
Visual Landmarks: Utilize visual cues such as rivers, roads, and landmarks to supplement your GPS navigation. Regularly cross-reference them with your GPS to confirm your position.
By using these navigation instruments and techniques, you can effectively navigate your moto glider and stay on course.
Now, let’s move on to practicing basic maneuvers such as turns and descents.
Practice Basic Maneuvers such as Turns and Descents
Now let’s work on practicing basic maneuvers like turns and descents to further enhance your flying skills.
Mastering these maneuvers is essential for becoming a proficient pilot.
When it comes to turns, it’s important to understand the basic flight principles involved. A turn is initiated by banking the aircraft, which involves tilting the wings to one side. This creates a horizontal component of lift that changes the direction of the aircraft.
To perform a descent, you need to reduce the aircraft’s altitude while maintaining a controlled descent rate. This can be achieved by reducing power and adjusting the pitch attitude.
By practicing these maneuvers, you’ll gain confidence and control over your aircraft, paving the way for mastering advanced maneuvers.
As we move forward, let’s now focus on preparing for landing, which requires a different set of skills.
Prepare for Landing
When preparing for landing, I carefully plan my descent and approach to the landing area. This involves considering factors such as wind direction, obstacles, and the condition of the runway.
I adjust my speed and configuration accordingly, ensuring that I’m in the correct position for a safe and smooth landing.
Plan the Descent and Approach to the Landing Area
To ensure a safe descent and approach to the landing area, you’ll need to carefully consider wind conditions and choose the appropriate glide path. This is crucial for a successful landing. Here are three important factors to consider when planning your descent and approach:
-
Descent Techniques: Depending on the wind conditions, you can choose between a direct descent or a spiral descent. A direct descent is suitable when the wind is calm, while a spiral descent allows you to maintain control and lose altitude more efficiently in gusty or turbulent winds.
-
Landing Area Selection: It’s essential to select a suitable landing area that is clear of obstacles and has enough space for touchdown and rollout. Consider factors such as wind direction, obstructions, and the condition of the surface to ensure a safe landing.
-
Glide Path: Calculate the glide ratio of your moto glider to determine the ideal glide path. This will help you maintain a steady descent and give you enough time to adjust your speed and configuration for landing.
By carefully considering these factors, you can plan your descent and approach effectively, setting yourself up for a successful landing.
Now, let’s dive into how to adjust your speed and configuration for landing.
Adjust Speed and Configuration for Landing
You should begin by adjusting your speed and configuration for landing to ensure a smooth touchdown.
Landing a moto glider requires careful consideration of various factors, such as wind speed, weight, and runway conditions.
To adjust the landing speed, you need to decrease it gradually as you approach the runway. This can be achieved by reducing engine power and increasing the angle of descent.
Additionally, adjusting the landing configuration involves extending the flaps and retracting the landing gear. This helps to increase lift and drag, allowing for a slower approach speed and a smoother touchdown.
By making these adjustments, you can optimize the glider’s performance during landing and minimize the chances of any mishaps.
And once the landing is complete, it’s time to move on to post-flight checks and maintenance, ensuring the moto glider is in top condition for its next flight.
Post-flight Checks and Maintenance
After completing a flight, it’s essential to conduct a thorough inspection of the aircraft for any signs of damage or wear.
This includes checking the exterior for dents, scratches, or loose parts, as well as examining the interior for any issues with the controls or instruments.
Additionally, routine maintenance tasks such as cleaning the aircraft and performing necessary maintenance procedures should be carried out to ensure optimal performance and safety for future flights.
Inspect the Aircraft for Any Damage or Wear
Before launching, it’s important to inspect the aircraft for any damage or wear. This step is crucial in ensuring the safety and airworthiness of the moto glider.
I start by visually examining the entire aircraft, paying close attention to the wings, fuselage, tail, and control surfaces. I check for any signs of cracks, dents, or corrosion.
Next, I inspect the landing gear, ensuring that it is securely attached and free from any damage.
Moving on, I inspect the engine and propeller, looking for any signs of wear or loose components. It’s important to also check the cockpit for any loose items or obstructions.
By conducting a thorough inspection, I can identify any potential issues and address them before launching.
This sets the stage for the subsequent section on performing routine maintenance and cleaning, where I ensure the moto glider is in top condition for the next flight.
Perform Routine Maintenance and Cleaning
Performing routine maintenance and cleaning is essential to keep the aircraft in optimal condition for future flights. As a pilot, I follow a set of maintenance tips and cleaning techniques to ensure the aircraft is safe and ready to fly.
One important task is to regularly inspect and clean the air filters to prevent any debris from entering the engine. I also make sure to check the tires for any signs of wear and tear, and replace them if necessary.
Cleaning the exterior of the aircraft is equally important, as dirt and grime can affect the aerodynamics. I use specialized cleaning solutions and techniques to remove any dirt, ensuring the aircraft maintains its sleek and efficient form.
Frequently Asked Questions
What are the required pre-flight checks for a moto glider?
Before launching a moto glider, it is crucial to conduct the required pre-flight checks. These checks include inspecting the aircraft’s control surfaces, fuel levels, engine, instruments, and ensuring all safety equipment is in place and functioning properly.
How do you familiarize yourself with the specific features and controls of a moto glider?
To familiarize myself with a moto glider, I use various techniques. I start by carefully studying the control panel, which includes the throttle, flaps, trim, and other vital controls. This detailed overview ensures a thorough understanding of the aircraft’s specific features and controls.
What factors should be considered when planning a flight with a moto glider?
When planning a flight with a moto glider, I consider various factors. Flight planning involves assessing the route, calculating fuel requirements, and considering airspace restrictions. Additionally, weather considerations such as wind direction and speed are crucial for a safe and efficient flight.
How do you prepare the glider for launch, including any necessary adjustments or configurations?
To prepare the glider for launch, I ensure all pre-flight preparations are completed meticulously. This includes conducting a thorough inspection, adjusting necessary configurations, and following precise launch procedures to ensure a successful takeoff.
What safety briefings and communication protocols should be followed before launching a moto glider?
Before launching a moto glider, it is crucial to conduct a thorough safety briefing to ensure everyone understands emergency procedures and communication protocols. This helps maintain a safe and effective operation during the flight.
Conclusion
In conclusion, launching a moto glider requires careful preparation and attention to detail. By following the pre-flight checks, familiarizing yourself with the aircraft, and planning your flight, you can ensure a safe and successful launch.
Although some may argue that launching a moto glider is a complicated process, with proper training and practice, anyone can master it. So don’t let the initial complexity deter you from experiencing the thrill and freedom of soaring through the skies in a moto glider.
With a heart that soars as high as the skies, Aria, affectionately known as “Skylark,” is the driving force behind Soaring Skyways. Her journey into the gliding world began as a young dreamer gazing up at the soaring birds, yearning to experience the weightlessness and freedom they embodied. With years of experience both in the cockpit and behind the scenes, Aria’s commitment to the gliding community is unwavering.
