
I’ve always had a deep interest in the complex workings of winches and their role in aiding us with tasks that involve lifting heavy loads.
If you’ve ever wondered how to manually wind a winch, you’re in the right place. In this article, I’ll guide you through the step-by-step process of winding a winch handle clockwise to achieve the desired tension.
With the right tools and a little know-how, you’ll be able to operate a winch with confidence and precision.
Let’s get started!
Key Takeaways
- Securing the handle and testing for proper functioning is crucial for ensuring reliability in different weather conditions and identifying potential issues or malfunctions.
- Troubleshooting motor issues by checking for loose connections, inspecting for debris obstruction, and ensuring smooth motor movement increases winch efficiency and prevents motor malfunction.
- Checking cable and drum condition by inspecting for fraying or breakage and ensuring clean and lubricated drum prevents load pulling problems and maintains winch performance.
- Testing the winch in varying weather conditions helps assess performance, ensures reliability in any situation, identifies potential weather-related issues, and increases winch versatility.

Watris Veiyi Replacement Winch Handle for Trailer Marine Sailboat
- Product Size: Handle: 4.6 inches, Arm: 9.05 inches
- Comfort Grip: Ergonomic molded grip for comfort
- Easy Installation: Simple to replace without modifications
As an affiliate, we earn on qualifying purchases.
As an affiliate, we earn on qualifying purchases.
Understand the Winch Mechanism
To manually wind a winch, you’ll need to understand how the winch mechanism works. It’s essential to grasp the different components and their functions to ensure proper operation.
The winch consists of a drum, a gear system, and a handle. The drum is where the cable or rope is wound, providing the pulling power. The gear system converts the rotational force of the handle into the linear movement of the drum.
Understanding the winch mechanism allows you to perform winch maintenance effectively. Regularly inspecting the gears, lubricating them, and checking for any signs of wear or damage will ensure optimal performance. Additionally, troubleshooting winch issues becomes easier when you have a solid understanding of how the winch works.
Now that you comprehend the winch mechanism, it’s time to gather the necessary tools.
Gather the Necessary Tools
First, gather all the tools you’ll need. To manually wind a winch, using alternative methods, it is important to have the right tools at hand.
The most common mistake to avoid is not having the correct size winch handle. Ensure you have a handle that fits securely into the winch drum.
Additionally, a pair of gloves is essential to protect your hands from potential injuries. Other tools that may be required include a winch grease or lubricant to maintain the winch’s smooth operation, a rag for cleaning any dirt or debris, and a winch strap or rope for securing the load.
Once you have gathered all these tools, you can proceed to locate the winch handle, ready to begin winding the winch.
Locate the Winch Handle
Now, take a look around and locate where the winch handle is stored. The winch handle is an essential tool for manually winding a winch. It is commonly found near the winch itself, often in a designated compartment or bracket.
Before using the winch handle, it’s crucial to be aware of common mistakes that can occur. One common mistake is using excessive force, which can lead to damage or breakage of the winch handle. Another mistake is not securely attaching the winch handle to the winch, which can result in the handle slipping off during operation.
It’s important to choose the right type of winch handle for your specific winch. There are different types available, such as the single-speed handle, which provides a higher mechanical advantage, and the two-speed handle, which allows for faster winding in certain situations.
By selecting the appropriate winch handle and avoiding common mistakes, you can ensure smooth and efficient manual winding of your winch.
Now, let’s move on to the next step: inserting the winch handle into the winch.
Insert the Winch Handle into the Winch
Once you’ve located the winch handle, simply slide it into the designated slot on the winch and ensure it is securely attached. This step is crucial for the proper functioning of the winch.
There are different types of winch handles available, such as the standard single-arm handle, the two-arm handle, and the power-grip handle. Choose the handle that fits comfortably in your hand and provides a good grip.
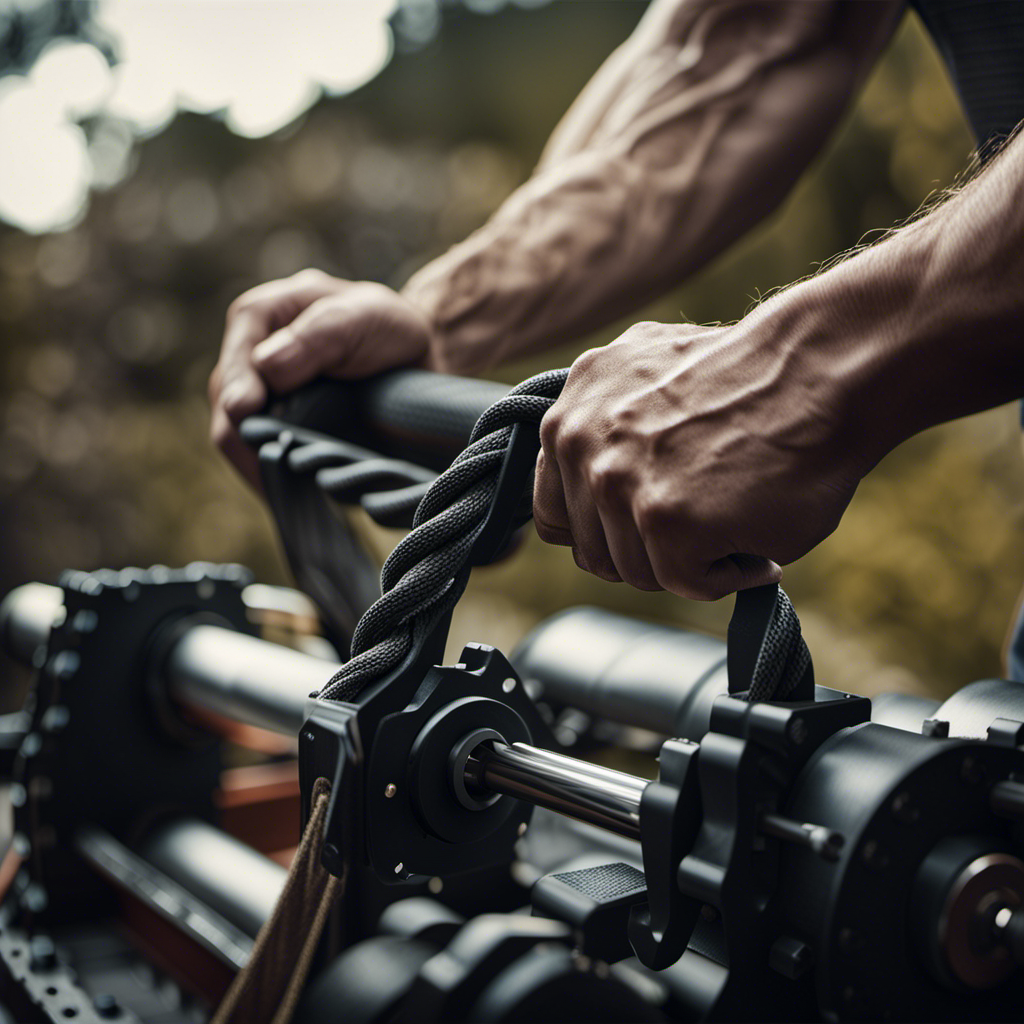
As you insert the handle, stand in a stable position with your feet shoulder-width apart and your knees slightly bent. This will help maintain proper posture and stability while winding the winch.
Hold the handle with both hands, keeping your shoulders relaxed and your back straight. Begin winding the winch handle clockwise, applying steady and even pressure. This will ensure smooth and efficient operation of the winch.
Begin Winding the Winch Handle Clockwise
As you’re winding the winch handle clockwise, make sure to apply steady and even pressure for smooth operation. Understanding the technique of winding a winch is crucial to avoid common mistakes. To help you visualize the process, refer to the table below for a step-by-step breakdown:
| Step | Action | Description |
|---|---|---|
| 1 | Hold the winch handle | Grasp the handle firmly with your dominant hand. |
| 2 | Position the handle | Align the handle with the winch’s spindle. |
| 3 | Insert the handle | Insert the handle into the winch spindle until it locks. |
| 4 | Apply pressure | Begin turning the handle clockwise, applying even pressure. |
| 5 | Maintain control and speed | Keep the handle steady and maintain a consistent speed. |
Apply Even Pressure while Winding
After beginning to wind the winch handle clockwise, it is essential to apply even pressure to ensure a smooth and controlled winding process. By applying even pressure, you prevent handle slippage, which could lead to accidents or injuries.
To achieve this, grip the handle firmly with both hands, making sure your fingers are securely wrapped around it. Maintain a balanced stance, distributing your weight evenly to provide stability.
As you wind the handle, use your upper body strength to exert pressure evenly, avoiding sudden jerks or forceful movements. This will help maintain a consistent tension on the winch, preventing any sudden release or loss of control.
Remember to continue winding until the desired tension is achieved, allowing for a safe and efficient winching process.
Continue Winding until Desired Tension is Achieved
To achieve the desired tension, keep winding the handle until it feels secure and stable. Determining the appropriate tension for winding a winch can be tricky, but with practice and attention to detail, it can be mastered. One common mistake to avoid is over-tightening the winch, which can put unnecessary strain on the system and potentially cause damage. On the other hand, under-tightening can result in insufficient tension, compromising the winch’s effectiveness. To help you determine the appropriate tension, refer to the table below:
| Load Weight | Recommended Tension |
|---|---|
| Light | 1-3 turns |
| Medium | 3-5 turns |
| Heavy | 5-7 turns |
| Very Heavy | 7-10 turns |
Secure the Winch Handle in Place
Make sure the winch handle is securely fastened in place to avoid any unexpected movement or loosening during operation. This is crucial for safe and efficient manual winding of a winch. Most winches have a designated handle storage area on the winch itself. Locate this storage area and ensure the handle is properly secured within it.
This will prevent the handle from becoming a potential hazard while the winch is in use. A loose handle can lead to accidents or damage to the winch. By securely fastening the handle in place, you can have peace of mind knowing that it will not interfere with the operation of the winch.
Now that the handle is secure, it’s time to move on to the next step: testing the winch to ensure proper functioning.
Test the Winch to Ensure Proper Functioning
Now that the winch handle is securely fastened, it’s time to test the winch to ensure it is functioning properly. Testing the winch under different weather conditions is crucial to identify any potential issues or malfunctions that may arise.
One common winch problem to troubleshoot is the motor not running smoothly. In this case, check for loose connections or any debris that may be obstructing the motor’s movement.
Another common issue is the winch not pulling the load properly. This could be due to a worn-out cable or a damaged drum. Inspect the cable for any signs of fraying or breakage, and make sure the drum is clean and properly lubricated.
Lastly, test the winch’s operation in varying weather conditions, such as rain or extreme temperatures, to ensure it performs reliably in any situation.
With the winch handle tested and functioning properly, it’s time to store it in a safe place for future use.
(Note: To transition into the subsequent section about storing the winch handle, you can write: "Having tested the winch and confirmed its proper functioning, it is now essential to store the winch handle in a safe place for future use.")
Store the Winch Handle in a Safe Place for Future Use
After ensuring its proper functioning, it’s important to store the winch handle in a safe place for future use. Proper winch handle storage is crucial to maintain its functionality and longevity.
Here are some common mistakes to avoid when storing winch handles:
-
Leaving it exposed to the elements: Moisture, extreme temperatures, and UV rays can damage the handle, causing it to deteriorate over time. Store it in a dry and climate-controlled environment.
-
Not securing it properly: A loose winch handle can easily get damaged or lost. Make sure to secure it in a designated storage location or use a strap or clip to keep it in place.
-
Neglecting maintenance: Before storing the handle, clean it thoroughly to remove any dirt or debris. Lubricate any moving parts to prevent rust and ensure smooth operation when it’s used again.
Frequently Asked Questions
How do I choose the right winch handle for my winch?
To choose the right winch handle, consider the type and size of your winch, as well as your personal preferences. Maintain the handle by keeping it clean, lubricating moving parts, and checking for any signs of wear or damage.
Can I manually wind a winch without a winch handle?
Yes, there are alternative methods to manually wind a winch without a winch handle. Some options include using a wrench or a socket set. These winch handle alternatives can provide a suitable solution in case the original handle is not available.
Is it possible to overwind a winch by manually winding it?
Overwinding a winch manually poses risks to the winch and the user. Excessive force can damage the winch’s internal components and cause the line to snap, leading to accidents. Proper manual winding techniques must be followed to avoid these dangers.
What safety precautions should I take while manually winding a winch?
To ensure safety while manually winding a winch, it is important to follow proper technique and take necessary precautions. This includes wearing gloves to protect hands, maintaining a stable stance, and avoiding sudden movements that could cause injury.
Are there any alternative methods for manually winding a winch?
When it comes to manually winding a winch, there are alternative methods available. One option is using a hand crank or lever, which offers the advantage of precise control but can be time-consuming and physically demanding.
Conclusion
And there you have it, folks! We’ve successfully navigated through the intricacies of manually winding a winch.
By following these precise steps, we’ve ensured that our winch is in optimal condition and ready for any task at hand.
Remember to store your winch handle in a safe place for future use, as it is a valuable tool in maintaining the functionality of your winch.
Now, go forth and conquer those winding challenges with ease and finesse!