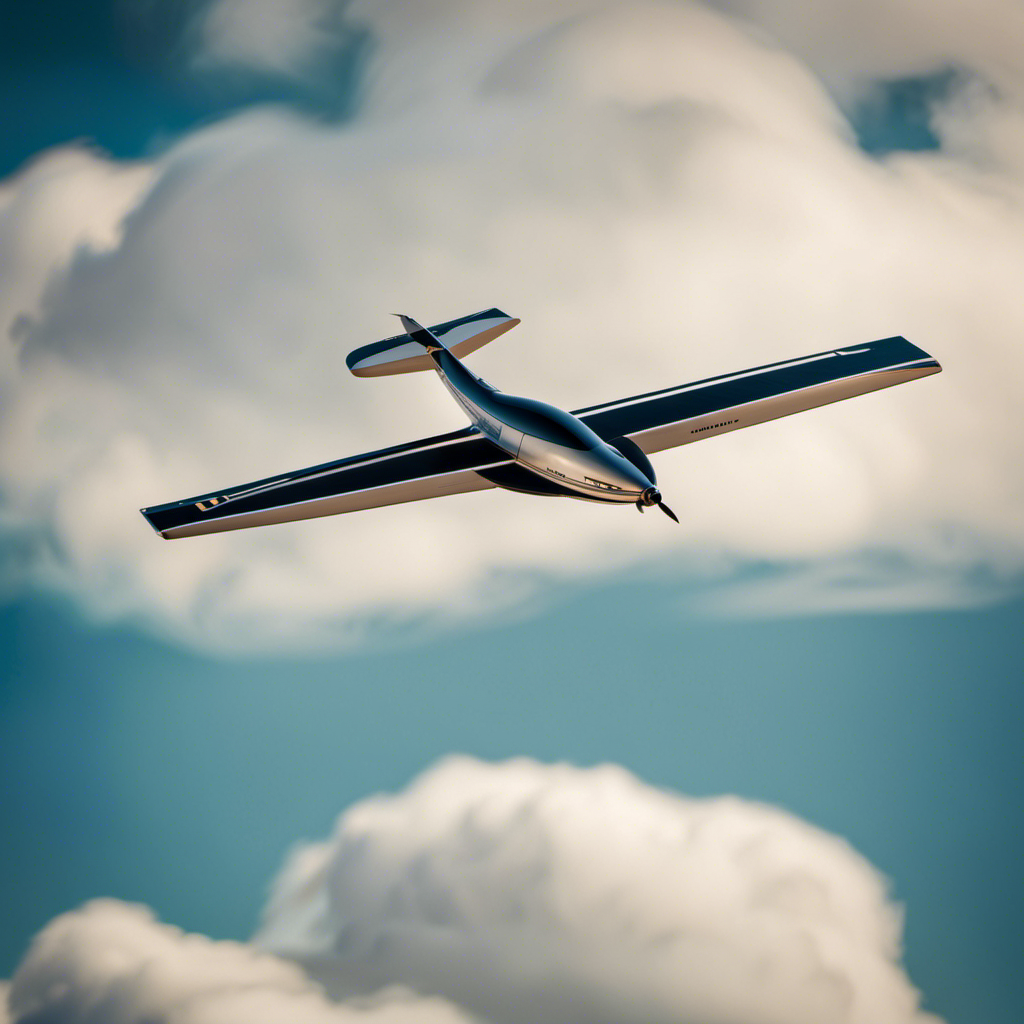
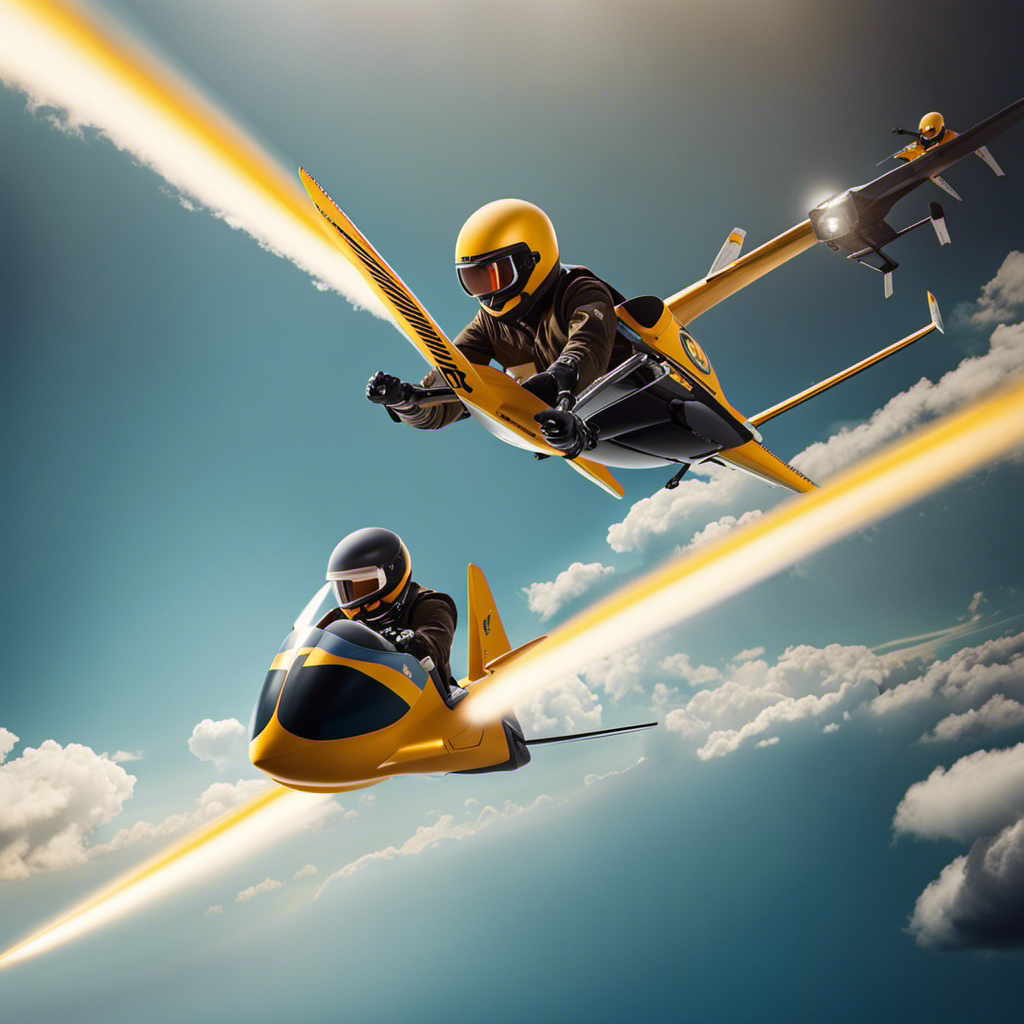
In my opinion, beginning a glider flight in the Real Flight 3.5 video offers a thrilling challenge that tests accuracy and skill.
Did you know that over 1 million players around the world enjoy this virtual gliding experience?
In this article, I will guide you through the step-by-step process of launching a glider, from familiarizing yourself with the game controls to executing the perfect launch.
Get ready to soar to new heights and master the art of gliding in Real Flight 3.5 video.
Key Takeaways
- Mastering advanced glider control is crucial for launching a glider in Real Flight 3.5 video
- Proper inputs, timing, and coordination are essential during the launch
- Regularly inspect and maintain the glider’s landing gear to ensure safe landings
- Continuously improve gliding skills and stay updated with new techniques for successful launches.

Smartphone iOS & Android GA Cockpit Voice Recorder Headset Adapter, ATC and Audio Recorder for GA
As an affiliate, we earn on qualifying purchases.
Familiarize Yourself with the Game Controls
To familiarize yourself with the game controls in Real Flight 3.5, you’ll need to practice using the joystick and buttons. Understanding glider physics is crucial for successful gameplay.
The simulator provides a safe and realistic environment to hone your skills. The joystick allows you to control the glider’s pitch, roll, and yaw movements. You can adjust the sensitivity of the joystick to match your preference.
The buttons on the controller are used for various functions such as changing views, adjusting settings, and activating special features. Spend time exploring these controls and practicing different maneuvers to become familiar with their functions.
Once you feel confident with the controls, you can move on to the next section where you can choose your glider and customize it to your liking.

stdgove General Aviation Headset Adapter to Helicopter,Stereo Mono Switch,Adapt GA Headphone to Helicopter,7.0mm Civilian Wired U174U Plug(Military Wiring)
7.0mm male plug, civilian wired, compatible with civilian wired u94 ptt.
As an affiliate, we earn on qualifying purchases.
Choose Your Glider and Customize it
You can select and personalize your glider to suit your preferences. In Real Flight 3.5, there are various glider modification options available, allowing you to customize your flying experience.
When selecting a glider, there are a few tips to keep in mind. Firstly, consider your skill level and experience as some gliders are more suitable for beginners while others are designed for advanced flyers. Secondly, think about the type of flying you want to do – whether it’s aerobatics, thermal soaring, or just casual cruising. This will help you choose a glider with the right characteristics and performance capabilities.
Additionally, pay attention to the glider’s control sensitivity and responsiveness, as these factors can greatly affect your flying experience. By carefully considering these tips, you can select the perfect glider for your needs and preferences.
Now, let’s explore how to select the perfect flying location.

Wirenest GA Headset to Helicopter Adapter, Durable Molded Connectors, .206" and .25" Jacks to U-174 Plug
CONNECT GA HEADSET TO HELICOPTER — Converts standard General Aviation twin plugs (.206" MIC & .25" audio) to...
As an affiliate, we earn on qualifying purchases.
Select the Perfect Flying Location
When choosing the perfect flying location, consider factors such as wind conditions and open spaces for optimal gliding experience.
Before taking off, it’s important to select the right flying gear to ensure safety and comfort. This includes a well-fitting helmet, a secure harness, and appropriate clothing for the weather conditions.
It is also crucial to find the best weather conditions for gliding. Look for a location with steady winds, preferably between 5 to 15 knots, and minimal turbulence. Avoid areas with strong gusts or unpredictable wind patterns.
Additionally, open spaces such as fields or coastal areas provide ample room for takeoff, landing, and maneuvering.
By selecting the perfect flying location and ensuring you have the right gear, you are setting yourself up for a successful gliding experience.
Now, let’s move on to preparing for takeoff by checking wind conditions and adjusting controls.

R SPIDER WIRELESS GA Headset to 6 Pin Lemo Connector Aviation Headset Adapter
Compatibility: Connects general aviation dual plug headset to Bose A20/A30 and all 6pin LEMO headsets.
As an affiliate, we earn on qualifying purchases.
Prepare for Takeoff: Checking Wind Conditions and Adjusting Controls
Now, it’s time to check the wind conditions and make any necessary adjustments to the controls before takeoff. Checking wind speed is crucial in glider flying as it directly affects the performance and safety of the aircraft.
To ensure a successful launch, it is important to understand the glider’s performance capabilities in different wind conditions. Here are some key steps to follow:
- Assess the wind direction and strength using a windsock or other indicators.
- Adjust the ailerons and rudder to compensate for crosswinds.
- Verify the elevator trim settings to optimize the glider’s pitch attitude.
- Ensure the control surfaces are free from any obstructions or damage.
By meticulously checking wind conditions and properly adjusting the controls, we can maximize the glider’s performance and enhance the safety of the takeoff.
Now, let’s move on to executing the launch by applying the right amount of power and angle.
Execute the Launch: Applying the Right Amount of Power and Angle
To ensure a successful takeoff, it’s important to apply the right amount of power and angle when executing the launch. Applying launch techniques correctly is crucial for achieving optimal glider performance.
When launching a glider, the power should be gradually increased to prevent sudden jerks or stalls. It’s important to find the right balance between too much and too little power.
Additionally, the angle of the glider during launch plays a significant role. A slightly upward angle helps the glider gain altitude smoothly, while a downward angle can cause the glider to lose altitude or even crash.
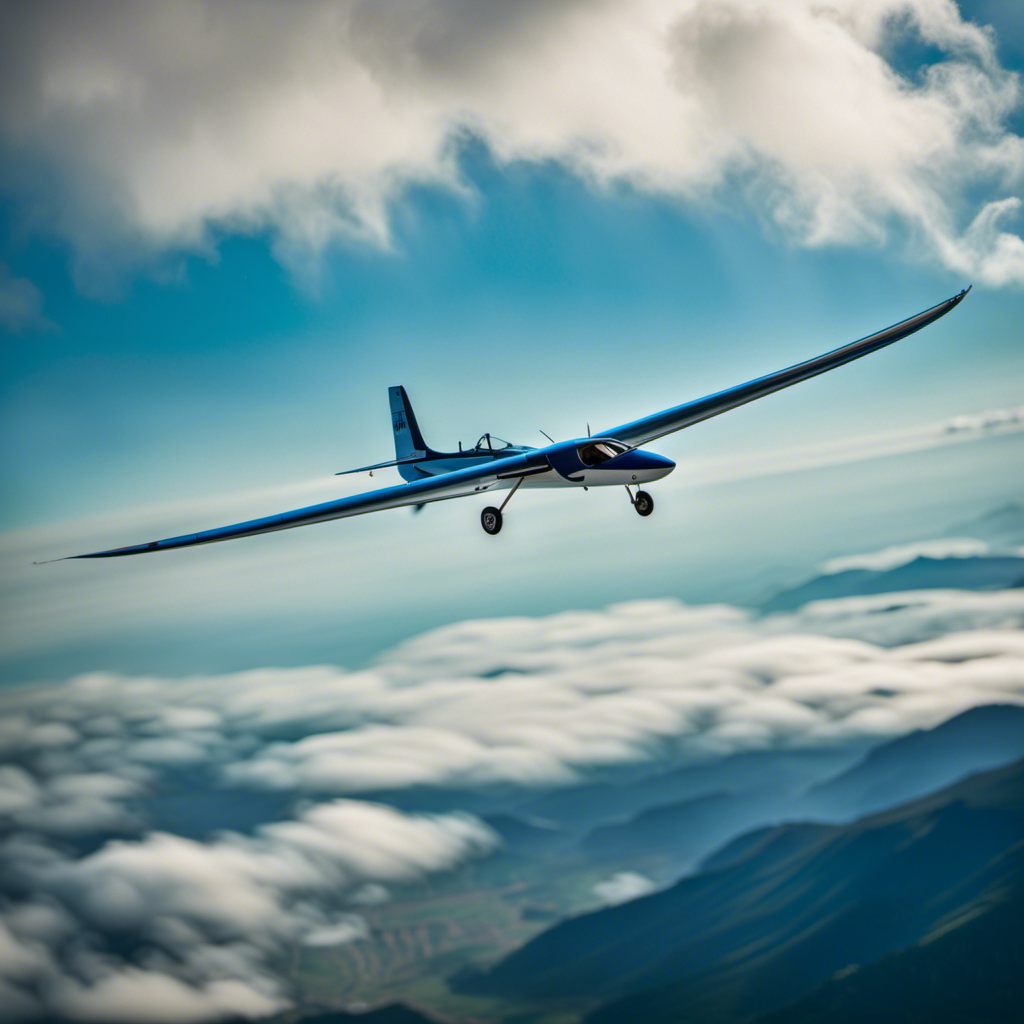
Maintain Control: Adjusting Pitch, Roll, and Yaw During Flight
After successfully launching the glider, it is essential to maintain control throughout the flight. This involves adjusting the glider’s trim and controlling the airspeed to ensure stability and maneuverability.
Adjusting the glider’s trim refers to fine-tuning the control surfaces to achieve the desired balance between pitch, roll, and yaw. By making small adjustments to the trim, I can optimize the glider’s performance and responsiveness.
Additionally, controlling the airspeed is crucial for maintaining stability and preventing stalls. By monitoring the airspeed indicator and making slight adjustments to the control surfaces, I can maintain a safe and efficient flight.
As I continue to master these techniques, I can progress to utilizing thermals and ridge lifts to further enhance my soaring experience.
Mastering Soaring Techniques: Using Thermals and Ridge Lifts
As you master soaring techniques, you’ll learn to utilize thermals and ridge lifts to enhance your gliding experience. By understanding wind patterns and using cross country techniques, you can optimize your flight and travel long distances without the need for a motor. Thermals are columns of rising warm air that can provide lift for your glider. They are typically found on sunny days and near sources of heat, such as buildings or open fields. Ridge lifts, on the other hand, occur when wind encounters an obstacle, such as a hill or a mountain range, creating an upward flow of air. To help you understand the differences between thermals and ridge lifts, here is a comparison table:
| Thermals | Ridge Lifts |
|---|---|
| Rising warm air | Upward flow of air caused by wind encountering an obstacle |
| Found on sunny days | Occur near hills or mountain ranges |
| Can be detected visually or using instruments | Can be identified by observing the wind direction and speed |
| Can provide strong lift for extended periods of time | Lift is usually less consistent and weaker |
Perform Aerobatic Maneuvers: Loops, Rolls, and Stall Recovery
After mastering the art of using thermals and ridge lifts to stay airborne, it’s time to take your glider skills to the next level.
In this section, we will explore the exciting world of aerobatic maneuvers. Performing loops, rolls, and stall recoveries not only adds thrill to your flights but also enhances your overall glider control.
However, it is crucial to understand the impact of different weather conditions on these maneuvers. Wind speed, gusts, and turbulence can significantly affect the stability and safety of your glider during aerobatics. Therefore, mastering advanced glider control techniques becomes paramount.
By learning the proper inputs, timing, and coordination, you can perform aerobatic maneuvers with precision and confidence.
Now, let’s transition to the next section, where we will focus on landing safely: approaching the landing zone and touching down smoothly.
Land Safely: Approaching the Landing Zone and Touching Down Smoothly
When approaching the landing zone, make sure to maintain a steady descent and aim for a smooth touchdown to ensure a safe and controlled landing. This is crucial in order to avoid any potential obstacles and maintain the integrity of the glider.
To further enhance the safety of the landing, it is important to regularly inspect and maintain the landing gear. This includes checking for any signs of wear or damage, ensuring proper alignment, and lubricating any moving parts.
By taking these precautions, you can minimize the risk of accidents during landing and ensure a smooth and successful touchdown.
Now, to improve your skills and become a glider expert, it is essential to dedicate time to practice, experiment with different techniques, and challenge yourself to push beyond your comfort zone.
Improve Your Skills: Practice, Experiment, and Challenge Yourself to Become a Glider Expert
After gaining confidence in landing safely, it’s time to focus on improving your overall gliding skills. To become an expert glider pilot, you need to continuously practice, experiment, and challenge yourself.
By incorporating various practice techniques into your routine, you can refine your flying abilities and become more comfortable in the air. One effective technique is to simulate different scenarios, such as practicing emergency landings or flying in challenging weather conditions.
Additionally, regularly reviewing and analyzing your flight recordings can help identify areas for improvement. Don’t forget to prioritize glider maintenance as well. Regularly inspecting and servicing your glider will ensure its optimal performance and safety. Keep a record of maintenance activities and adhere to the manufacturer’s guidelines.
Frequently Asked Questions
What are the recommended game controls for launching a glider in Real Flight 3.5 video?
The recommended game control settings for launching a glider in Real Flight 3.5 video include adjusting the joystick sensitivity for precise control. Launching techniques involve smoothly applying throttle and using elevator control to maintain a steady climb.
How do I choose the right glider and customize it for optimal performance?
To choose the right glider and optimize its performance, start by customizing the glider controls. Adjust parameters like wing shape, weight distribution, and control surface deflections to fine-tune handling and maximize efficiency.
What factors should I consider when selecting a flying location for launching a glider in the game?
When selecting a flying location for launching a glider in the game, I consider the flying challenges and weather conditions. These factors play a crucial role in determining the feasibility and success of my flight.
How can I check wind conditions and adjust controls for a successful takeoff in the game?
To ensure a successful takeoff in the game, I metaphorically liken wind conditions to a compass guiding my flight. By checking wind speed and adjusting control sensitivity, I can navigate the virtual skies with precision and grace.
Are there any specific techniques or tips for maintaining control and adjusting pitch, roll, and yaw during flight in Real Flight 3.5 video?
Maintaining control in flight involves adjusting flight controls to control pitch, roll, and yaw. To maintain control, use small and precise inputs on the control surfaces. Adjust pitch by using the elevator, roll by using the ailerons, and yaw by using the rudder.
Conclusion
In conclusion, mastering the art of launching a glider in Real Flight 3.5 requires a combination of skill, knowledge, and practice.
By familiarizing yourself with the game controls, choosing the right glider, and customizing it to your liking, you can set yourself up for success.
Selecting the perfect flying location, checking wind conditions, and adjusting controls is crucial for a successful takeoff.
Applying the right amount of power and angle during the launch is essential for a smooth flight.
Once in the air, using thermals and ridge lifts will help you soar to new heights.
Performing aerobatic maneuvers like loops, rolls, and stall recovery adds excitement and challenge to your gliding experience.
Finally, landing safely by approaching the landing zone and touching down smoothly requires precision and practice.
By continually improving your skills through practice, experimentation, and challenging yourself, you can become an expert glider pilot in Real Flight 3.5.