Hello! Did you know that a well-built elastic launch glider can stay airborne for over 30 seconds?
In this article, I’ll guide you through the process of creating your very own elastic launch glider, step by step.
We’ll start by gathering the materials, then move on to designing and assembling the glider.
I’ll show you how to add the elastic band and test and adjust the performance.
So, let’s get started and make your glider soar through the sky!
Key Takeaways
- Observing the glider’s response to control surface adjustments is important for improving flight performance.
- Analyzing the glider’s behavior helps in identifying design flaws or external factors affecting flight path and stability.
- Decorating the glider enhances its appearance and allows for personalization and style reflection.
- Improving glider flying skills through practice and analysis of flights leads to better performance.
Gather Your Materials
Before you can start making the elastic launch glider, you’ll need to gather all of your materials.
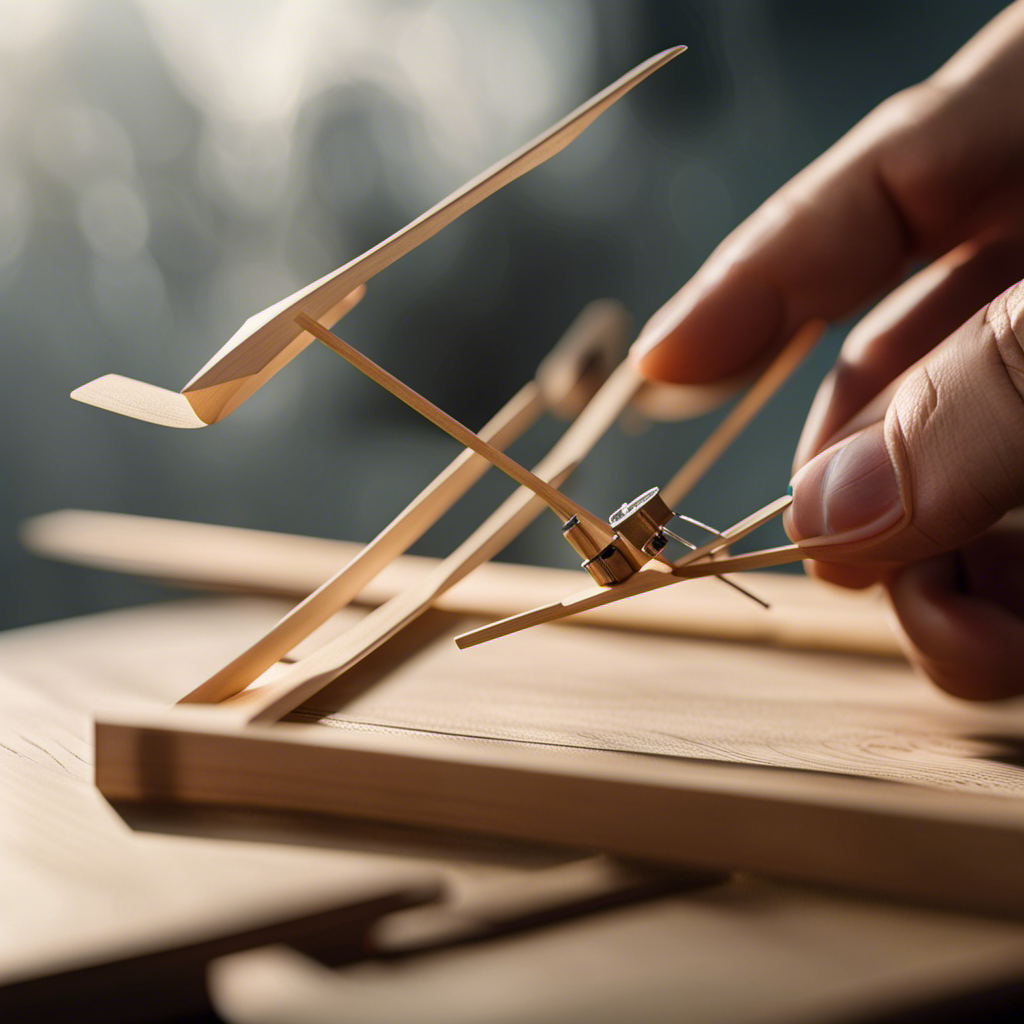
Choosing the right materials is crucial for a successful glider. You’ll need a sturdy and lightweight material for the wings, such as balsa wood or foam board. These materials offer the perfect balance between strength and weight.
Additionally, you’ll need rubber bands for the elastic launch mechanism, as well as glue and tape for assembly.
When it comes to glider design, there are a few tips to keep in mind. Make sure the wings are symmetrical and have a slight upward curve to generate lift. The tail should be small and stable for better control.
Now that you have all your materials, it’s time to design your glider for optimal performance.
Design Your Glider
Once you’ve chosen the design for your glider, it’s time to gather the materials. Design considerations play a crucial role in the success of your glider. By understanding aerodynamic principles, you can create a glider that maximizes lift and minimizes drag.
When designing your glider, you need to consider the wing shape, wing size, and the placement of the wings and tail. The wing shape affects the glider’s lift, with curved wings generating more lift than flat wings. The wing size determines the surface area available for generating lift. Additionally, the placement of the wings and tail affects the glider’s stability and control.
Assemble Your Glider
Now that you have all the materials, it’s time to start putting your glider together. To ensure optimal performance, there are a few key considerations to keep in mind during assembly:
-
Wing design considerations: Choose a wing shape that maximizes lift and stability. Consider factors such as wing area, aspect ratio, and airfoil shape.
-
Importance of weight distribution in glider assembly: Balance is crucial for successful flight. Ensure that the weight is evenly distributed along the glider’s length, paying attention to the position of the wings, tail, and any additional components.
-
Securely attach the wings to the fuselage using strong adhesive or screws.
-
Align the tail surfaces precisely to maintain stability during flight.
-
Install the rubber band launcher mechanism carefully, ensuring it is properly aligned and securely attached.
By following these guidelines, you’ll be well on your way to assembling a glider that is ready for flight.
Now, let’s move on to the next section and add the elastic band for launching without delay.
Add the Elastic Band
To attach the rubber band, carefully loop it around the designated hooks on the glider’s body. The tension of the elastic band is crucial for achieving optimal flight performance. Too much tension can cause the glider to launch too forcefully, while too little tension may result in a weak launch. It is important to find the right balance to ensure a smooth and controlled flight.
Additionally, alternative launching methods can be explored to further enhance the glider’s performance. For example, a catapult launch can provide a more powerful launch compared to simply pulling back on the elastic band. By experimenting with different launching techniques and adjusting the tension of the rubber band, you can fine-tune your glider for the best possible flight.
This will be discussed further in the next section on ‘test and adjust.’
Test and Adjust
Finding the right balance of tension and adjusting your launching technique will help optimize the flight performance of your glider.
When it comes to adjusting techniques, there are a few key factors to consider. First, you want to measure the performance of your glider by launching it multiple times and observing its flight path. Pay attention to any deviations or inconsistencies in the trajectory. This will give you an indication of what adjustments need to be made.
Next, experiment with different tension levels on the elastic band. Too much tension can cause the glider to launch too aggressively, while too little tension may result in a weak launch. By fine-tuning these adjustments, you can ensure that your glider achieves its maximum flight potential.
Now, let’s move on to launching your glider.
Launch Your Glider
When launching a glider, it’s crucial to hold the glider properly for a successful flight. By gripping the glider firmly but not too tightly, you ensure a stable launch.
Next, pull back on the glider while keeping it level, and release it smoothly to achieve maximum distance and height.
Following these techniques will ensure a smooth and efficient launch of your glider.
Hold the Glider Properly for Launch
Make sure you’re holding the glider securely before launching it. The proper grip and launching technique are crucial for a successful flight. To achieve the best results, follow these steps:
| Left Hand | Right Hand | Description |
|---|---|---|
| Thumb | Thumb | Place your thumbs on the top of the glider’s wings. |
| Forefinger | Forefinger | Position your forefingers underneath the wings, near the center. |
| Middle Finger | Middle Finger | Rest your middle fingers on the bottom side of the wings, towards the back. |
| Remaining Fingers | Remaining Fingers | Wrap your remaining fingers around the glider’s body for added stability. |
This grip ensures a balanced and controlled launch. Now, as you transition into the next section, pull back on the glider and release it with a swift motion.
Pull Back and Release the Glider
To achieve a successful flight, ensure you’re holding the glider securely and then pull back on it before releasing with a swift motion. Adjusting the trajectory of the glider during launch is crucial for optimal performance.
Here are some key points to consider:
- Position your hand firmly on the glider’s fuselage to maintain control.
- Apply a gradual, yet firm, pulling motion to generate sufficient launch force.
- Keep the glider level during the pullback to ensure balanced aerodynamics.
- Release the glider with a swift and smooth motion to maximize its initial velocity.
- Maintain a consistent trajectory by avoiding sudden changes in the release angle.
By implementing these techniques, you can take advantage of glider aerodynamics and improve the overall launch performance.
Now, let’s analyze the flight performance to further optimize our glider’s capabilities.
Analyze Flight Performance
You can start by examining how well the glider performs during its flight. Flight control is crucial for achieving optimal performance. By carefully analyzing the aerodynamics of the glider, you can identify areas for improvement.
Pay close attention to how the glider responds to adjustments in its control surfaces, such as the elevator and rudder. Observe how it maintains stability and how its flight path is affected by different wing configurations. Take note of any deviations from the desired trajectory and evaluate whether they can be attributed to design flaws or external factors.
Understanding the glider’s flight performance will inform your decision-making process when it comes to fine-tuning its design and optimizing its flight capabilities.
As you analyze the glider’s flight behavior, you can then move on to the exciting task of decorating your glider to reflect your personal style and creativity.
Decorate Your Glider
Now that you’ve analyzed the glider’s flight performance, it’s time to get creative and decorate it to showcase your personal style.
Enhancing the appearance of your glider not only adds aesthetic appeal but also allows you to make it truly your own.
Here are some glider painting techniques and DIY glider decorations to consider:
- Experiment with different paint colors and patterns to create a unique design.
- Use decals or stickers to add logos, symbols, or text for a personalized touch.
- Apply adhesive tapes in contrasting colors to create bold stripes or geometric shapes.
- Attach lightweight fabric or streamers to the tail or wings to add movement and visual interest.
By exploring these glider decoration options, you can transform your glider into a visually striking and individualized aircraft.
Now, let’s move on to the next section to practice and improve your glider flying skills.
Practice and Improve
Ready to level up your glider flying skills? To improve flight and troubleshoot any issues, there are a few key strategies to keep in mind.
First, focus on your launching technique. Ensure that you have a strong and steady launch, aiming for a slight upward angle to gain altitude.
Next, pay attention to the balance and weight distribution of your glider. A well-balanced glider will fly more smoothly and efficiently. Adjust the position of the wing, tail, and any additional weights as needed.
Additionally, practice controlling your glider during flight. Use small adjustments to navigate turns and maintain a stable descent.
Lastly, analyze your flights to identify any recurring issues and make necessary adjustments. By consistently practicing and tweaking your glider, you will be able to improve your flight performance.
Now, let’s move on to the next section and share your success with others.
Share Your Success
Don’t forget to share your success in mastering glider flying techniques with others who are interested in improving their skills as well. Celebrating achievements is not just about personal satisfaction; it also serves as a motivation for others to strive for excellence. By sharing your successes, you contribute to the growth and development of the glider flying community.
However, it is equally important to share your failures and the lessons learned from them. Learning from failures is an integral part of the learning process. It helps others avoid making the same mistakes and enables them to grow as well.
Frequently Asked Questions
Are there any safety precautions I need to take while building and launching the elastic launch glider?
When building and launching an elastic launch glider, it is important to wear protective gear such as safety goggles and gloves. Additionally, ensure a safe launch by choosing a suitable launch location and launching with proper technique.
How long should the elastic band be for optimum flight performance?
For optimum flight performance, the elastic band length should be precisely calculated. Like a well-tuned instrument, finding the sweet spot ensures the glider’s wings soar effortlessly through the air, maximizing its potential.
What are some common mistakes to avoid during the assembly process?
Common assembly mistakes include using too much glue, not allowing sufficient drying time, and improper alignment of the wings and tail. To ensure successful glider launches, remember to trim the glider for stability and use a smooth, consistent launch motion.
How can I improve the flight performance of my glider?
To improve flight performance, flight stability techniques such as wing dihedral and vertical stabilizers can be employed. Additionally, weight distribution strategies like placing the center of gravity slightly forward can enhance stability and maneuverability.
Can I use different materials for decorating the glider, or are there specific recommendations?
Different materials can be used to decorate the glider, allowing for creative designs. It is important to choose lightweight materials that won’t negatively impact the flight performance or balance of the glider.
Conclusion
In conclusion, constructing an elastic launch glider is a challenging yet rewarding endeavor. By gathering the necessary materials and meticulously designing and assembling your glider, you can create a high-performance flying machine.
Testing and analyzing its flight performance will allow you to make necessary adjustments for optimal results. Don’t forget to add your personal touch by decorating your glider.
With practice and determination, you can improve your skills and share your success with others. So, get ready to soar to new heights with your very own elastic launch glider!
