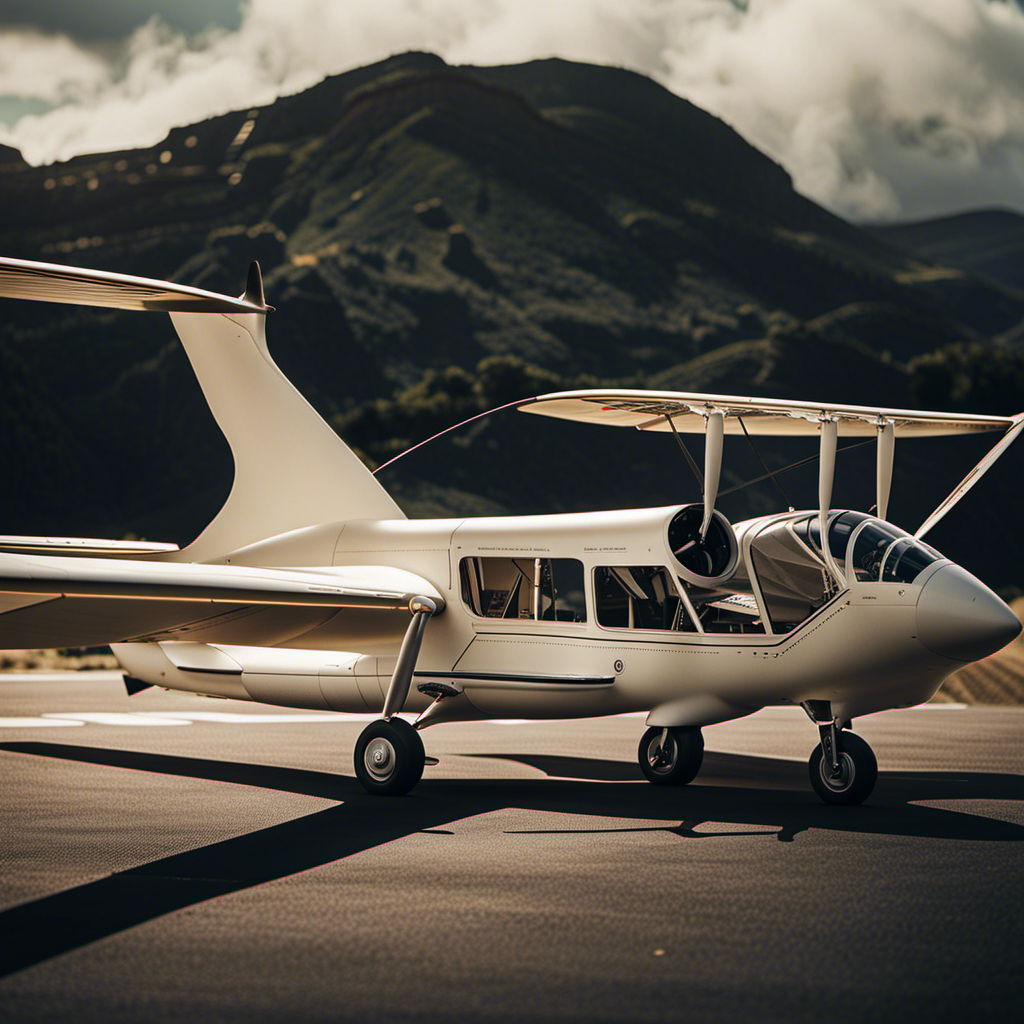
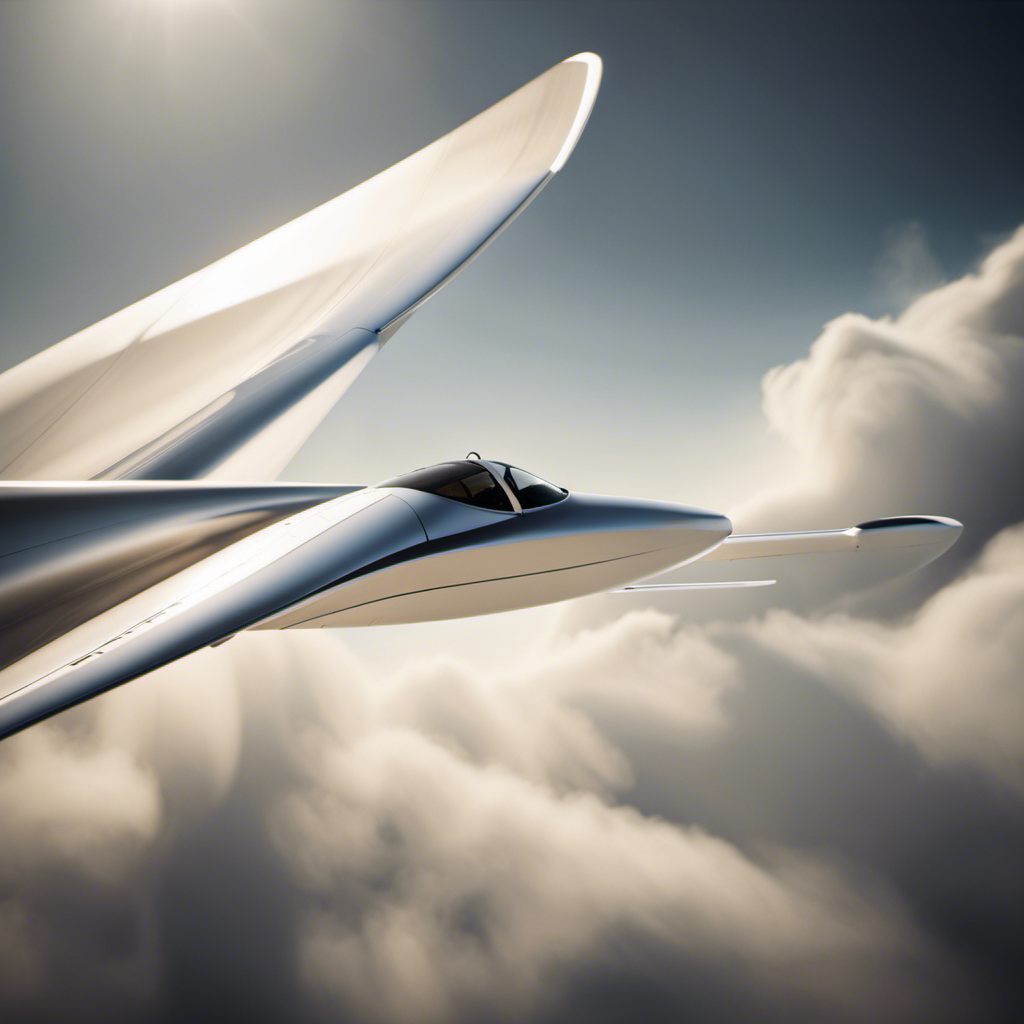
Did you know that gliders can have a wingspan of up to 80 feet?
As a passionate glider pilot, I am constantly amazed by the intricate design and engineering that goes into these soaring machines.
In this article, we will take a detailed look at the anatomy of a glider, examining the importance of wings, control surfaces, fuselage, tail, weight and balance, landing gear, safety measures, and more.
Join me on this journey to uncover the secrets behind the remarkable world of glider technology.
Key Takeaways
- The wings of a glider are of utmost importance in its flight as they provide lift and support.
- Control surfaces such as ailerons, elevators, and rudders are used to control the roll, pitch, and yaw of the glider.
- The fuselage of a glider plays a crucial role in providing stability during flight.
- Weight, balance, and landing systems are essential for the safe operation and control of a glider.
The Importance of Wings in Glider Flight
You might be wondering why wings are so important in glider flight. Well, the key to successful gliding lies in understanding the importance of lift. Lift is the force that counteracts gravity and keeps the glider airborne. And the wings are the primary component responsible for generating lift.
The role of airfoils in glider wings cannot be overstated. Airfoils are specially shaped sections of the wings that are designed to create lift. They have a curved upper surface and a flatter lower surface, which creates a pressure difference when air flows over them. This pressure difference results in an upward force, which is the lift that keeps the glider aloft.
Understanding the control surfaces, such as the ailerons, elevator, and rudder, is crucial for proper glider flight. These surfaces allow the pilot to control the glider’s attitude, stability, and direction. By manipulating the control surfaces, the pilot can adjust the lift and drag forces acting on the wings, allowing for controlled ascent, descent, turning, and banking.
Understanding the Control Surfaces
When it comes to controlling a glider in flight, the key lies in understanding the different control surfaces.
The ailerons, located on the trailing edge of the wings, are responsible for roll control, allowing the pilot to bank the aircraft left or right.
The elevators, situated on the horizontal stabilizer, provide pitch control, enabling the pilot to raise or lower the nose of the glider.
Ailerons for roll control
The ailerons on a glider are responsible for controlling its roll. Aileron design plays a crucial role in ensuring roll stability during flight.
These control surfaces are located on the trailing edge of the wings and work in pairs, with one aileron moving up while the other moves down. This differential movement creates a difference in lift, causing the glider to roll.
The size and shape of the ailerons are carefully designed to optimize maneuverability while maintaining stability. By manipulating the ailerons, pilots can execute precise turns and maintain control in various flight conditions.
Now, let’s move on to another critical control surface, the elevators, which are responsible for pitch control.
Elevators for pitch control
Take a moment to understand how elevators function as they play a crucial role in controlling the pitch of the glider during flight. Elevators are an integral part of the elevator control mechanisms, designed with precision to ensure smooth and accurate pitch control.
Here are two key aspects of elevator design:
-
Elevator Surface: The elevator consists of a movable surface located at the tail of the glider. This surface, known as the horizontal stabilizer, is hinged to allow for up and down movement.
-
Trim Tab: Many elevators incorporate a small trim tab located on the trailing edge. This tab can be adjusted to maintain a desired pitch position without applying constant pressure on the control stick.
With these elevator control mechanisms in place, pilots can easily adjust the pitch of the glider during flight.
Now, let’s explore the rudder for yaw control, which complements the elevator’s role in maintaining stability and control.
Rudder for yaw control
Now let’s see how the rudder helps with controlling yaw in the glider.
The rudder is a key component of the glider’s control system, designed specifically to manage yaw stability.
Yaw is the side-to-side movement of the aircraft’s nose, and the rudder plays a crucial role in counteracting any unwanted yawing moments.
The rudder design is carefully crafted to provide the necessary control authority while minimizing drag.
By deflecting the rudder, the pilot can induce a yawing moment in the opposite direction, helping to maintain the desired flight path.
The rudder acts in conjunction with the elevators and ailerons to ensure optimal control of the glider in all three axes.
Now, let’s continue our exploration of the glider’s anatomy by delving into the fuselage, where we will discover more fascinating components.
Exploring the Fuselage
Within the fuselage, there’s a complex network of support structures that provide strength and stability during flight. Exploring the aerodynamic design and understanding the structural integrity of the fuselage is crucial for the overall performance of a glider.
The fuselage serves as the main body of the glider, housing the cockpit and other essential components. It is designed to minimize drag and enhance the glider’s ability to glide efficiently through the air. The shape of the fuselage is carefully crafted to ensure smooth airflow and reduce turbulence.
To achieve optimal structural integrity, the fuselage is constructed using lightweight yet strong materials such as carbon fiber or fiberglass. These materials are carefully layered and bonded to create a rigid and durable structure that can withstand the forces experienced during flight.
In addition to providing strength, the fuselage also houses various systems and components, including the control mechanisms and instrument panels. These are strategically placed to ensure ease of operation and accessibility for the pilot.
Transitioning into the subsequent section about the role of the tail in glider stability, it is important to note that the design and construction of the fuselage directly influence the overall stability and maneuverability of the glider. The tail section, which includes the horizontal stabilizer and elevator, plays a crucial role in maintaining stability and controlling pitch.
The Role of the Tail in Glider Stability
As a glider pilot, I understand the importance of the tail in maintaining stability and control during flight.
The horizontal stabilizer and elevator play a crucial role in controlling the pitch of the glider, allowing for smooth climbs and descents.
Meanwhile, the vertical stabilizer and rudder work together to control the yaw, ensuring the glider stays on its intended course.
Understanding the functions and interactions of these components is essential for safe and effective glider operation.
Horizontal stabilizer and elevator
Take a closer look at how the horizontal stabilizer and elevator work together to control the pitch of the glider.
The horizontal stabilizer, located at the tail of the glider, consists of two main components: the fixed horizontal stabilizer and the movable elevator.
The horizontal stabilizer provides stability to the glider by creating a downward force called the tail-down force. This force counters the nose-down pitching moment created by the wings during flight.
The elevator, attached to the trailing edge of the horizontal stabilizer, allows the pilot to control the pitch of the glider. By moving the elevator up or down, the pilot can change the angle of attack of the tail, which in turn affects the pitch attitude of the glider.
Transitioning to the next section about the vertical stabilizer and rudder, it’s important to note that while the horizontal stabilizer and elevator control the pitch, the vertical stabilizer and rudder play a crucial role in controlling the yaw of the glider.
Vertical stabilizer and rudder
After discussing the horizontal stabilizer and elevator, it’s time to delve into the vertical stabilizer and rudder of a glider.
The vertical stabilizer is a crucial component located at the tail of the glider, designed to provide stability and control during flight. Its main function is to prevent yawing, or side-to-side movement, which can occur due to various factors such as wind gusts or turning.
Connected to the vertical stabilizer is the rudder, a movable control surface that allows the pilot to control the yaw of the glider. By applying pressure on the rudder pedals, the pilot can adjust the heading of the glider.
Understanding the intricate relationship between the vertical stabilizer and rudder is essential for maintaining control and stability in flight.
Now, let’s explore the science behind glider weight and balance, a crucial aspect of safe and efficient soaring.
The Science Behind Glider Weight and Balance
When it comes to the science behind glider weight and balance, two key points to understand are the center of gravity and its effects, as well as the importance of adjusting weight and balance for optimal flight.
The center of gravity refers to the point at which the glider’s weight is evenly distributed, and its position greatly affects the stability and maneuverability of the aircraft.
Center of gravity and its effects
The center of gravity affects the stability and maneuverability of a glider. Proper weight distribution is crucial for optimal flight performance. When the center of gravity is located too far forward, the glider becomes nose-heavy, making it difficult to control. On the other hand, if the center of gravity is too far back, the glider becomes tail-heavy, leading to unstable flight characteristics.
Achieving the correct balance ensures that the glider remains stable and responsive to control inputs. By adjusting the weight distribution, pilots can fine-tune the glider’s stability and maneuverability to suit their preferences and flight conditions. This allows for a smoother and more enjoyable flying experience.
Transitioning into the next section, let’s explore how to adjust weight and balance for optimal flight without compromising safety.
Adjusting weight and balance for optimal flight
In my previous discussion of the center of gravity and its effects on a glider’s flight, I highlighted the importance of maintaining balance for optimal performance.
Now, let’s delve into the intricacies of adjusting weight and balance to ensure glider stability. Weight distribution plays a crucial role in the overall stability of a glider. By strategically positioning cargo and adjusting the distribution of weight, pilots can fine-tune the glider’s balance to achieve the desired flight characteristics. This involves carefully considering the placement of equipment, fuel, and passengers to maintain the glider’s center of gravity within the recommended limits.
Proper weight distribution not only enhances stability but also affects the glider’s maneuverability and responsiveness.
Now that we’ve explored the intricacies of weight and balance, let’s move on to the next section, where we will uncover the function of the canopy and cockpit instruments.
The Function of the Canopy and Cockpit Instruments
As a glider pilot, one of the key elements I rely on for a successful flight is the canopy.
Not only does it provide aerodynamic advantages by reducing drag, but it also allows for optimal pilot visibility.
In addition to the canopy, essential instruments play a crucial role in navigation and flight control.
These instruments enable me to maintain proper altitude, track my position, and make informed decisions throughout the flight.
Canopy for aerodynamics and pilot visibility
For optimal aerodynamics and clear visibility, you’ll want a canopy that is sleek and offers a wide field of view. The design of the canopy plays a crucial role in ensuring the efficiency and safety of a glider. The sleek shape minimizes drag, allowing the glider to slice through the air with minimal resistance. At the same time, the wide field of view provided by the canopy allows the pilot to have a clear and unobstructed view of the surroundings, which is essential for navigation and situational awareness. To illustrate this, let’s take a look at the following table that compares different canopy designs and their impact on pilot visibility:
| Canopy Design | Field of View |
|---|---|
| Conventional | Limited |
| Bubble | Wide |
| Teardrop | Moderate |
| Tandem | Split |
With a sleek and wide-view canopy, pilots can confidently navigate through the skies, making it easier to spot landmarks and other aircraft. Now, let’s move on to the essential instruments for navigation and flight control.
Essential instruments for navigation and flight control
Having examined the canopy and its importance for aerodynamics and pilot visibility, let’s now shift our focus to the essential instruments that enable navigation and flight control in a glider.
These instruments play a crucial role in ensuring safe and efficient flying. The altimeter, for instance, provides accurate altitude information, allowing the pilot to maintain the desired height. The variometer measures the rate of climb or descent, aiding in finding thermals and maximizing lift. Additionally, the airspeed indicator helps the pilot maintain the optimal speed for efficient flight. The compass provides directional information, while the turn and bank indicator assists in coordinated turns.
These instruments work in harmony to provide pilots with the necessary data for smooth navigation and precise flight control. With these instruments at their disposal, pilots can confidently maneuver their gliders through the skies.
Now, let’s delve into the landing gear and braking systems, essential components for safe ground operations.
The Landing Gear and Braking Systems
As a glider pilot, understanding the different types of landing gear is crucial for a safe and successful landing. The landing gear typically consists of a main wheel or skid, a tail wheel or skid, and sometimes additional auxiliary wheels.
The type of landing gear used can vary depending on factors such as the size and weight of the glider, as well as the type of terrain it will be landing on. Additionally, the braking mechanisms play a vital role in bringing the glider to a stop after landing.
These mechanisms can range from simple wheel brakes to more advanced systems such as airbrakes or spoilers. The effectiveness of the braking system is essential for maintaining control and ensuring a smooth and timely stop, especially in challenging landing conditions.
Different types of landing gear
The glider’s landing gear includes various types, such as retractable and fixed. The landing gear is a crucial component of a glider, responsible for providing support and stability during takeoff, landing, and ground operations. The different types of landing gear serve different purposes and are designed to suit specific glider models and operating conditions.
Retractable landing gear, as the name suggests, can be retracted or extended as needed. This type of landing gear is commonly found in high-performance gliders, allowing for reduced drag during flight. On the other hand, fixed landing gear remains in a fixed position throughout the flight and is more commonly seen in gliders designed for training or recreational purposes.
Regardless of the type, landing gear components consist of wheels, struts, shock absorbers, and associated mechanisms. These components work together to ensure a smooth and controlled landing, absorbing the impact forces and providing stability on the ground.
Now, let’s transition into the subsequent section about the braking mechanisms and their importance in gliders.
Braking mechanisms and their importance
One important aspect of a glider’s landing gear is the braking mechanism, which helps to slow down and stop the glider during landing. The braking efficiency of a glider is crucial for a smooth and safe landing.
Various techniques are employed to achieve effective braking. One common technique is the use of wheel brakes, which are typically operated by the pilot using a hand lever or pedals. These brakes apply friction to the wheels, converting the kinetic energy of the glider into heat energy, thereby reducing its speed.
Another technique is the use of drag devices, such as air brakes or spoilers, which increase the drag on the glider and help in slowing it down. These braking techniques, when employed correctly, ensure a controlled and precise landing.
Transitioning into the subsequent section on safety measures and emergency systems, it is important to consider these aspects to ensure the overall safety of a glider.
Safety Measures and Emergency Systems
When it comes to safety measures and emergency systems in a glider, two key points to consider are parachutes and emergency landing procedures, as well as radio communication and distress signals.
Parachutes play a crucial role in ensuring the safety of the pilot and passengers in the event of a critical situation, allowing them to safely escape the glider and descend to the ground.
Emergency landing procedures, on the other hand, are designed to guide the pilot in safely landing the glider in case of an unforeseen circumstance.
In addition, radio communication and distress signals are essential for effective communication with ground control and other aircraft, especially in emergency situations, allowing for prompt assistance and a quick response to any potential danger.
Parachutes and emergency landing procedures
In the event of an emergency, I can deploy a parachute to safely land the glider. Parachute deployment is a critical aspect of emergency landing techniques.
When faced with an imminent danger or loss of control, the pilot must act swiftly and decisively. The parachute system in a glider consists of a main parachute and a reserve parachute for added safety.
The main parachute is typically stored in a container behind the pilot’s seat and can be manually deployed by pulling a handle. In case of a failed main parachute deployment, the pilot can rely on the reserve parachute as a backup.
It is essential for pilots to undergo proper training and familiarize themselves with the emergency landing procedures to ensure a successful outcome.
Now, let’s delve into the next section on radio communication and distress signals.
Radio communication and distress signals
Communication via radio and distress signals are vital for pilots to effectively communicate with air traffic control and other aircraft in emergency situations. Radio communication is the primary method used by pilots to relay important information, such as their position, intentions, and any issues they may be facing.
Distress signals, on the other hand, are used to indicate that the aircraft is in immediate danger and requires urgent assistance. These signals can include flashing lights, distress calls, or activating emergency locator transmitters. It is crucial for pilots to be knowledgeable about the correct procedures and protocols for radio communication and distress signals to ensure effective communication and prompt response in emergency situations.
Moving on to maintenance and inspections, regular checks and thorough inspections are necessary to ensure the safe and efficient operation of a glider.
Maintenance and Inspections
As a glider pilot, it’s essential to understand the importance of regular maintenance routines and the significance of inspecting and repairing critical components.
By adhering to a strict maintenance schedule, I can ensure that my glider is in optimal condition for safe and efficient flights.
Inspecting and repairing critical components, such as the control surfaces and the landing gear, allows me to identify and address any potential issues before they become a safety hazard.
Regular maintenance routines
Make sure you’re regularly checking and maintaining the glider to ensure optimal performance. Regular maintenance routines are essential to keeping your glider in top condition and preventing potential issues.
By following a few troubleshooting techniques, you can identify and address any problems before they become major concerns. Firstly, inspect the wing and control surfaces for any signs of wear or damage. Check the cables and connections to ensure they are secure and functioning properly.
Next, examine the landing gear and wheels for any signs of wear or damage. Additionally, inspect the fuselage for any cracks or structural issues. By regularly conducting these maintenance checks, you can ensure the safety and longevity of your glider.
Moving forward, let’s dive into inspecting and repairing critical components of the glider.
Inspecting and repairing critical components
After conducting regular maintenance routines, it is crucial to inspect and repair critical components of a glider to ensure optimal performance and safety. Inspecting techniques involve a meticulous examination of various parts, including the wings, control surfaces, and landing gear. Here are three key steps to follow during the inspection process:
- Visual Inspection: Thoroughly examine each component for any signs of wear, corrosion, or damage.
- Functional Testing: Test the functionality of control surfaces, landing gear, and other critical systems to ensure proper operation.
- Documentation: Maintain a detailed record of the inspection findings and any necessary repairs or replacements.
When it comes to repairing tools, having a well-equipped toolkit is essential. It should include items such as wrenches, screwdrivers, and specialized glider repair tools. These tools enable efficient repairs and replacements, ensuring the glider is in optimal condition.
Transitioning into the subsequent section on advanced glider technology and future developments, it is important to explore how these inspections and repairs contribute to enhancing the overall performance and safety of gliders.
Advanced Glider Technology and Future Developments
You’ll be amazed at the advanced glider technology and future developments that are revolutionizing the industry. As a glider enthusiast and engineer, I have had the privilege of witnessing the remarkable advancements in materials and propulsion systems that are shaping the future of gliding.
One of the most significant advancements in glider technology is the development of advanced glider materials. These materials, such as carbon composites and lightweight alloys, offer exceptional strength-to-weight ratios, allowing for lighter and more efficient gliders. This means improved performance, increased maneuverability, and extended flight times.
In terms of future glider propulsion, the industry is exploring various innovative solutions. Electric propulsion systems are gaining popularity, offering quieter and more environmentally friendly alternatives to traditional engines. Additionally, research is being conducted on solar-powered gliders, which harness the sun’s energy to sustain flight for extended periods.
To give you a visual representation of these advancements, take a look at the table below:
| Advanced Glider Materials | Future Glider Propulsion |
|---|---|
| Carbon Composites | Electric Propulsion |
| Lightweight Alloys | Solar-powered Gliders |
| Improved Strength-to-Weight Ratios | Quieter and Environmentally Friendly |
| Enhanced Performance | Extended Flight Times |
These advancements in glider technology are not only exciting but also hold great potential for the future of aviation. As an engineer, I am thrilled to witness and contribute to the ongoing development of these technologies, pushing the boundaries of what is possible in glider design and performance.
Frequently Asked Questions
What are the different types of gliders commonly used in aviation?
The different types of gliders commonly used in aviation include sailplanes, motor gliders, and ultralight gliders. Each type has its own advantages and disadvantages, and training requirements, regulations, and safety measures are in place to ensure safe operations.
How long does it take to learn how to fly a glider?
Learning how to fly a glider involves a structured learning process that includes understanding the principles of flight, mastering glider flying techniques, and gaining practical experience. The duration varies depending on individual progress and dedication.
What are the main differences between glider flight and powered flight?
In glider flight, the main difference from powered flight lies in the absence of an engine. Glider performance is solely dependent on the aerodynamics of glider flight, utilizing air currents and gravity for sustained flight.
Are gliders used for any specific purposes other than recreational flying?
Gliders serve various purposes beyond recreational flying. They have commercial applications in crop dusting, aerial photography, and surveying. Additionally, gliders have been utilized by the military for reconnaissance and training exercises.
What are the safety regulations and requirements for operating a glider?
When operating a glider, there are safety regulations and requirements that must be followed. These include understanding the different glider types, learning to fly, and knowing the differences between glider and powered flight. Gliders are also used for recreational flying and other purposes.
Conclusion
In conclusion, understanding the anatomy of a glider is crucial for any aspiring pilot.
While some may argue that the complexities of the various components make flying a glider difficult, it is important to remember that with proper training and practice, anyone can master the art of glider flight.
The beauty of soaring through the sky, effortlessly riding the thermals, is a sensation like no other.
So, embrace the challenge, push past any initial reservations, and prepare to experience the incredible freedom that comes with piloting a glider.
