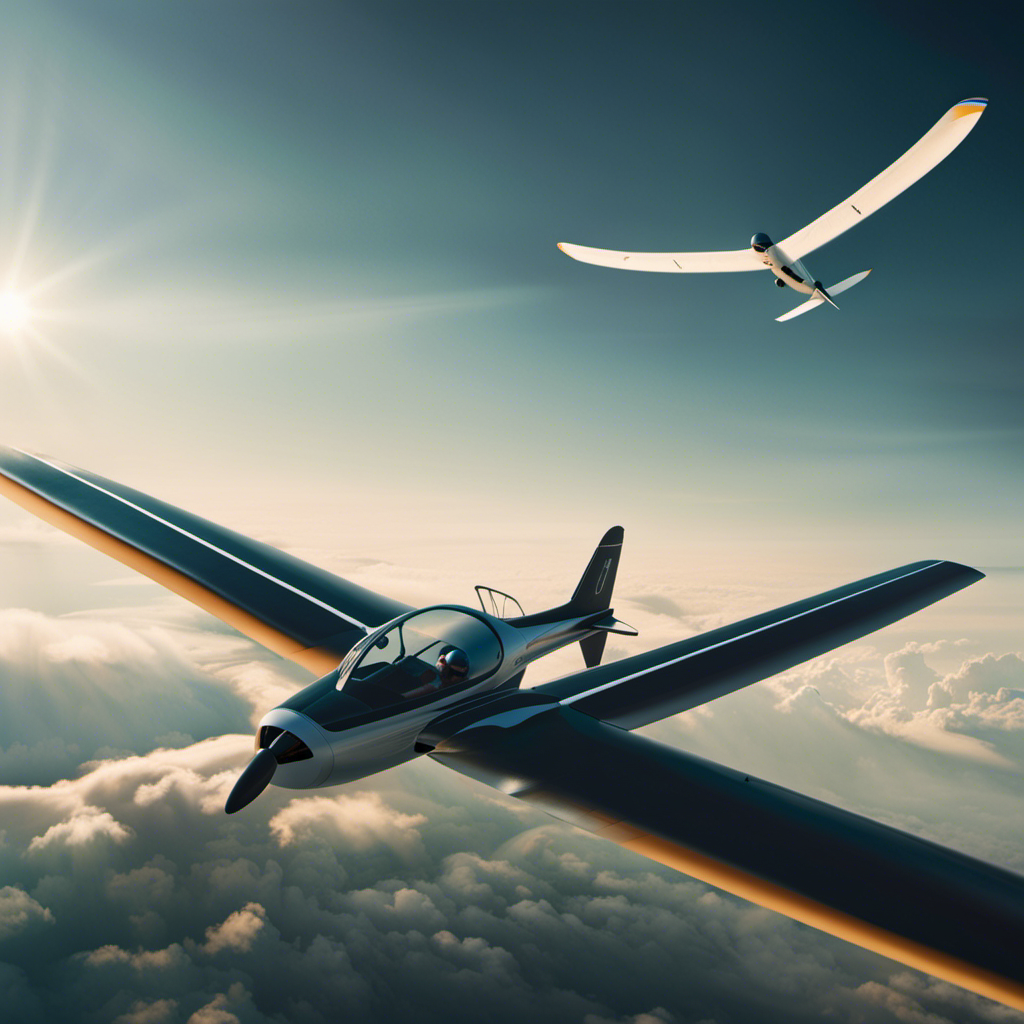
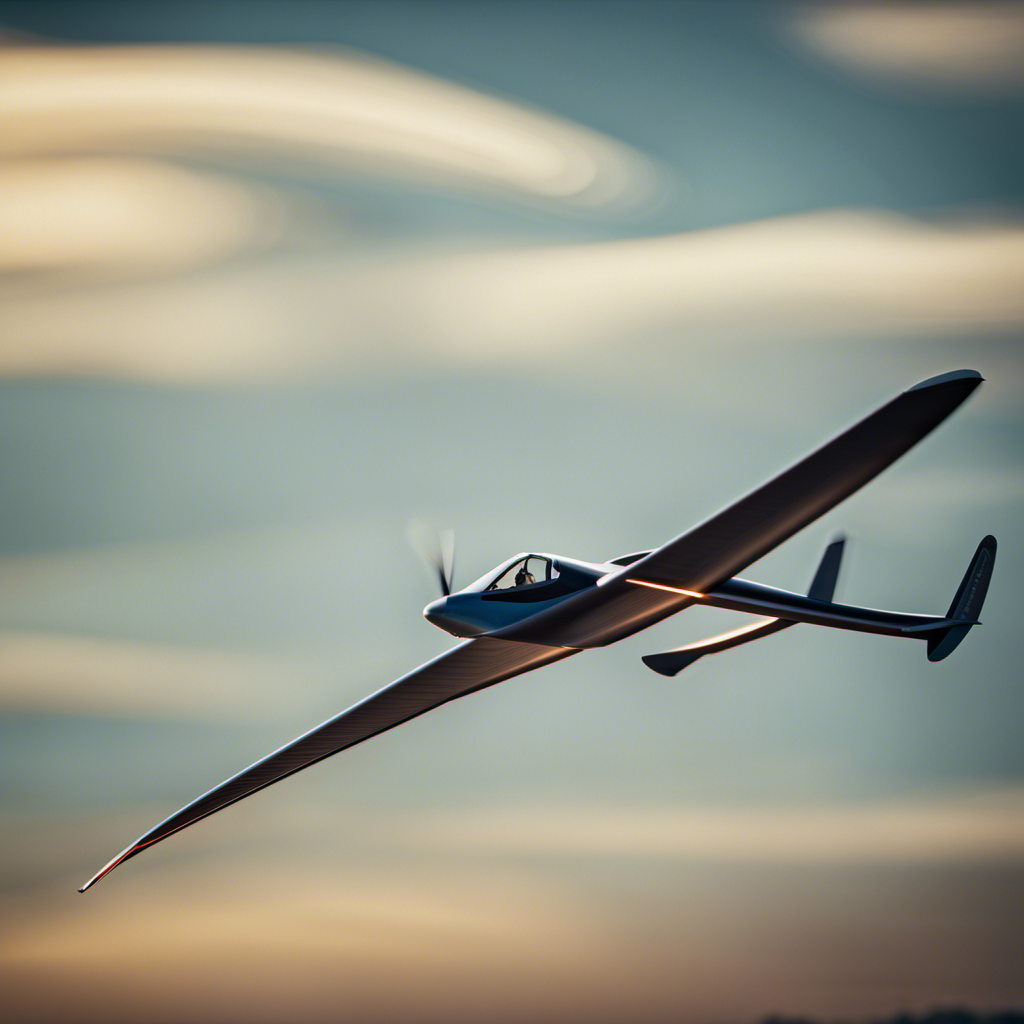
As a glider pilot, I am fascinated by the intricate mechanics of takeoff. It’s like releasing a bird to soar gracefully through the skies, effortlessly riding the currents of air.
In this step-by-step guide, I will walk you through the precise techniques and preparations required for a successful glider takeoff. From the design and construction of the glider to the adjustments of controls for maximum efficiency, we will explore every aspect of this exhilarating process.
Get ready to embark on an extraordinary journey into the mechanics of glider takeoff.
Key Takeaways
- Identify thermals and utilize them for gaining altitude during takeoff.
- Pay attention to ridge lift along windward side of hills or mountains.
- Maintain consistent airspeed for optimal climb performance.
- Adjust controls and trim settings to maximize efficiency during takeoff.
The Basics of Glider Design and Construction
To begin, let’s take a closer look at the basics of glider design and construction.
Glider aerodynamics play a crucial role in its performance. The shape of the wings, also known as the airfoil, determines how the glider interacts with the air. A well-designed airfoil creates lift, allowing the glider to stay airborne.
Additionally, the wingspan and aspect ratio impact the glider’s performance. A longer wingspan provides more lift and better glide ratio, while a lower aspect ratio improves maneuverability.
The fuselage, or body of the glider, is designed to be sleek and streamlined to minimize drag. Structural components such as the wing spars and fuselage frames ensure the glider’s integrity during flight. Materials used, such as carbon fiber or fiberglass, are chosen for their strength-to-weight ratio.
The control surfaces, including ailerons, elevators, and rudders, enable the pilot to maneuver the glider.
In conclusion, understanding the principles of glider design and construction, such as aerodynamics and performance factors, is fundamental to successfully operating a glider.
Now, let’s move on to the next section, which covers pre-flight preparations and safety checks.
Pre-Flight Preparations and Safety Checks
Before starting your flight, it’s important to perform pre-flight preparations and safety checks. These essential steps ensure that the glider is in optimal condition and that all safety measures are in place.
Firstly, I carefully inspect the flight instruments, ensuring that they are functioning correctly and accurately calibrated. This includes checking the altimeter, airspeed indicator, and variometer.
Next, I confirm that the emergency procedures are easily accessible and that I am familiar with them. This includes knowing how to deploy the emergency parachute and understanding the proper procedures for handling in-flight emergencies.
Afterward, I conduct a thorough inspection of the glider, checking for any signs of damage or wear. I examine the wing structure, control surfaces, and landing gear, ensuring that everything is secure and in proper working order.
Lastly, I verify that the cockpit is clean and free from any loose objects that could potentially interfere with the flight controls.
With these pre-flight preparations and safety checks complete, I can confidently move on to the next stage of the glider takeoff process: taxiing to the takeoff point.
Taxiing to the Takeoff Point
As I prepare for takeoff, I smoothly guide the glider along the taxiway towards the designated takeoff point. This phase of the pre-flight process requires a careful execution of taxiing techniques and adherence to runway etiquette. Here are some key considerations:
-
Maintain a steady speed: I keep a constant speed while taxiing to ensure stability and control. Sudden accelerations or decelerations can lead to instability and may compromise safety.
-
Observe the runway markings: I pay close attention to the markings on the taxiway, following the designated path and avoiding any areas that are off-limits or reserved for other aircraft.
-
Communicate effectively: I use the radio to communicate my intentions to the air traffic control, ensuring that I am aware of any other aircraft in the vicinity and coordinating my movements accordingly.
-
Give way to larger aircraft: I yield the right of way to larger and faster aircraft, making way for them to pass safely. This promotes a smooth flow of traffic and prevents any potential conflicts on the taxiway.
-
Maintain situational awareness: I constantly scan the surroundings, keeping an eye out for any obstacles or potential hazards. This helps me anticipate any challenges and react promptly to ensure a safe taxiing experience.
As I approach the end of the taxiway, I smoothly transition into the subsequent section about positioning for takeoff, ready to embark on the next phase of the glider takeoff process.
Positioning for Takeoff
Once I’ve reached the end of the taxiway, I smoothly transition into the positioning for takeoff. This is a crucial step in preparing for a successful glider takeoff. Positioning for takeoff involves aligning the glider with the desired takeoff direction, taking into account the wind direction and other factors. To illustrate this process, I have created a table below:
| Takeoff Speed | Wind Direction |
|---|---|
| High | Headwind |
| Medium | Crosswind |
| Low | Tailwind |
Determining the appropriate takeoff speed is essential for a safe and efficient departure. The speed will depend on the wind direction. If there is a headwind, a higher takeoff speed is recommended to generate additional lift. In the case of a crosswind, a medium takeoff speed is appropriate to maintain control during the initial climb. However, if there is a tailwind, a lower takeoff speed is advised to prevent excessive groundspeed.
Applying the Correct Takeoff Technique
To ensure a successful takeoff, you need to apply the correct technique by maintaining a steady climb and adjusting your controls as needed.
The first key element in achieving a proper takeoff is attaining the correct takeoff speed. This speed is vital as it allows the glider to generate enough lift to become airborne. By carefully monitoring the airspeed indicator, you can ensure that you reach the recommended takeoff speed, which may vary depending on factors such as wind conditions and the specific glider model.
Another crucial aspect of executing a successful takeoff is maintaining proper balance. This entails ensuring that the glider remains centered and aligned with the runway throughout the process. By carefully adjusting the rudder and ailerons, you can counteract any crosswinds or other external forces that may try to disrupt the balance of the glider. This not only enhances the safety of the takeoff but also contributes to a smoother and more controlled ascent.
Lastly, applying the correct takeoff technique requires a focused and disciplined mindset. Maintaining a calm and confident demeanor can significantly enhance your ability to make quick and precise adjustments during the takeoff process. By staying focused on the task at hand and trusting in your training and skills, you can overcome any challenges that may arise during the takeoff phase.
Gaining Altitude and Establishing a Climb
Maintaining the correct speed and balance are crucial for gaining altitude and establishing a climb in a glider. Gaining altitude techniques involve utilizing the surrounding air currents and understanding how to optimize climb performance.
To gain altitude, I first need to identify areas of rising air known as thermals or updrafts. By flying into these thermals, I can take advantage of the upward movement of air and gain altitude without using any external power.
Additionally, ridge lift can be utilized by flying along the windward side of a hill or mountain, where the air is forced to rise. This technique allows for a continuous climb as long as the wind is blowing against the slope.
Establishing a climb involves maintaining a consistent airspeed, typically referred to as the best glide speed, to optimize the lift-to-drag ratio. This ensures that the glider remains in the most efficient portion of the flight envelope.
Adjusting Controls for Maximum Efficiency
When adjusting controls for maximum efficiency, it’s important to find the sweet spot that allows the glider to maintain optimal performance. This involves fine-tuning the trim settings and controlling the airspeed to achieve the perfect balance. Here are some key considerations:
-
Adjusting Trim:
-
Gradually adjust the elevator trim to find the ideal setting.
-
Pay close attention to the glider’s response to changes in trim.
-
Aim for a trim position that keeps the glider flying level with minimal control input.
-
Controlling Airspeed:
-
Use the airspeed indicator to monitor the glider’s speed.
-
Maintain a steady airspeed within the recommended range.
-
Adjust the elevator control to control the glider’s pitch and, consequently, the airspeed.
-
Fine-Tuning:
-
Continuously assess the glider’s performance and make small adjustments as needed.
-
Experiment with different trim settings to find the most efficient configuration.
-
Regularly monitor the airspeed and make corrections to maintain optimal performance.
Soaring Techniques and Finding Thermals
By understanding the principles of soaring and learning how to identify thermals, you can significantly increase your chances of achieving longer and more successful glider flights. Soaring techniques involve harnessing the power of rising air currents to gain altitude and extend your flight time. One of the key techniques is reading thermals, which are columns of warm air that rise from the ground. These thermals provide the necessary lift for gliders to stay aloft.
To effectively read thermals, it is important to observe the surrounding environment and look for certain indicators. These include the presence of cumulus clouds, which often form above thermals, and the behavior of birds, as they are skilled at finding and riding thermals. Additionally, the wind direction and speed can give you clues about the location and strength of thermals.
Here is a table summarizing some key aspects of soaring techniques and reading thermals:
| Soaring Techniques | Reading Thermals |
|---|---|
| Positioning the glider in areas of known lift | Observing cumulus clouds |
| Using ridge lift near hills and mountains | Noticing bird activity |
| Following converging air currents | Monitoring wind direction and speed |
By mastering these soaring techniques and becoming proficient in reading thermals, you can optimize your glider flights and maximize your time in the air. Now, let’s move on to the next section on navigation and flight planning.
In the subsequent section on navigation and flight planning, we will explore how to effectively chart your course and make strategic decisions during your glider flight.
Navigation and Flight Planning
To effectively navigate and plan your glider flight, it is important to consider factors such as weather conditions, airspace restrictions, and available landing options.
Before takeoff, I carefully review the weather conditions using flight instruments such as an altimeter, variometer, and a compass. The altimeter provides me with accurate altitude information, helping me avoid airspace restrictions and maintain a safe flying altitude. The variometer alerts me to changes in vertical speed, indicating the presence of thermals or sink, which are crucial for glider pilots to gain or lose altitude. Additionally, the compass helps me maintain the correct heading and navigate to specific waypoints or landing areas.
I analyze the weather conditions by monitoring wind speed, direction, and temperature. This information allows me to assess the potential for thermal activity and determine the best route to follow. Stronger winds can indicate the presence of ridge lift, while calm conditions may suggest a reliance on thermals. By understanding the weather patterns, I can make informed decisions about when to launch and how to optimize my flight.
As I consider these factors, I also evaluate the available landing options. Identifying suitable landing areas along my planned route is essential for safety. In case of unexpected weather changes or equipment failures, having multiple landing options ensures that I can safely land the glider. I look for open fields, airports, or designated landing sites that are easily accessible and free from obstacles.
Considering flight instruments, weather conditions, and available landing options allows me to effectively navigate and plan my glider flight. With this information at hand, I am prepared to proceed into the subsequent section about landing the glider safely.
Landing the Glider Safely
After meticulously planning our navigation and flight route, it’s time to focus on the most critical aspect of any flight: landing the glider safely. As a pilot, my primary goal is to ensure a smooth and controlled descent, avoiding crosswinds that could compromise the safety of the aircraft and its occupants.
To achieve a safe landing, I follow a set of emergency landing procedures that have been ingrained in my training and experience. These procedures are designed to handle any unforeseen circumstances that may arise during the landing phase.
Here are two key aspects of landing the glider safely:
- Avoiding Crosswinds: Crosswinds can pose a significant challenge during landing, as they can cause the glider to drift off course and potentially lead to a loss of control. To counteract crosswinds, I employ the following techniques:
- Adjusting the approach angle to compensate for the wind direction.
- Applying appropriate control inputs, such as aileron and rudder deflections, to maintain alignment with the runway.
- Emergency Landing Procedures: In the event of an emergency, it is crucial to stay calm and follow the established emergency landing procedures. These procedures may include:
- Identifying a suitable landing area, such as a nearby field or open space.
- Communicating the emergency situation to air traffic control and other nearby aircraft.
- Executing a controlled descent and landing, taking into account the specific emergency situation.
Frequently Asked Questions
How long does it typically take to construct a glider?
The construction time of a glider can vary depending on factors such as experience and available resources. Generally, it takes several weeks to months to construct a glider using materials like wood, fabric, and metal.
What are the most common pre-flight safety checks for a glider?
As a glider pilot, I always make sure to perform a thorough pre-flight inspection before takeoff. This includes checking the control surfaces, inspecting the canopy, testing the emergency systems, and ensuring proper weight and balance. These safety measures are crucial for a safe flight.
How do you determine the proper takeoff point for a glider?
When determining the takeoff point for a glider, wind considerations play a crucial role. Understanding the wind direction and speed is essential for a successful launch, ensuring optimal lift and safety during takeoff.
Are there any specific tips for maximizing altitude gain during takeoff?
To maximize altitude gain during takeoff, I suggest employing specific tips and techniques. By utilizing these strategies, you can soar to new heights and reach the skies with unparalleled grace and efficiency.
What are some common mistakes to avoid when landing a glider safely?
When landing a glider safely, it is crucial to avoid accidents by employing proper landing techniques. This includes maintaining a controlled descent rate, aligning with the runway, and smoothly transitioning from gliding to touchdown.
Conclusion
In conclusion, mastering the mechanics of glider takeoff is like orchestrating a symphony of precision and finesse.
From the careful construction and design of the glider to the meticulous pre-flight preparations and safety checks, every step is crucial.
Taxiing to the takeoff point requires a delicate touch, positioning oneself perfectly for that moment of flight.
With the correct takeoff technique and adjustments to the controls, the glider soars effortlessly, dancing with the wind.
Navigating through thermals and planning the flight path becomes a thrilling adventure, while the landing is executed with grace and precision.
The world of glider takeoff is a mesmerizing ballet of technicality and skill, offering a truly unique and exhilarating experience.
With a heart that soars as high as the skies, Aria, affectionately known as “Skylark,” is the driving force behind Soaring Skyways. Her journey into the gliding world began as a young dreamer gazing up at the soaring birds, yearning to experience the weightlessness and freedom they embodied. With years of experience both in the cockpit and behind the scenes, Aria’s commitment to the gliding community is unwavering.


