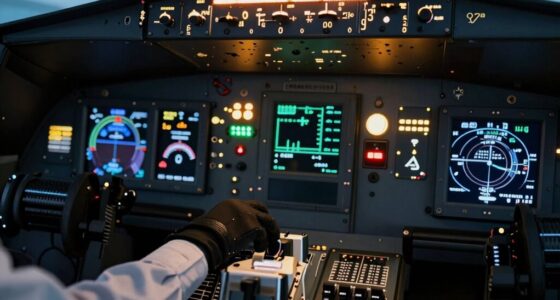
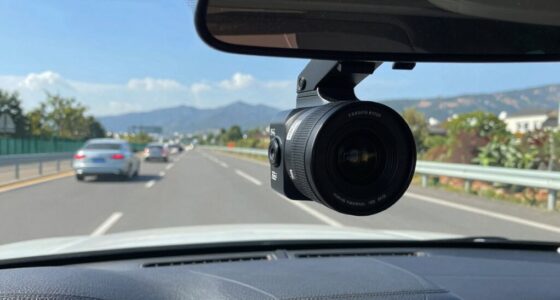
When mounting a camera in an aircraft, you need to carefully consider weight and balance to maintain safe flight dynamics. Choose strong, lightweight materials that won’t damage surfaces or interfere with controls. Make certain your mount is vibration-resistant and can handle the loads during turbulence and maneuvers. Regularly inspect and securely attach the system to prevent hazards. If you keep these points in mind, you’ll ensure both stability and safety throughout your flight.

Get travel and outdoor gear delivered free with Prime
- Fast, free delivery on millions of items
- Prime Video, Amazon Music and more included
- Member-only deals all year
Key Takeaways
- Assess and balance the camera’s weight to ensure it does not disrupt aircraft stability or obstruct controls.
- Use lightweight, durable mounting materials like carbon fiber, verifying compatibility with aircraft surfaces.
- Select vibration-resistant mounts with shock absorption to maintain footage quality and prevent damage.
- Ensure secure attachment with quick-release systems for easy adjustments and thorough pre-flight inspections.
- Follow manufacturer load guidelines and regularly check mounts for stability and safety before each flight.
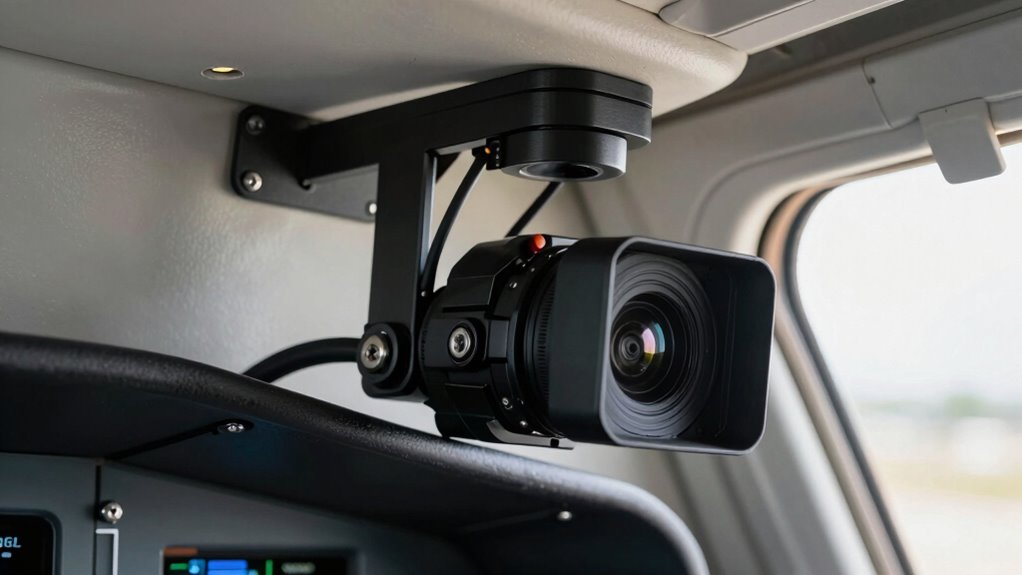
Mounting a camera in an aircraft requires careful planning to guarantee safety and stability during your flight. You need to think about how the camera’s weight affects the aircraft’s overall balance. Proper weight distribution is essential because even a small shift can impact flight dynamics, fuel efficiency, and safety. Before you install anything, evaluate the camera’s weight relative to the aircraft’s weight capacity. If it’s too heavy or unevenly placed, it could cause undesirable shifts in the center of gravity. To avoid this, select a mounting location that keeps the weight balanced and does not interfere with the pilot’s view or aircraft controls.
Proper weight balance is crucial for safe, stable aircraft camera mounting without interfering with controls or pilot visibility.
Choosing the right mounting material is equally important. It should be strong enough to withstand the forces of turbulence, acceleration, and deceleration during the flight. Lightweight materials like carbon fiber or specialized plastics often work well because they add minimal weight but provide durability. Metal brackets or mounts made of aluminum can also be effective, but they tend to be heavier. Regardless of your choice, verify the mounting material is compatible with the aircraft’s interior and won’t damage surfaces or interfere with existing systems.
When planning your setup, consider how the camera will be attached. A secure, vibration-resistant mount minimizes shake and ensures high-quality footage. Vibration can be a major issue in aircraft, so look for mounts that include shock absorbers or damping features. Additionally, check that the mounting material is compatible with your camera’s weight and size. Overloading a mount can lead to failure mid-flight, which poses safety hazards. Always follow the manufacturer’s guidelines for maximum load capacity. Being aware of aircraft weight limits can help you avoid overloading your mounting setup. It’s also advisable to perform a pre-flight inspection of the entire system to catch any potential issues before takeoff. Conducting a thorough system check ensures that all components are functioning properly and reduces the risk of problems during flight.
You should also think about the ease of installation and removal. A good mounting system allows quick access in case you need to adjust or remove the camera. This flexibility is especially useful for maintenance or if flight conditions change unexpectedly. Keep in mind that a poorly secured camera or inappropriate mounting material can become a hazard, especially during turbulence or sudden maneuvers. Regularly inspect the mount before each flight to verify it remains tight and stable. Additionally, understanding the importance of biodiversity preservation can remind us of the need for responsible and safe practices in all activities, including aerial filming. A thorough pre-flight check of all components can help prevent mount failure and ensure safety during your flight.
aircraft camera mounting bracket
As an affiliate, we earn on qualifying purchases.
As an affiliate, we earn on qualifying purchases.
Frequently Asked Questions
What Types of Cameras Are Best Suited for Aircraft Mounting?
You should choose lightweight, compact cameras like action or mirrorless models for aircraft mounting, as they adapt well to various camera mounting angles. Make sure your mounting equipment is durable and secure to handle turbulence and vibrations. Go for cameras with sturdy housings and reliable mounts to prevent damage. This combination guarantees stable footage, minimizes risk, and keeps your camera safe during flight, making your aerial shots clear and professional.
How Does Camera Weight Affect Aircraft Flight Performance?
Camera weight considerably impacts your aircraft’s flight performance by affecting weight distribution and the center of gravity. Heavier cameras can shift the center of gravity, making the aircraft less stable and harder to control. To guarantee safe and efficient flight, you should carefully consider the camera’s weight, position it properly to maintain balanced weight distribution, and keep the center of gravity within recommended limits, preventing performance issues or potential safety hazards.
Are There Legal Restrictions on Camera Mounting During Flights?
You need to know that FAA regulations govern camera mounting during flights, ensuring safety and compliance. You can’t just attach a camera anywhere; you’ll likely need mounting permits, especially for larger or external setups. Think of the airplane as a delicate ballet dancer — every addition must be carefully coordinated. Failing to follow these rules could lead to fines or safety hazards, so always check with aviation authorities before mounting your camera.
How to Ensure Camera Stability During Turbulent Conditions?
You can guarantee camera stability during turbulence by securing your camera tightly with vibration-dampening mounts and adjusting mounting angles to minimize movement. Use shock-absorbing pads or mounts designed for aircraft to reduce camera vibration, and double-check all fastenings before flight. During turbulence, avoid abrupt adjustments, and consider using stabilization gear or gimbals to keep footage steady. Proper setup prevents camera shake and captures smooth, high-quality footage.
What Safety Precautions Should Be Taken During Camera Installation?
You should prioritize safety by using proper safety harnesses during camera installation, ensuring they’re securely fastened. Carefully select camera placement to avoid interference with aircraft controls or safety equipment. Double-check all mounts and connections before flight, and follow manufacturer guidelines for installation. It’s also wise to wear protective gear and have a trained professional oversee the process, reducing risks and ensuring a secure, safe setup throughout your flight.
Conclusion
Remember, mounting a camera in an aircraft is like anchoring a ship in a storm—you need solid, reliable support to keep everything steady. Always prioritize safety by choosing the right mounting points and securing your equipment properly. Think of it as weaving a safety net beneath delicate glassware—you want everything to stay intact no matter how turbulent the flight. With careful planning and attention, your camera will capture breathtaking views without becoming a flying hazard.
Columbus Day / Indigenous Peoples' Day Picks
long weekend sales
As an affiliate, we earn on qualifying purchases.