To set up a DIY tail-dolly on a budget, gather inexpensive materials like sturdy wood from thrift stores or online, and use affordable wheels and hardware. Design it to fit your space and needs, then assemble carefully, ensuring stability and smooth movement. Regularly test and adjust components for safety and performance. With careful planning and maintenance, your tail-dolly can last long and work effectively—if you want to see the full step-by-step process, keep exploring.
Key Takeaways
- Use affordable, durable materials like repurposed wood and budget-friendly wheels from hardware stores or thrift shops.
- Design a simple, stable frame that fits your space and project scale, avoiding unnecessary complex components.
- Opt for multipurpose tools and avoid specialty equipment; plan ahead to stay within budget during assembly.
- Regularly inspect, lubricate, and maintain components to prevent costly repairs and extend your dolly’s lifespan.
- Keep detailed notes on modifications and maintenance routines to improve efficiency and customize affordably over time.
Gathering Affordable Materials and Tools
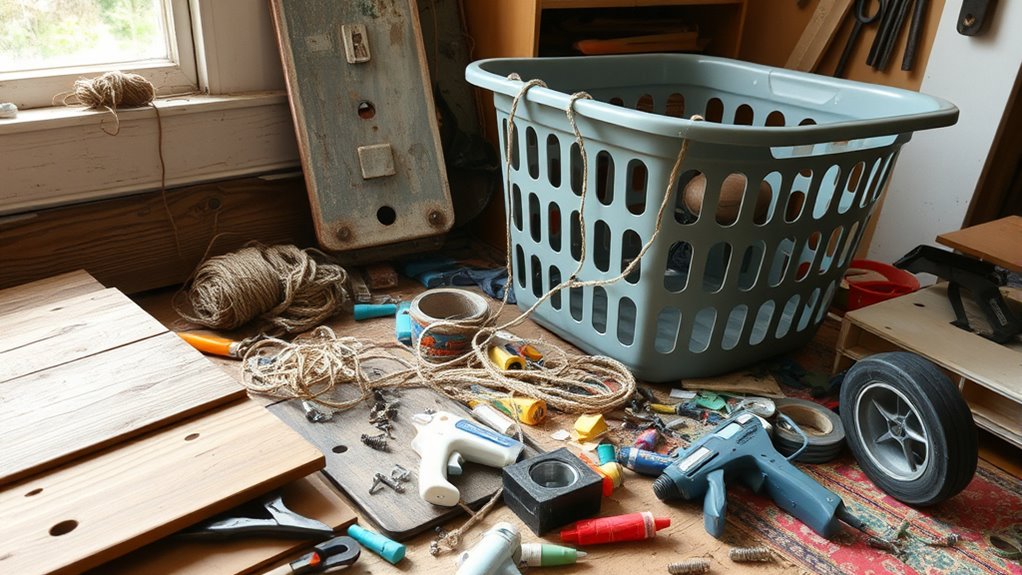
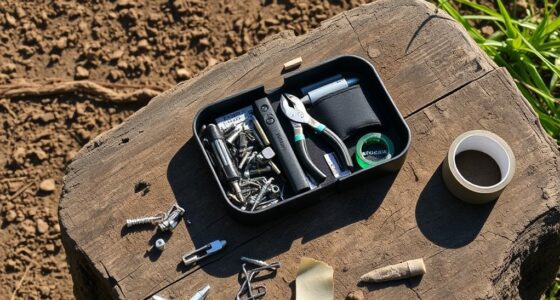
To build a cost-effective tail-dolly, you need to gather the right materials and tools without overspending. Start by researching cost effective alternatives that meet your project needs. Look for budget friendly tools at hardware stores, thrift shops, or online marketplaces—often, you can find quality items at a fraction of the price. Focus on essentials like sturdy wood, reliable wheels, and basic hardware such as bolts and brackets. Avoid fancy or specialty tools unless absolutely necessary; many can be replaced with multipurpose or older versions. Planning ahead helps you stick to your budget while ensuring you get durable, functional components. Being aware of potential cheating risks and how to prevent betrayal can help you make safer choices when sharing plans or personal information online. With careful selection of affordable materials and budget friendly tools, you’ll set a solid foundation for your DIY tail-dolly without breaking the bank.
Designing Your Tail‑Dolly for Your Layout
Designing your tail-dolly to match your layout starts with understanding the specific dimensions and space constraints of your project. Consider the scale modeling you want to achieve, ensuring the dolly complements your overall scene without overpowering it. Focus on aesthetic design by choosing materials and shapes that blend seamlessly with your existing setup. Think about how the tail-dolly will interact with other elements—will it need to navigate tight corners or handle specific track curves? Accurate measurements are key to creating a functional, realistic piece. Keep your design simple yet effective, prioritizing stability and visual harmony. Additionally, paying attention to craftsmanship and detailed finishing touches can make a significant difference in achieving a professional look. By planning carefully, you can craft a tail-dolly that enhances your layout’s realism without unnecessary complexity or cost.
Building the Frame: Step-by-Step Instructions
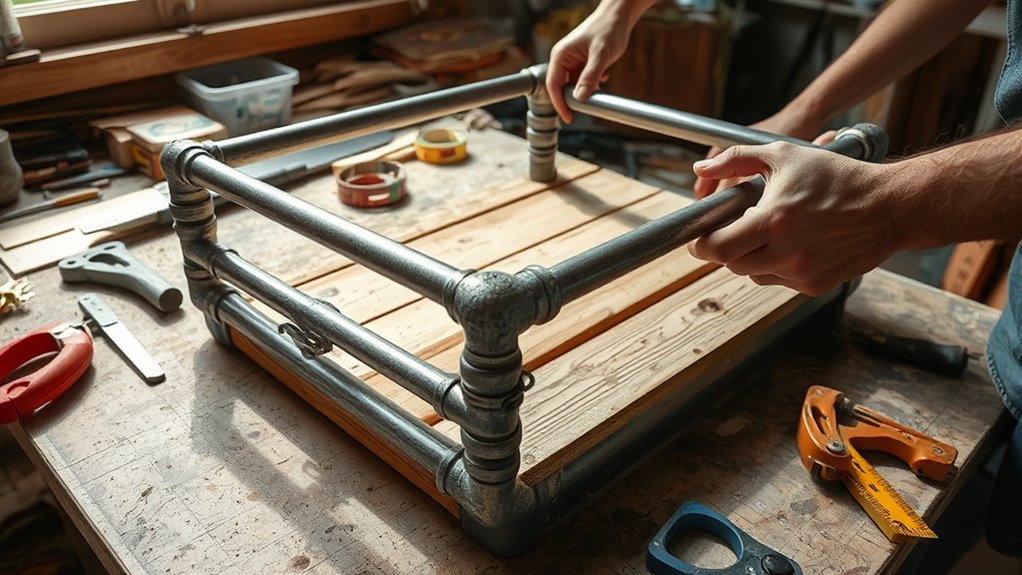
To construct a sturdy frame, you need to select suitable materials that match your project’s needs. Assemble the parts carefully, making sure everything fits together properly. Finally, secure the structure well to make certain it remains stable during use. Additionally, consider the weight of your materials to ensure the tail-dolly remains maneuverable and easy to handle.
Choosing Suitable Materials
Choosing the right materials for your tail-dolly frame is essential to guarantee durability and ease of construction. You want materials that withstand regular use while maintaining an aesthetic design. Opt for lightweight yet sturdy options to keep the build manageable. Consider using steel or aluminum for the frame, as they offer excellent material durability without adding unnecessary weight. Additionally, select rust-resistant coatings or treatments to prolong the lifespan. For aesthetic design, choose finishes or paints that match your project’s look. Think about compatibility with other components to ensure seamless assembly. Ultimately, balancing strength, appearance, and affordability will help you create a reliable, visually appealing tail-dolly that fits your budget. Incorporating protective styling benefits, such as corrosion resistance, can also extend the longevity of your frame.
Assembling the Frame
Are you ready to start assembling your tail-dolly frame? Begin with manual assembly, making sure you follow each step carefully. Start by connecting the main structural components, using your chosen materials for stability. Double-check your material selection to confirm they’re strong enough to handle the workload. Use appropriate fasteners and tools to secure joints tightly. Take your time aligning parts properly to prevent misfits. If you’re working with metal, consider welding or using durable bolts; for wood, screws or bolts work best. Keep your workspace organized to streamline the process. Remember, a solid frame is the foundation of your tail-dolly, so don’t rush. Focus on accuracy and quality during this stage to ensure a safe, reliable build. Incorporating AI-driven security systems can help monitor your workspace for safety hazards and optimize your assembly process.
Securing Structural Integrity
Have you made certain that all joints are properly secured before moving on? Ensuring your frame’s structural integrity is vital for safety and durability. Focus on correct weight distribution to prevent strain on any single part, which can cause failure. Use reinforcement techniques like adding braces or gussets at critical joints to enhance strength. Regularly check for loose connections and tighten as needed. Properly secured joints help maintain alignment under load, reducing wobble or collapse. Consider applying metal brackets or welding where necessary for added stability. Also, double-check that all fasteners are tight and corrosion-resistant. These steps guarantee your DIY tail-dolly can handle the weight and stress during operation, providing a safe, reliable setup for your projects. Incorporating proper joint reinforcement techniques can significantly improve overall stability and longevity.
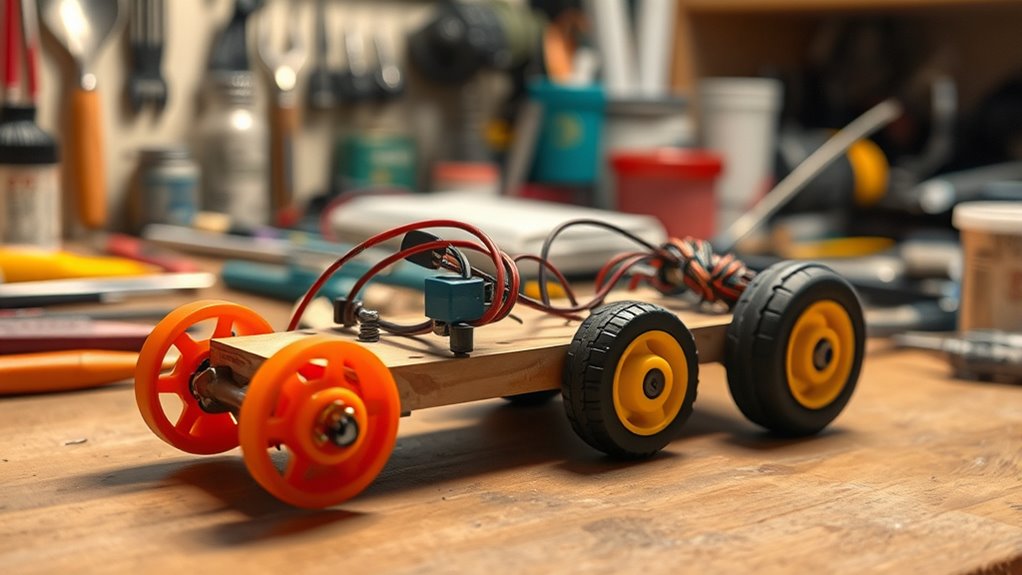
Adding Wheels and Connectors for Smooth Operation
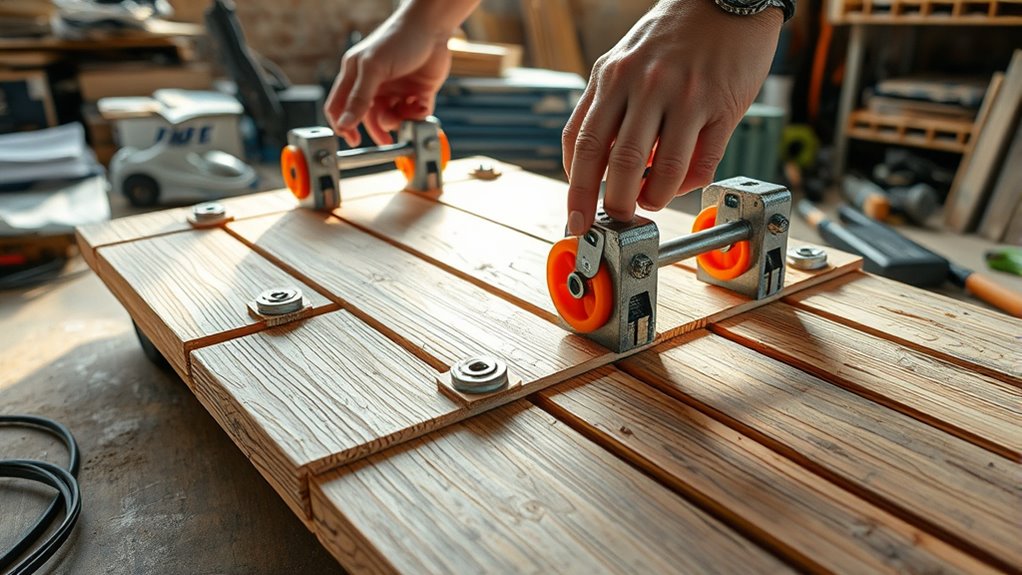
To guarantee your tail-dolly glides smoothly during movement, adding sturdy wheels and reliable connectors is essential. Choose wheels with good wheel alignment to prevent wobbling and ensure easy steering. For connectors, explore different connector types like swivel or fixed joints, depending on your maneuverability needs. Proper attachment secures the wheels and prevents accidents. Additionally, considering projector technology can help you select components that complement your setup and ensure durability over time. Properly aligned wheels and suitable connectors make a noticeable difference in performance.
Testing and Adjusting Your DIY Tail‑Dolly
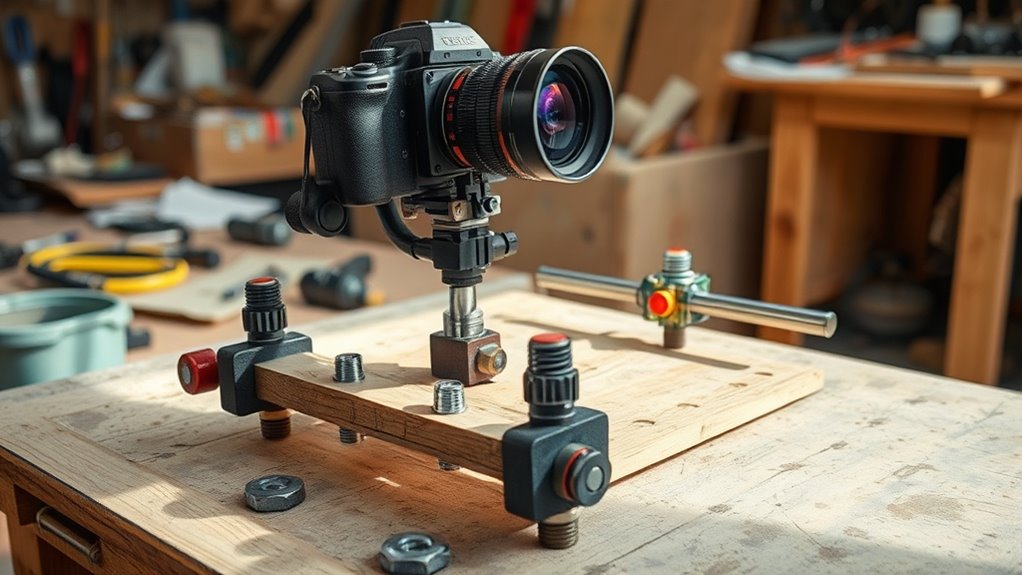
Before using your DIY tail-dolly, it’s essential to test its performance and make necessary adjustments. Start by observing how smoothly it moves under motorized control, ensuring the wheels and connectors function properly. Check for any wobbling or misalignment that could affect stability. Always follow safety precautions—wear protective gear and keep clear of moving parts during tests. Adjust the tension on the connectors if needed, and verify that the motorized control responds accurately to commands. Test the braking system to confirm it holds the load securely. Regularly inspecting these elements helps prevent accidents and ensures reliable operation. Additionally, paying attention to component stability can help identify potential issues before they cause problems. Remember, thorough testing and fine-tuning now save you time and trouble later, keeping your DIY tail-dolly safe and efficient.
Tips for Customizing and Maintaining Your Setup

Customizing and maintaining your DIY tail-dolly guarantees it stays reliable and performs at its best. To keep it in top shape, embrace innovative modifications that improve stability and ease of use. Experiment with adjustable components or lightweight materials to enhance functionality without overspending. Establish regular maintenance routines, such as inspecting bolts, lubricating moving parts, and checking for wear and tear. These proactive steps prevent breakdowns and extend your setup’s lifespan. Keep detailed notes on modifications and maintenance schedules, so you can quickly identify what works best. Staying proactive with your upkeep ensures your tail-dolly remains safe, efficient, and tailored to your specific needs. Additionally, consulting Support Hours and operating schedules can help you plan maintenance during less busy times, avoiding disruptions. With thoughtful customization and consistent care, you’ll maximize your investment and enjoy smooth, reliable operation every time.
Frequently Asked Questions
What Are the Safest Materials to Use for a DIY Tail-Dolly?
When considering the safest materials for a DIY tail-dolly, prioritize material safety and structural integrity. Use sturdy, non-toxic wood like plywood or hardwood, ensuring it’s free from splinters and harmful chemicals. Metal components, such as steel or aluminum, offer strength and durability, but make sure they’re rust-proof and securely fastened. Avoid cheap, flimsy materials that can compromise safety. Always inspect your materials thoroughly before use to guarantee a safe, reliable setup.
How Can I Ensure My Tail-Dolly Supports Heavy Loads?
To guarantee your tail-dolly supports heavy loads, focus on proper weight distribution and load capacity. You should evenly distribute weight across the dolly to prevent strain on any single point. Use sturdy materials that can handle maximum load capacity, and reinforce joints and wheels for added strength. Regularly check for wear and damage, and avoid exceeding the dolly’s weight limits to maintain safety and durability during use.
Are There Budget-Friendly Alternatives to Professional Tools?
You can find budget tools or use alternative materials to build a DIY tail-dolly. Look for affordable, sturdy tools at hardware stores or online marketplaces. Instead of expensive professional parts, consider repurposing strong, durable materials like steel or reinforced plastic. These options help keep costs low while still ensuring your tail-dolly functions effectively. With some creativity, you can create a reliable setup without overspending.
How Do I Prevent My Tail-Dolly From Wobbling During Use?
To prevent your tail-dolly from wobbling during use, focus on fixing balance issues first. Make sure the weight is evenly distributed and secure all parts tightly. Use a stable base or add support braces if needed. Regularly check for loose connections, as they can cause wobble. Properly balancing your setup will improve stability and reduce wobble, ensuring safer and smoother operation.
What Common Mistakes Should I Avoid When Building a Tail-Dolly?
Like a knight preparing for battle, you must avoid common pitfalls when building your tail-dolly. Guarantee you take proper measurements to fit your needs and double-check all secure fastenings to prevent wobbling. Don’t rush the process or ignore the importance of sturdy materials. Skipping these steps leads to instability, risking damage or accidents. Focus on precision and quality, and your DIY tail-dolly will serve you well, steady and reliable.
Conclusion
Creating your own tail-dolly is an affordable way to enhance your model railway. With some basic materials and a bit of patience, you can build a reliable setup that saves you money—did you know that DIY hobbyists save an average of 40% compared to store-bought options? Keep experimenting with customizations and regular maintenance to guarantee smooth operation. Your efforts will pay off with a more enjoyable, personalized layout that won’t break the bank.