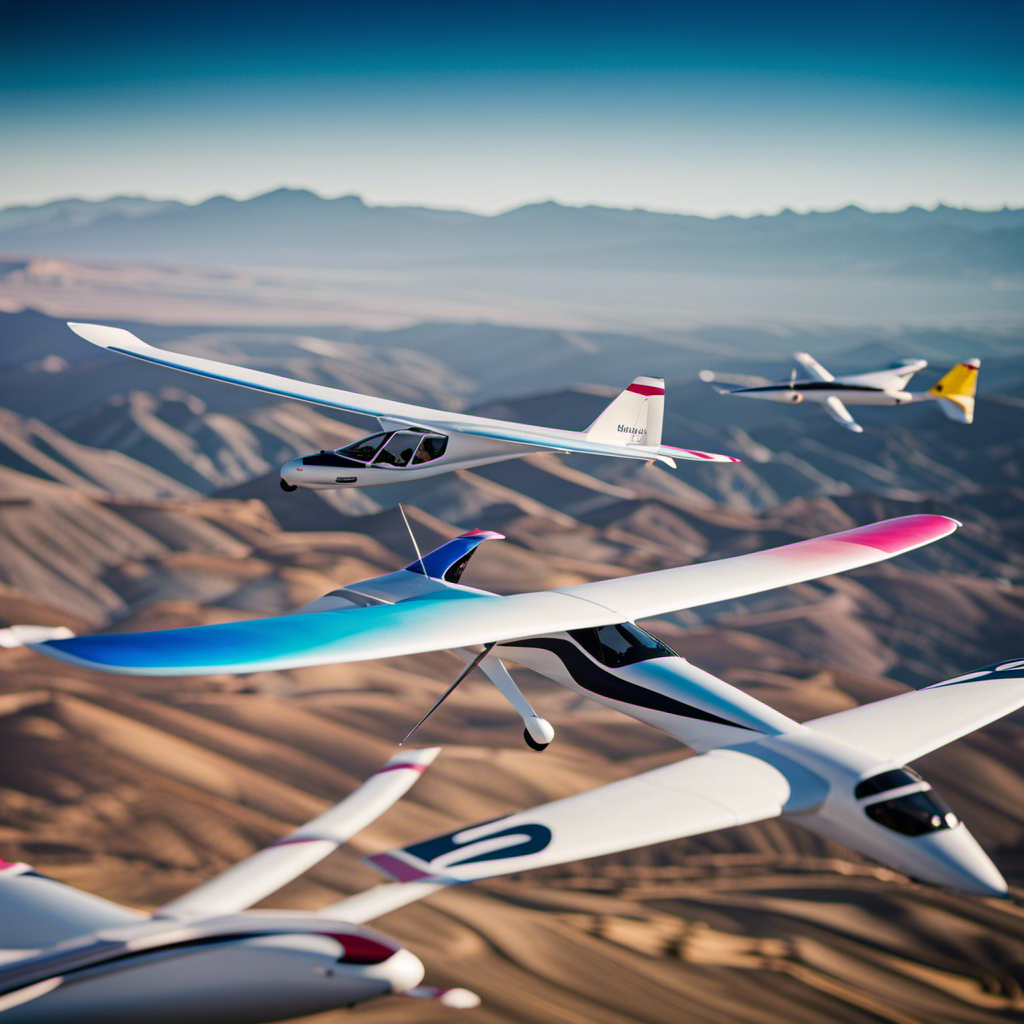
Imagine yourself soaring through the sky, gliding effortlessly with only the wind beneath your wings. If flying a glider has always been a dream of yours, this beginner’s guide is tailored just for you.
In this article, I’ll take you through the step-by-step process of mastering the art of gliding, from the basics of gliders to advanced soaring techniques.
Get ready to embark on an incredible journey as we delve into the world of flying gliders.
Key Takeaways
- Choose the right glider for your needs, considering factors such as size, weight, design, and features.
- Prioritize safety by conducting pre-flight inspections, familiarizing yourself with emergency procedures, and ensuring safety for yourself and passengers.
- Practice launching and controlling techniques, including hand launching and bungee launching, understanding control surfaces, and mastering timing and coordination for a smooth launch.
- Learn and apply soaring techniques such as utilizing thermals, ridge lift, and wave lift for gaining altitude, managing speed and energy, practicing efficient turning techniques, and utilizing wind patterns for optimal soaring.

Barsha Space 4-Pack Balsa Wood Airplane Glider Kits for Kids – Model Toy Airplane Set | Perfect for Outdoor Flying in Yards, Parks & Open Spaces
【Easy Assembly, No Tools Needed】Assemble each glider in just 5 minutes with our intuitive slot-and-tab design,perfect for kids…
As an affiliate, we earn on qualifying purchases.
As an affiliate, we earn on qualifying purchases.
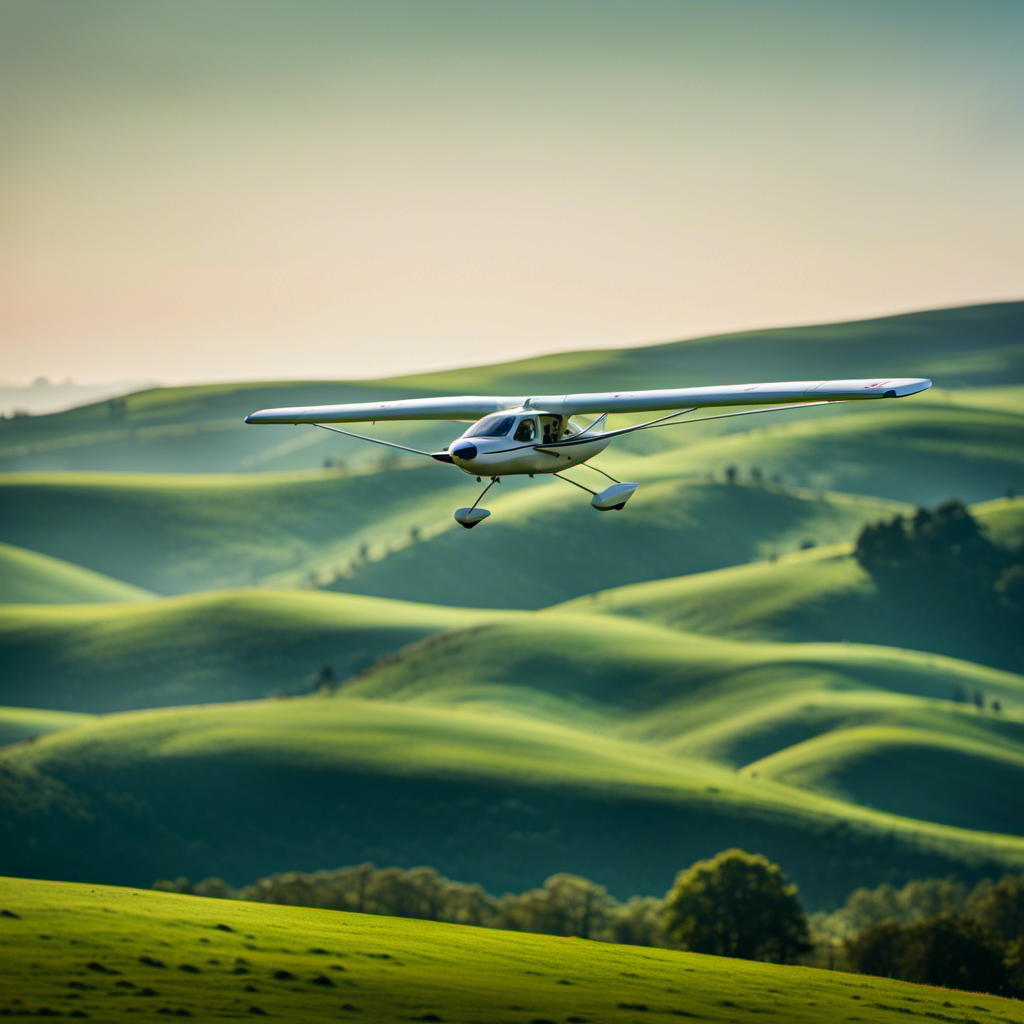
The Basics of Gliders
Now that you understand the benefits of flying gliders, let’s dive into the basics of how to control them.
When it comes to the basics of gliders, it all starts with choosing the right glider for your needs. The first thing to consider is the type of glider you want to fly. There are different types, such as sailplanes and hang gliders, each with their own unique characteristics and flying styles.
Next, you need to think about the size and weight of the glider. This will depend on factors like your experience level and the weather conditions you’ll be flying in. Additionally, you should also consider the design and construction of the glider, as well as any specific features or accessories that may be important to you.
By carefully choosing the right glider, you’ll set yourself up for a successful and enjoyable flying experience.
Now, let’s move on to the next section and discuss the important safety precautions to keep in mind while flying gliders.

Hang Gliding For Beginner Pilots
As an affiliate, we earn on qualifying purchases.
As an affiliate, we earn on qualifying purchases.
Safety Precautions
Before taking to the skies in a glider, it’s crucial to prioritize safety precautions. This discussion will cover three key points:
-
Checking the weather conditions: Pilots should always check the weather forecast before flying. This includes looking at factors such as wind speed, direction, and any potential weather hazards. By staying informed about the weather conditions, pilots can make informed decisions about whether it’s safe to fly or if they need to postpone their flight.
-
Conducting a pre-flight inspection: Before getting into the glider, pilots should thoroughly inspect the aircraft to ensure that it is in proper working condition. This includes checking the control surfaces, the cables and connections, the instruments, and the overall structure of the glider. By conducting a pre-flight inspection, pilots can identify any potential issues or malfunctions that could jeopardize their safety in the air.
-
Understanding emergency procedures: Pilots should familiarize themselves with the emergency procedures specific to their glider. This includes knowing how to handle situations such as a loss of altitude, a sudden change in weather conditions, or any other emergencies that may arise during the flight. By being prepared and knowing how to react in these situations, pilots can minimize the risks and ensure their own safety as well as the safety of their passengers.
Checking the Weather Conditions
First, you’ll want to check the weather conditions before taking the glider out for a flight. Weather forecasting plays a crucial role in ensuring a safe and enjoyable experience. Here are four important factors to consider:
-
Wind patterns: Analyze the wind speed and direction. Strong gusts or unpredictable winds can make flying difficult and dangerous. Look for stable, steady winds within your glider’s operating limits.
-
Temperature and air density: Cold air is denser, providing better lift for gliders. Warmer temperatures can lead to thermal activity, which can improve soaring conditions. Consider the temperature and density altitude to optimize your flight.
-
Precipitation: Avoid flying in rain or snow as it can affect visibility and create hazardous conditions. Check for any upcoming precipitation in the forecast.
-
Cloud cover: Clear skies are ideal for gliding, but some cloud cover can provide thermals for lift. However, be cautious of overcast conditions as they can limit visibility and make navigation challenging.
By understanding weather conditions, including wind patterns, temperature and air density, precipitation, and cloud cover, you can make informed decisions about when and where to fly your glider.
Now, let’s move on to conducting a thorough pre-flight inspection.
Conducting a Pre-flight Inspection
To ensure a safe flight, it’s important to conduct a thorough pre-flight inspection of the glider. This pre-flight checklist ensures that all equipment is in proper working condition and ready for flight. Here is a table outlining the key areas to inspect:
| Equipment | Inspection |
|---|---|
| Control Surfaces | Check for proper movement and secure connections |
| Instruments | Verify accurate readings and functioning |
| Canopy | Inspect for any cracks or damage |
| Parachute | Ensure it is properly packed and deployment system is functional |
| Harness | Check for any signs of wear or damage |
| Landing Gear | Inspect for proper alignment and secure attachment |
| Wing Attachments | Verify secure connections and absence of damage |
Understanding Emergency Procedures
Make sure you familiarize yourself with the emergency procedures, as this knowledge will be crucial in handling any unexpected situations during your glider flight. Understanding what to do in case of an emergency landing is essential for your safety.
Emergency landings can be caused by factors such as sudden weather changes, mechanical failures, or airspace restrictions. It is important to stay calm and follow the established procedures.
Additionally, make sure you are familiar with the emergency equipment available in the glider, such as fire extinguishers, first aid kits, and emergency locator transmitters. These items are designed to assist you in case of an emergency.
By being prepared and knowledgeable about the emergency procedures and equipment, you can increase your chances of handling any unexpected situations effectively.
Now, let’s move on to the next section, where we will discuss launching techniques.

Glider Flying Handbook (Federal Aviation Administration): FAA-H-8083-13A
Spiral bound!
As an affiliate, we earn on qualifying purchases.
As an affiliate, we earn on qualifying purchases.
Launching Techniques
Once you’ve mastered the basics of glider control, you can begin practicing different launching techniques.
Two common methods for launching a glider are hand launching and bungee launching.
Hand launching involves physically throwing the glider into the air, using your arm strength to provide the initial lift.
On the other hand, bungee launching utilizes a stretched elastic cord attached to the glider, which is then released to provide the necessary thrust for takeoff.
Both techniques require careful timing and coordination to achieve a smooth and controlled launch.
In hand launching, it’s important to ensure a firm grip on the glider and a smooth release to avoid any unwanted spins or instability.
Similarly, in bungee launching, the tension of the cord must be calibrated properly to achieve the desired launch trajectory.
Mastering these techniques is crucial for a successful glider flight.
Transitioning to controlling the glider requires a thorough understanding of the different control surfaces and their effects.
glider safety inspection tools
As an affiliate, we earn on qualifying purchases.
As an affiliate, we earn on qualifying purchases.
Controlling the Glider
Mastering the different control surfaces and understanding their effects is crucial for you to have full control of the glider. As a pilot, it is essential to be familiar with the glider controls and the aerodynamics of gliders. Here are three key aspects to consider:
-
Elevator: The elevator control, located on the tail, is responsible for controlling the pitch of the glider. By moving the elevator up or down, you can change the angle of attack, allowing you to climb or descend.
-
Ailerons: Located on the wings, ailerons control the roll of the glider. By moving the ailerons up or down, you can initiate a turn by increasing or decreasing lift on one wing.
-
Rudder: The rudder control, also located on the tail, controls the yaw of the glider. By moving the rudder left or right, you can counteract adverse yaw and maintain coordinated flight.
Understanding and mastering these control surfaces will provide you with the ability to maneuver the glider effectively.
Transitioning into the subsequent section about ‘soaring techniques,’ it is important to combine proper control inputs with the right techniques to maximize your gliding experience.
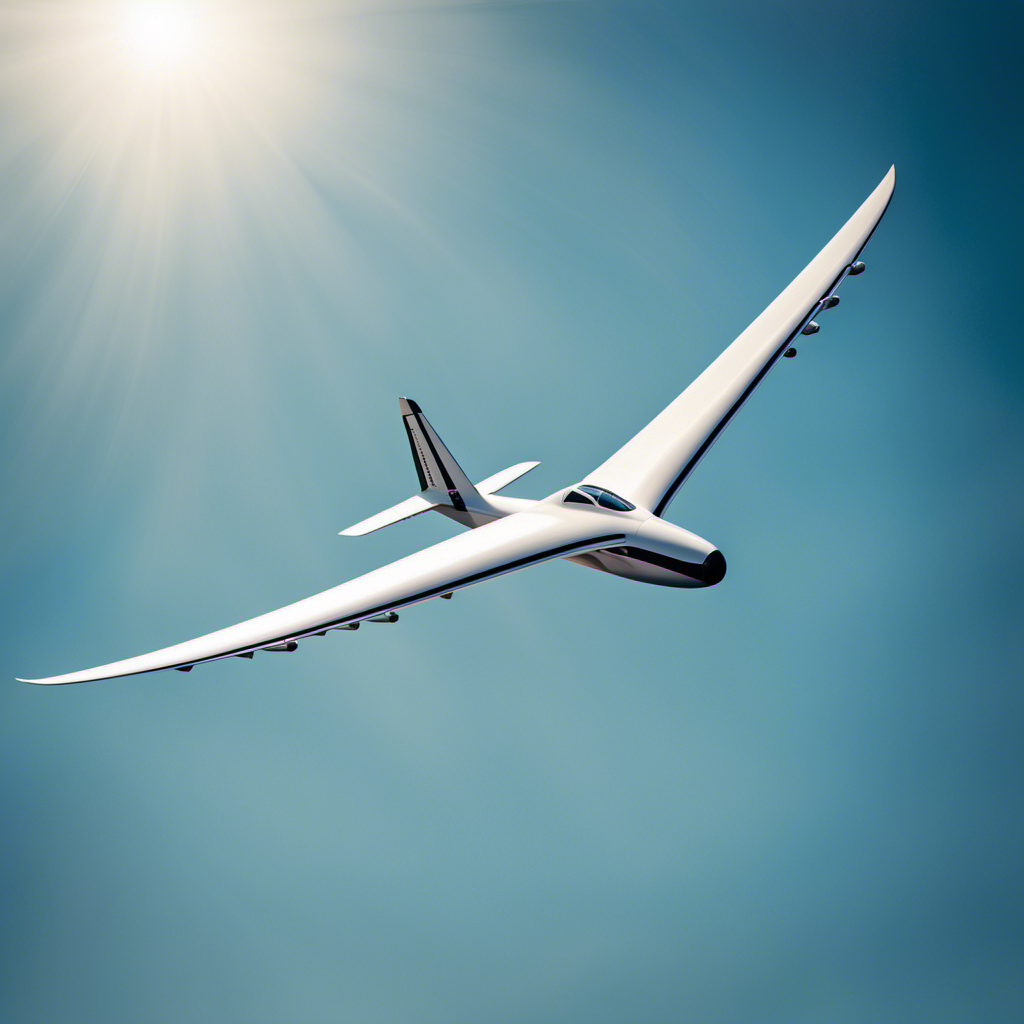
Soaring Techniques
When it comes to soaring techniques, there are three key points to consider: finding and utilizing thermal lift, using ridge lift, and making use of wave lift.
Thermal lift refers to the upward currents of warm air that glider pilots can use to gain altitude and stay airborne.
Ridge lift, on the other hand, is created by the wind hitting a slope or ridge, causing an upward force that gliders can ride along.
Lastly, wave lift occurs when the wind encounters a mountain range, creating standing waves of rising air that gliders can soar on.
Finding and Utilizing Thermal Lift
To find and utilize thermal lift while flying gliders, you’ll need to pay close attention to the behavior of the air currents around you. It is crucial to identify areas where warm air is rising, indicating the presence of thermals. Here are some key steps to finding thermals and maximizing lift:
- Observe visual cues such as cumulus clouds, dust devils, and soaring birds, as they often indicate the location of thermals.
- Use a vario instrument to measure the rate of climb and descent, helping you locate areas with strong thermals.
- Adjust your flight path to stay within the core of the thermal for maximum lift.
- Exploit the convergence of thermals, where multiple updrafts meet, to maximize your climb rate.
By employing these techniques, you can effectively find and exploit thermals to gain altitude and extend your glider’s flight time.
Now, let’s explore another technique for utilizing lift, known as ridge lift.
Using Ridge Lift
Using ridge lift can be a great strategy for gaining altitude and extending your glider’s flight time. Ridge lift techniques involve exploiting the upward wind created when air encounters a ridge or mountain slope. To maximize ridge lift, it is important to fly close to the ridge, where the wind is strongest, and maintain a consistent speed.
By flying parallel to the ridge, you can stay within the lift band and continue to gain altitude. It’s crucial to pay attention to the wind direction and adjust your position accordingly to make the most of the lift. However, ridge lift can be affected by factors such as the shape of the terrain and the wind speed, so it’s important to remain aware of changing conditions.
Transitioning into the subsequent section about making use of wave lift, understanding ridge lift is essential as it can often lead to the discovery of wave lift opportunities.
Making Use of Wave Lift
Exploiting wave lift can significantly increase altitude and extend flight time for gliders. Wave lift occurs when wind encounters a mountain range, causing it to rise and form standing waves on the leeward side. By utilizing wind currents and advanced soaring techniques, glider pilots can harness this powerful updraft to gain altitude and stay aloft for longer durations. The table below highlights some key characteristics of wave lift:
| Aspect | Description |
|---|---|
| Formation | Created by wind encountering a mountain range |
| Location | Typically found on the leeward side of the mountains |
| Wave shape | Can vary from smooth, regular waves to turbulent, irregular patterns |
| Altitude gain | Allows gliders to reach higher altitudes than ridge lift |
| Flight duration | Enables extended flights and cross-country soaring |
Understanding wave lift and how to exploit it effectively is crucial for maximizing glider performance. Now, let’s delve into the next section about landing procedures.
Landing Procedures
When you’re landing a glider, it’s important to follow proper procedures. The following landing techniques and glide path will ensure a safe and smooth touchdown:
- Maintain a stable approach speed, typically around 60 knots, to ensure adequate control and maneuverability during descent.
- Establish a proper glide path by aiming for a spot on the runway about 500 to 1000 feet beyond the threshold.
- Keep a constant eye on your airspeed, altitude, and sink rate to make adjustments as necessary.
- Gradually reduce power and flare the glider just above the ground to slow down and level off for a gentle touchdown.
By executing these landing procedures accurately, you will enhance your overall gliding experience and minimize the risk of accidents.
Improving your skills in this aspect will allow you to confidently tackle more challenging landings in the future.
Improving Your Skills
To enhance your skills, focus on practicing landing techniques and glide path accuracy. Improving your skills in gliding requires mastering advanced maneuvers and developing effective competition strategies. By honing your landing techniques, you can ensure smoother and safer landings, essential for both recreational and competitive gliding. Achieving glide path accuracy is crucial in maintaining control and maximizing performance during landing. To give you a better understanding, here is a table illustrating the different techniques and strategies for advanced maneuvers and competition strategies:
| Advanced Maneuvers | Competition Strategies |
|---|---|
| Spins | Speed Management |
| Aerobatics | Tactical Decision-making |
| Crosswind Landings | Energy Conservation |
Joining a Gliding Club
After honing your skills and becoming more confident in your gliding abilities, the next logical step is to join a gliding club. Joining a gliding club allows you to immerse yourself in a community of like-minded individuals who share your passion for soaring through the skies.
Here are some benefits of joining a gliding club:
- Access to a variety of gliders, allowing you to try out different models and gain valuable experience.
- Experienced instructors and mentors who can provide guidance and help you improve your skills.
- Regular club events and competitions that provide an opportunity to test your abilities and learn from other pilots.
Being part of a gliding club not only enhances your gliding journey but also provides a supportive network of fellow enthusiasts. It opens doors to new experiences and fosters a sense of camaraderie among members.
With the knowledge and skills gained through club involvement, you can now transition into the next section about glider maintenance and care.
Glider Maintenance and Care
Maintaining and caring for your glider is essential to ensure its optimal performance and longevity. Proper glider maintenance and care not only enhance the safety of your flights but also extend the lifespan of your aircraft. Regular inspections, cleaning, and lubrication are key aspects of glider maintenance. Here are some important tasks to include in your maintenance routine:
| Task | Frequency | Description |
|---|---|---|
| Inspections | Before every flight | Check for any signs of damage or wear on the glider. |
| Cleaning | After each flight | Remove dirt, debris, and insects from the glider’s surfaces. |
| Lubrication | As needed | Apply lubricant to moving parts to ensure smooth operation. |
| Storage | After each flight | Store the glider in a safe, dry, and secure location. |
| Documentation | Ongoing | Keep records of maintenance tasks and inspections. |
Taking Your Gliding Journey to the Next Level
Now, let’s see how you can elevate your gliding experience to the next level.
To truly master the art of gliding, it’s important to learn advanced maneuvers and consider participating in glider competitions.
These advanced maneuvers include the spiral dive, where you quickly descend in a spiral pattern, and the wingover, where you smoothly transition from one turn to another. These maneuvers require precise control and a deep understanding of your glider’s capabilities.
Participating in glider competitions will not only challenge your skills, but also expose you to different flying techniques and strategies. You’ll have the opportunity to compete against other skilled glider pilots and showcase your abilities.
Frequently Asked Questions
How much does it cost to purchase a glider?
The cost to purchase a glider varies depending on factors such as the model, age, and condition. Additionally, glider maintenance and insurance are ongoing expenses that should be considered when budgeting for glider ownership.
Can gliders be flown in bad weather conditions?
In adverse weather conditions, flying gliders can be extremely dangerous. I once experienced a sudden storm while gliding and had to make an emergency landing. Safety precautions are crucial to minimize risks.
Are there any age restrictions for flying gliders?
There are age restrictions for flying gliders to ensure safety. Proper training and certification are required, along with meeting the minimum age requirement set by aviation authorities. Safety precautions are vital to prevent accidents.
Are there any physical fitness requirements to fly a glider?
Physical fitness and health requirements are essential for flying gliders. It is crucial to have good cardiovascular endurance, coordination, and overall physical strength. Regular medical check-ups are necessary to ensure a safe and enjoyable flying experience.
Can gliders be flown at night?
Nighttime flying in gliders requires strict safety precautions. The darkness heightens the senses, making every sound and movement more intense. Pilots rely on instruments and external lights to navigate the sky with precision.
Conclusion
In conclusion, gliding is a captivating and exhilarating sport that requires patience, skill, and dedication. Through this beginner’s guide, we have explored the fundamentals of gliding, from safety precautions to launching and controlling techniques.
By joining a gliding club and continuously improving our skills, we can take our gliding journey to new heights. Furthermore, maintaining and caring for our gliders is crucial for a successful and safe experience.
So, let us embark on this incredible journey and uncover the truth behind the theory of flying gliders, as we paint a vivid picture of soaring through the skies.