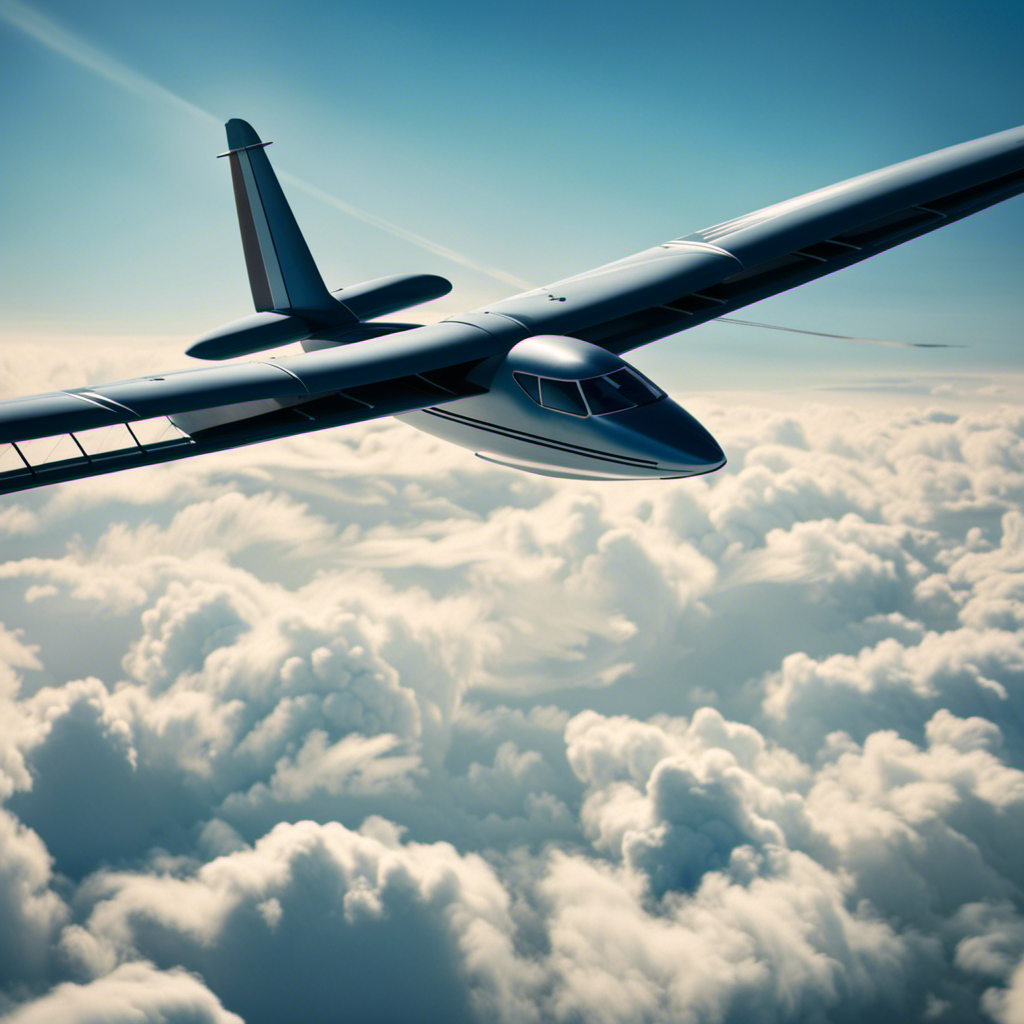

As a seasoned glider pilot, I have to admit that launching a glider requires careful precision and skill. Soaring through the sky, feeling the wind rush past, is truly exhilarating.
But before we can take off, there are three crucial commands that must be followed. In this article, I’ll guide you through the pre-flight inspection, the preparations for takeoff, and the release and tow commands.
Get ready to soar like never before!
Key Takeaways
- Coordinate with the tow pilot for a smooth transition and confirm release altitude and location.
- Maintain a safe distance from the tow plane and communicate intentions and readiness to release.
- Search for rising air currents by observing thermal indicators such as cumulus clouds and birds soaring in circles.
- Utilize navigation techniques and instruments like landmarks, windsocks, compass, and GPS to navigate and explore the sky.

Thames & Kosmos Ultralight Airplanes STEM Experiment Kit | Build 5 Gliders | Learn How Airplanes Work | for Ages 8+ | Design Your Own Glider | Learn Physics and Aerodynamics
- Material: Ultralight plastic and bamboo parts
- Number of Gliders: Build five different planes
- Educational Focus: Learn physics and aerodynamics
As an affiliate, we earn on qualifying purchases.
As an affiliate, we earn on qualifying purchases.
Pre-flight Inspection
Before takeoff, it’s important to conduct a thorough pre-flight inspection of the glider. This ensures that all systems are functioning properly and reduces the risk of any issues during flight.
The pre-flight inspection involves carefully examining the glider’s structure, control surfaces, and instruments. I start by inspecting the wings for any signs of damage or loose fittings. Then, I check the control surfaces, such as the ailerons and elevator, to ensure they move freely and are securely attached.
Next, I inspect the instruments, making sure they are properly calibrated and functioning correctly. Finally, I check the parachute and harness, ensuring they are in good condition and properly secured.
Once the pre-flight inspection is complete, I feel confident and prepared for takeoff, knowing that the glider is in optimal condition for a safe flight.
Preparing for Takeoff
Make sure you’ve completed all the necessary preparations for takeoff before soaring through the skies in your glider. As a pilot, following a pre-flight checklist is essential to ensure the safety of yourself and your passengers.
Begin by inspecting the exterior of the glider, checking for any damage or loose parts. Then, carefully examine the control surfaces, ensuring they move freely and are not obstructed.
Next, thoroughly inspect the cockpit, checking the instruments, controls, and harnesses. Don’t forget to verify the fuel level and secure any loose items.
Finally, perform a systems check, including the brakes and landing gear. These safety precautions are crucial for a successful and safe flight.
Now, let’s move on to the next section about release and tow commands, where we’ll learn about the commands used to launch a glider without delay.
Release and Tow Commands
Once you’re in the air, you’ll need to know the specific signals used to indicate when it’s time to detach from the tow plane. The release command is a crucial part of glider flying, as it allows you to break free from the tow plane and soar freely on your own. The tow command, on the other hand, is used to communicate with the tow pilot and ensure a smooth and controlled ascent. To give you a clear understanding, here is a table illustrating the release and tow commands:
| Release Command | Tow Command |
|---|---|
| Hand signal: Open palm facing downward, then closed fist | Radio communication or hand signal: Thumb up or thumbs up gesture |
| Verbal command: "RELEASE, RELEASE, RELEASE" | Radio communication: "TOW RELEASE" or "RELEASE" |
Mastering these commands is essential for a safe and successful glider launch. Now that you know how to detach from the tow plane, let’s move on to the next step: applying correct controls.
Applying Correct Controls
When flying a glider, it’s crucial to apply the correct controls in order to maintain control and stability.
To control the pitch and roll of the glider, I use the control stick or yoke. By smoothly moving the control stick forward or backward, I can adjust the pitch of the glider, while lateral movements help me control the roll.
Additionally, I adjust the rudder pedals to control the yaw of the glider. These precise movements allow me to maintain a steady course and navigate the glider effectively.
Use the control stick or yoke to maintain the desired pitch and roll
To maintain the desired pitch and roll, use the control stick or yoke. These controls are essential for maneuvering a glider effectively. The control stick, located between the pilot’s legs, is used in most gliders to control both pitch and roll. By moving the control stick forward and backward, the pitch of the glider can be adjusted, allowing the pilot to control the nose-up or nose-down attitude. Similarly, by moving the control stick left or right, the roll of the glider can be controlled, enabling the pilot to bank the glider to the left or right. This intuitive control system allows for precise and responsive handling of the glider in flight.
| Control | Function |
|---|---|
| Forward | Pitch Down |
| Backward | Pitch Up |
| Left | Roll Left |
| Right | Roll Right |
Adjust the rudder pedals to control the yaw of the glider
By using the rudder pedals, pilots can control the yaw of the glider. Yaw refers to the left or right movement of the aircraft’s nose. It is an essential control technique that allows pilots to maintain stability and make adjustments during flight.
Here are five key aspects of controlling yaw that evoke various emotions:
-
Precision: With precise rudder inputs, pilots can make subtle adjustments to keep the glider on the desired course.
-
Responsiveness: The rudder pedals offer quick and responsive control, allowing pilots to react swiftly to changes in wind direction or turbulence.
-
Adaptability: Pilots must adapt their rudder inputs based on the glider’s speed, weight, and other flight conditions to maintain optimal control.
-
Confidence: Knowing the rudder pedal’s authority in controlling yaw gives pilots the confidence to maneuver the glider with precision.
-
Stability: Proper use of the rudder pedals helps maintain the glider’s stability, enhancing the overall flight experience.
Lift-Off and Climbing
To successfully lift off in a glider, I apply back pressure on the control stick or yoke. This allows the wings to generate enough lift to overcome gravity.
Once airborne, I maintain a steady rate of ascent by utilizing the lift produced by the wings. This ensures a smooth and controlled climb, enabling me to reach the desired altitude efficiently.
Apply back pressure on the control stick or yoke to lift the glider off the ground
Applying back pressure on the control stick or yoke helps lift the glider off the ground. Before takeoff, it is crucial to follow the pre-flight checklist and take necessary safety precautions. This includes checking the control surfaces, ensuring proper weight and balance, and inspecting the glider for any signs of damage or malfunctions.
Once in the cockpit, I firmly grasp the control stick or yoke and apply back pressure as I smoothly advance the throttle. This action allows the wings to generate enough lift to overcome gravity and initiate the ascent. It is important to maintain a steady rate of climb by adjusting the control inputs to match the desired pitch attitude.
Ascend at a steady rate using the lift generated by the wings
As I apply back pressure on the control stick or yoke to lift the glider off the ground, the next step in launching the glider involves ascending at a steady rate using the lift generated by the wings. This is a crucial phase of the launch process as it allows the glider to gain altitude and separate from the ground.
To achieve a successful ascent, the following steps are essential:
-
Maintain a positive angle of attack: By ensuring that the wings are at an appropriate angle relative to the airflow, lift is maximized, enabling the glider to climb.
-
Control airspeed: Adjusting the airspeed during ascent is crucial. Too much speed can lead to excessive lift and a steep climb, while too little speed can result in a shallow climb or even a loss of lift.
-
Monitor vertical speed: Keeping a close eye on the rate of ascent is important to maintain a steady climb and prevent any sudden drops or climbs.
With the glider now ascending steadily, the next section will discuss the critical step of releasing from the tow plane, marking the beginning of the glider’s solo flight.
Releasing from the Tow Plane
When it comes to releasing from the tow plane, coordination with the tow pilot is crucial. It is important to communicate effectively and ensure that both parties are ready for the release.
Additionally, before releasing, it is essential to maintain a safe distance from the tow plane to avoid any potential accidents or collisions.
Coordinate with the tow pilot to release the towline
Before releasing the towline, it is important to coordinate with the tow pilot to ensure a smooth transition. This is a critical step in the process of releasing from the tow plane. As a glider pilot, my responsibility is to communicate effectively with the pilot of the tow plane to ensure a safe and successful release.
Here are four important things to consider during this coordination:
- Confirm the desired release altitude and location.
- Discuss any specific instructions or concerns from the tow pilot.
- Verify that all pre-flight checks have been completed.
- Establish a clear and concise communication plan.
By following these guidelines, we can establish a strong line of communication and ensure a seamless transition from being towed to flying independently.
It is important to stay focused and attentive during this phase to ensure a safe distance from the tow plane before releasing, minimizing any potential risks.
Ensure a safe distance from the tow plane before releasing
To ensure a safe release, it’s important for the glider pilot to establish a clear and concise communication plan with the tow pilot. Communication is crucial during the release process as it allows both pilots to coordinate their actions and ensure a smooth transition.
The glider pilot must communicate their intentions and readiness to release to the tow pilot, who will then acknowledge and provide the necessary instructions. Additionally, factors such as wind conditions, altitude, and speed must be considered when determining a safe distance from the tow plane. These factors will vary depending on the specific glider and tow plane being used, as well as the current weather conditions.
By effectively communicating and considering these factors, the glider pilot can make an informed decision about when and where to release the towline, ensuring a safe and successful flight.
Moving on to soaring and navigating…
Soaring and Navigating
When it comes to soaring and navigating in the sky, one of the key points is the search for rising air currents or thermals to gain altitude. By actively seeking out these upward drafts, I can increase my altitude and extend my flight time.
Additionally, navigation instruments and visual cues are crucial for me to navigate and explore the sky effectively. These tools help me stay on course, identify landmarks, and make precise adjustments to my flight path.
Search for rising air currents or thermals to gain altitude
Look for rising air currents or thermals to gain altitude while you fly the glider. Identifying thermal indicators is crucial in maximizing altitude gain from thermals.
One of the main indicators is the presence of cumulus clouds, which form when warm air rises and condenses at higher altitudes. These clouds act as markers for thermals, indicating the areas where you can find rising air currents.
Another indicator is the presence of birds soaring in circles, as they rely on thermals to gain altitude.
To maximize altitude gain from thermals, it’s important to fly in a tight circle within the thermal, using the glider’s controls to maintain the optimal bank angle and airspeed. By doing so, you can efficiently climb within the thermal and gain valuable altitude.
This understanding of thermals and techniques for maximizing altitude gain is essential as you use navigation instruments and visual cues to explore the sky.
Use navigation instruments and visual cues to navigate and explore the sky
One way to navigate and explore the sky is by using navigation instruments and visual cues. As a glider pilot, I rely on these tools to navigate accurately and efficiently. Here are four key techniques I use:
-
Landmark Navigation: By identifying prominent landmarks such as mountains, rivers, or towns, I can determine my position and navigate along a desired route.
-
Wind Indicators: Understanding wind patterns is crucial for efficient flying. I use windsocks, flags, and smoke to gauge wind direction and intensity, enabling me to adjust my flight path accordingly.
-
Compass and GPS: These navigation instruments provide precise heading information and GPS coordinates, helping me stay on course and reach my intended destinations.
-
Sky Observation: By observing cloud formations, birds, and other visual cues, I can identify areas of rising air, known as thermals, which I can use to gain altitude and extend my flight time.
With these navigation techniques, I can confidently explore the sky and make the most of my glider flights.
Now, let’s transition into the next section and discuss the important aspects of landing preparation.
Landing Preparation
Make sure you’re properly securing all loose items before preparing to land the glider. Landing techniques are crucial for a safe and successful landing.
As a pilot, I have learned the importance of following proper procedures to ensure a smooth touchdown. Before initiating the final approach, it is essential to assess the wind direction and speed to determine the best landing direction.
Emergency procedures should also be reviewed, including the actions to take in case of an equipment malfunction or unexpected weather conditions. By practicing emergency scenarios, pilots can react quickly and effectively when faced with unexpected challenges during the landing process.
Now, let’s transition into the subsequent section about final approach and landing, where we will discuss the key steps to execute a successful touchdown.
Final Approach and Landing
As you descend during the final approach, ensure that you maintain a steady airspeed and properly align the glider with the runway.
The final approach is a critical phase of the landing process, where a pilot must carefully control the glider’s speed and position to ensure a safe touchdown.
Landing techniques can vary depending on factors such as wind conditions and runway length, but a general approach involves reducing power and gradually descending towards the runway while maintaining a consistent airspeed.
It’s essential to stay focused and make small adjustments to maintain the desired glide path and centerline alignment.
By employing these techniques, pilots can execute a smooth and controlled landing.
Now, let’s move on to the post-flight procedures.
Post-flight Procedures
After landing, it’s important to secure the glider and complete the necessary post-flight procedures.
The first step is to ensure that the glider is properly secured to prevent any potential damage or accidents. This involves using tie-downs or chocks to secure the wheels and wings of the glider.
Once the glider is securely tied down, the next step is to conduct a post-flight inspection. This inspection involves checking the overall condition of the glider, including the control surfaces, landing gear, and any other critical components. Any signs of damage or wear should be noted and addressed before the next flight.
Additionally, it is important to remove any personal belongings or equipment from the glider and ensure that it is properly stored.
Frequently Asked Questions
Are there any specific weather conditions required for launching a glider?
Specific weather conditions are required for launching a glider. Factors such as wind speed, direction, and stability are crucial. It is essential to have favorable conditions, like gentle winds and clear skies, to ensure a safe and successful glider launch.
How long does it take to complete a pre-flight inspection?
Completing a thorough pre-flight inspection is crucial in the aviation industry. Factors like weather, aircraft complexity, and experience can affect the duration. It ensures safety and identifies potential issues before takeoff, reducing the risk of accidents.
What are the different types of release and tow commands used for launching a glider?
There are different types of release commands and tow commands used for launching a glider. These commands are essential for a successful launch and include specific instructions for releasing from the tow aircraft and controlling the tow.
Are there any specific hand signals used during the launch process?
During the launch process of a glider, specific hand signals are used as communication methods. These signals ensure effective communication between the pilot and ground crew, allowing for a safe and successful launch.
What are some common navigation techniques used during soaring in a glider?
During soaring in a glider, I utilize thermalling techniques to gain altitude by circling within rising columns of air. For cross country navigation, I employ strategies like ridge soaring, using wind direction to stay aloft, and utilizing GPS navigation systems.
Conclusion
In conclusion, launching a glider requires a series of precise commands to ensure a safe and successful flight.
From the pre-flight inspection to the final approach and landing, every step is crucial in achieving a smooth glide.
Just like a skilled conductor guiding an orchestra, the pilot maneuvers the glider with expertise, using the correct controls and commands to navigate through the sky.
With each launch, the glider takes flight like a graceful bird soaring effortlessly, embodying the freedom and beauty of the open air.