Did you know that soaring is a thrilling activity that allows you to glide through the air without the use of an engine?
In this article, I will guide you through the process of flying a glide, from understanding the basics to mastering advanced techniques.
We’ll cover everything from preparing for a glide to landing safely.
So, if you’re ready to take to the skies and experience the exhilaration of gliding, let’s dive in and learn how to fly a glide!
Key Takeaways
- Maintain constant airspeed
- Adjust elevator control for descent rate
- Keep nose slightly above horizon
- Be aware of wind direction and intensity

Crazy Airplane Pilot Flying Glider Aviaton Plane Adjustable Printed Baseball Hat, Black
- Suitable for aviation enthusiasts: For silent lift and soaring activities
- Ideal for flight training and clubs: Perfect for students and mentors
- Stylish five-panel design: Classic structured baseball hat
As an affiliate, we earn on qualifying purchases.
As an affiliate, we earn on qualifying purchases.
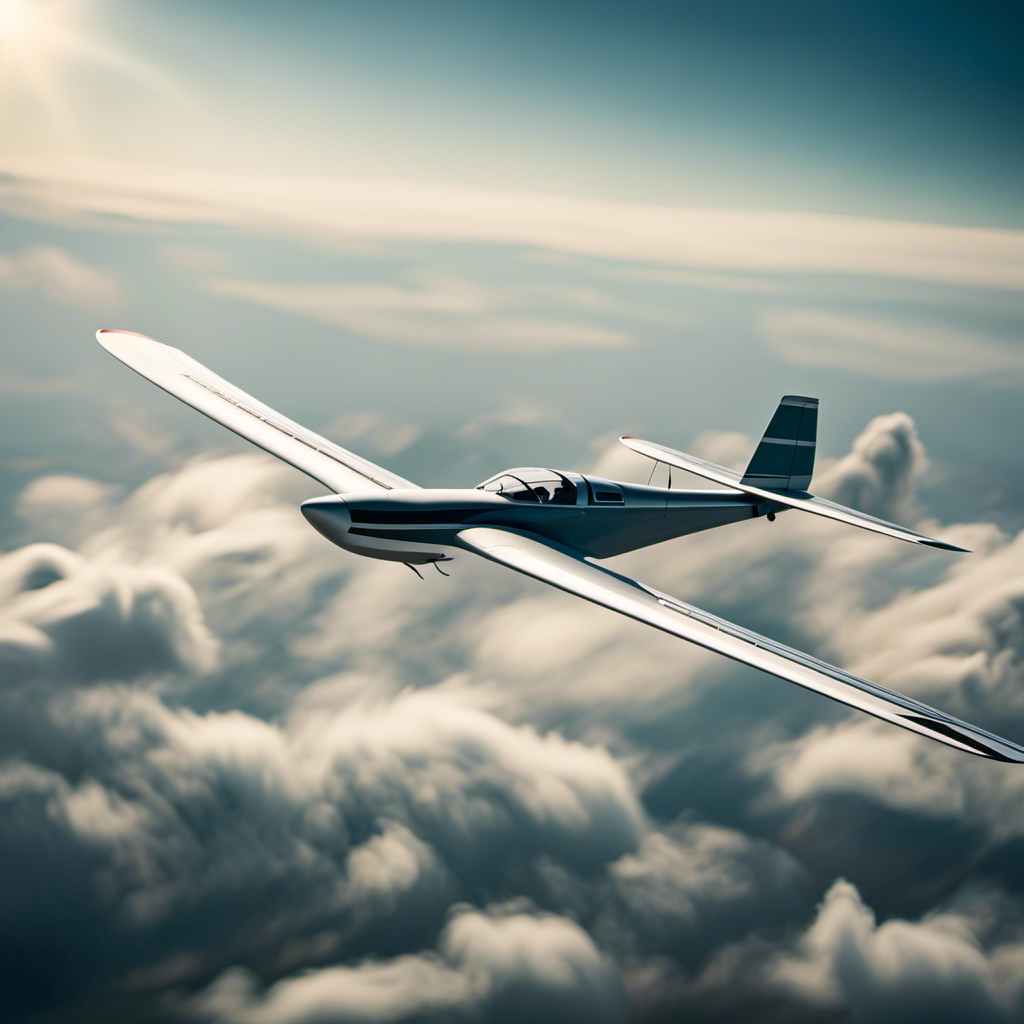
Understanding the Basics of Gliding
To understand the basics of gliding, you’ll need to familiarize yourself with the mechanics of controlling a glider. Glider maintenance plays a crucial role in ensuring a safe and smooth flight. Regular inspections and maintenance checks are necessary to keep the glider in optimal condition. This includes checking the control surfaces, inspecting the parachute, and verifying the integrity of the glider structure.
Safety precautions are also essential to minimize risks during a glide. These can include wearing a helmet, using a safety harness, and following proper emergency procedures. By taking these measures, you can ensure a safe and enjoyable gliding experience.
Now, let’s move on to preparing for a glide, where we will discuss the necessary steps before taking off.
Preparing for a Glide
Before flying a glide, it’s important to make sure you are adequately prepared.
One of the first things you should do is go through a pre-flight checklist to ensure everything is in order. This includes checking the condition of the glider, such as inspecting the wings, tail, and fuselage for any signs of damage.
Additionally, it’s crucial to adjust the seat position to ensure maximum comfort and control during the glide. The seat should be positioned in a way that allows you to reach all the necessary controls easily.
Once you have completed these steps, you can move on to checking the glider’s equipment and controls. This will ensure that everything is functioning properly and ready for your flight.
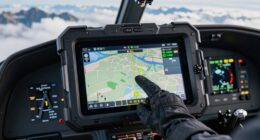
Checking the Glider’s Equipment and Controls
Once you’ve inspected the glider’s condition, it’s essential to check if all the equipment and controls are working correctly. Here are three crucial items to inspect and understand:
-
Equipment:
Begin by examining the parachute, ensuring it is securely fastened and free from any damage or wear. Next, check the towline release mechanism, ensuring it operates smoothly and securely. Finally, inspect the oxygen system, if applicable, to ensure it’s functioning correctly and has sufficient supply. -
Controls:
Familiarize yourself with the control stick and rudder pedals. Ensure they move freely and without any restrictions. Check the ailerons, elevators, and rudders for any signs of damage or excessive wear. Familiarize yourself with the location and function of the trim controls, spoilers, and airbrakes.
By thoroughly inspecting the equipment and understanding the controls, you can ensure a safe and successful glide.
Now, let’s move on to the next section: launching the glider.
Launching the Glider
Now, it’s time to prepare for the glider launch. Connect the towline securely and ensure the release mechanism is functional. Before taking off, follow the proper launching techniques and complete a pre-flight checklist.
First, attach the towline to the designated point on the glider. Make sure it is secure and free from any tangles or twists.
Next, check the release mechanism to ensure it is working properly. It should release the towline when necessary.
Once everything is set, the glider can be launched. It can be towed into the air by a powered aircraft or by using a winch.
With the glider successfully launched, the next step is to maintain altitude and direction. This requires proper control inputs and a keen understanding of aerodynamics.
Maintaining Altitude and Direction
To maintain altitude and direction in the glider, it’s important to make small adjustments to the control surfaces while keeping a close eye on the wind conditions. Here are four key techniques for achieving this:
-
Maintaining Speed: By carefully managing the glider’s airspeed, you can optimize its performance. This involves adjusting the control surfaces to maintain a constant speed, preventing any sudden changes that could affect stability.
-
Adjusting Glide Angle: Controlling the glide angle allows you to descend or ascend as desired. By adjusting the elevator control, you can increase or decrease the angle of descent, enabling you to maintain altitude or descend gradually.
-
Monitoring Wind Conditions: Constantly observing the wind conditions is crucial for maintaining altitude and direction. Wind strength and direction can influence the glider’s flight path, so it’s important to make small control surface adjustments accordingly.
-
Fine-Tuning Control Inputs: Making small adjustments to the ailerons and rudder can help you maintain a straight flight path. These control inputs counteract any unwanted yaw or roll, ensuring the glider stays on course.
By employing these techniques, you can effectively maintain altitude and direction in the glider.
Now, let’s explore the next topic: using thermals and updrafts to stay aloft.
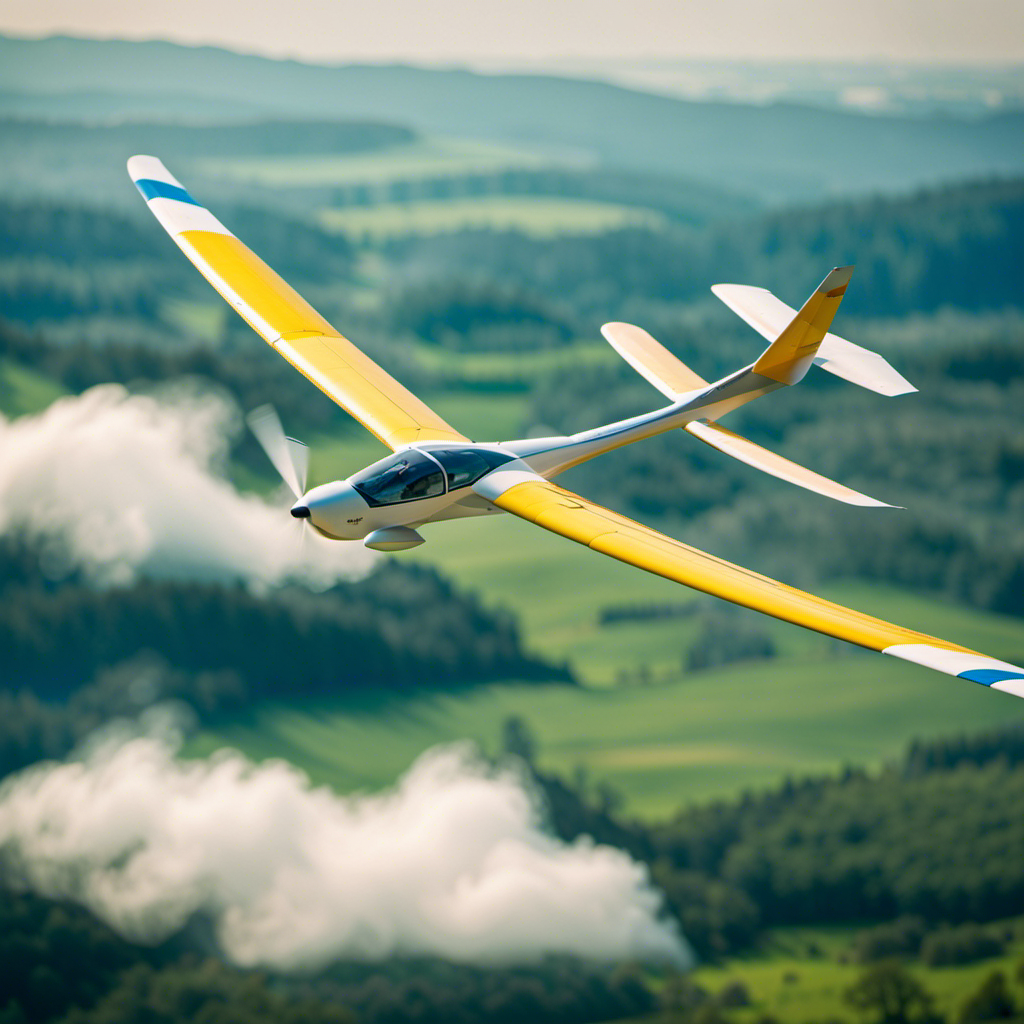
Using Thermals and Updrafts to Stay Aloft
As you soar through the sky, keep an eye out for thermals and updrafts that can help you stay aloft. Maximizing thermal utilization is crucial for maintaining altitude during a glide.
When flying, it’s important to understand the strategies for finding updrafts. Look for indicators such as cumulus clouds, birds soaring in circles, or even smoke rising from chimneys. Once you’ve identified a thermal, position your glider in the core, which is the area of strongest lift. This will allow you to gain altitude and extend your flight time.
Remember to constantly adjust your bank angle and speed to stay within the thermal and maximize your climb rate. By effectively utilizing thermals and updrafts, you can prolong your flight and cover more distance.
Transitioning into the next section about performing turns and maneuvers, let’s explore how to maneuver your glider with precision.
Performing Turns and Maneuvers
After gaining confidence in using thermals and updrafts to stay aloft, it’s time to delve into the exciting world of performing turns and maneuvers in a glider.
Mastering advanced maneuvers is crucial for glider pilots who aspire to compete in aerobatic competitions or simply enjoy the thrill of pushing the limits of their aircraft.
One of the most basic maneuvers to learn is the coordinated turn, where you maintain a constant bank angle while using the rudder to keep the glider coordinated.
From there, you can progress to more complex maneuvers like loops, rolls, and spins. These maneuvers require precise control inputs and a thorough understanding of the glider’s flight envelope.
As you become more proficient, you’ll be able to execute these maneuvers with grace and precision, showcasing your skills as a glider pilot.
Transitioning into the next section, let’s now explore how to land the glider safely.
Landing the Glider Safely
Navigating through the final approach, I must maintain a steady glide path and control the rate of descent for a safe landing. Landing a glider safely requires precise techniques and a thorough understanding of emergency procedures.
One important landing technique is maintaining a constant airspeed while adjusting the elevator control to control the descent rate. By keeping the nose slightly above the horizon, I can ensure a smooth touchdown. Additionally, I need to be aware of wind direction and intensity to make appropriate adjustments during the approach.
In case of an emergency, I must be well-versed in procedures such as executing a go-around or performing an emergency landing. These skills are crucial for a successful landing and ensuring the safety of both the glider and myself.
Transitioning to tips for beginner gliders, let’s explore some helpful strategies for those new to the sport.
Tips for Beginner Gliders
Transitioning to tips for beginner gliders, let’s explore some helpful strategies for those new to the sport. When it comes to glider maintenance, regular inspections are crucial to ensure the safety and performance of the aircraft. Checking for any signs of wear and tear, such as frayed cables or loose bolts, is essential before each flight. Additionally, following glider safety precautions is paramount. This includes wearing appropriate safety gear, such as a helmet and harness, and adhering to weight limits specified by the manufacturer. To provide a visual representation of these tips, I have created a table below:
| Tips for Beginner Gliders |
|---|
| Regularly inspect the glider |
| Check for wear and tear |
| Wear appropriate safety gear |
| Adhere to weight limits |
| Follow manufacturer’s guidelines |
Now, let’s move on to advanced techniques for experienced pilots, where we will explore further skills and strategies to enhance your gliding experience.
Advanced Techniques for Experienced Pilots
Now, let’s dive into some advanced techniques that experienced pilots like yourself can use to take your gliding skills to new heights.
To maximize glide efficiency, consider these four techniques:
-
Thermalling: Mastering the art of thermalling allows you to harness rising air currents to gain altitude and extend your flight time. Identify thermals by observing cloud formations, wind patterns, and ground features.
-
Speed-to-fly: Understanding the optimal speed-to-fly for different glide angles is crucial. Adjust your speed to maintain the most efficient glide ratio, which can vary based on your aircraft’s performance capabilities and atmospheric conditions.
-
Energy management: Skilled pilots focus on conserving and using energy effectively. This involves utilizing potential energy from altitude through well-timed turns and judicious use of airbrakes or flaps.
-
Cross-country navigation: Plan your routes strategically, considering terrain features and weather conditions. Utilize ridge lift, wave lift, and convergence zones to your advantage, optimizing your gliding path and distance covered.
Frequently Asked Questions
How long does it take to become proficient at flying a glider?
Becoming proficient at flying a glider requires a significant time commitment. It typically takes several months to a year, depending on the frequency of training. Learning resources include flight schools, instructors, simulators, and study materials.
Are there any age restrictions for flying a glider?
Age requirements for flying a glider vary depending on the country and organization. Safety regulations are put in place to ensure that pilots are physically and mentally capable of operating a glider safely.
Can gliders fly at night?
Yes, gliders can fly at night, but it requires additional safety precautions. Night flying in a glider involves the use of proper lighting, navigation equipment, and adherence to specific regulations to ensure safe operations in low light conditions.
What should I do if I encounter bad weather during a glide?
If I encounter bad weather during a glide, I must prioritize safety and take necessary precautions. This includes closely monitoring weather conditions, adjusting my flight path if needed, and being prepared to land safely if conditions worsen.
Are there any weight restrictions for glider pilots?
Weight restrictions are crucial for glider pilots to ensure safety. Pilots must adhere to the specified weight limits of the glider to maintain proper balance and control. Adhering to these restrictions is vital for a successful and safe glide.
Conclusion
As I gently descend from the sky, my heart is filled with a sense of accomplishment.
Gliding, a beautiful dance between man and machine, requires skill, precision, and a connection with the elements.
The glide symbolizes freedom, as I soar effortlessly through the air, harnessing the power of the wind.
It is a journey of self-discovery, where every movement and decision matters.
With practice and determination, anyone can learn to fly a glide and experience the exhilarating sensation of being truly free.
So spread your wings and embrace the skies, for the world of gliding awaits.