To prep your tow-out gear single-handed, organize your lines using dedicated bags or spools and pre-loop your lines with quick-release clips for fast setup. Attach gear with color-coded carabiners for quick identification and clip essential items directly to your harness or bag. Secure your harness with snug straps, practice smooth brake control, and use quick-release systems for safety. With proper organization and routine, you’ll launch faster and safer—keep exploring to master every tip.
Key Takeaways
- Organize tow-out lines in dedicated, quick-access containers with neat wraps or line management tools for fast deployment.
- Pre-attach pre-loop lines with quick release clips for rapid, single-handed setup and tangles prevention.
- Use color coding and RFID tags to quickly identify gear and reduce setup time during emergencies.
- Attach essential tools and gear to harness or bag with corrosion-resistant carabiners for swift access.
- Practice one-handed launch routines regularly, focusing on balance, brake control, and quick, safe relaunch techniques.
Organizing Your Tow-Out Line for Easy Access
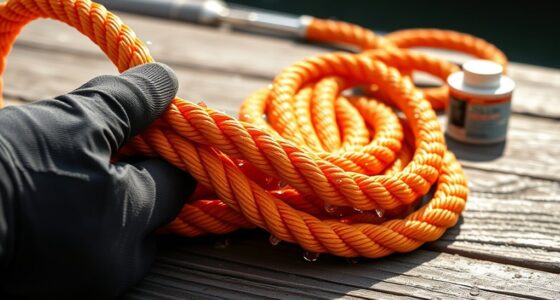
To keep your tow-out line accessible and efficient, organizing it properly is essential. Start with good gear storage; use a dedicated bag or container to prevent tangles and keep everything in one place. When managing your line, consider using simple techniques like wrapping it neatly or employing line management tools such as spools or twist ties. Keep the line loose enough to deploy quickly but secure enough to prevent knots or tangles during transport. Regularly inspect and re-organize your setup to identify any wear or potential issues. Proper gear storage and effective line management ensure your tow-out line is ready at a moment’s notice, saving you time and frustration during critical launch moments. Mindfulness of your setup and surroundings can help maintain focus and reduce stress during the process. Clear organization makes the entire process smoother and more reliable.
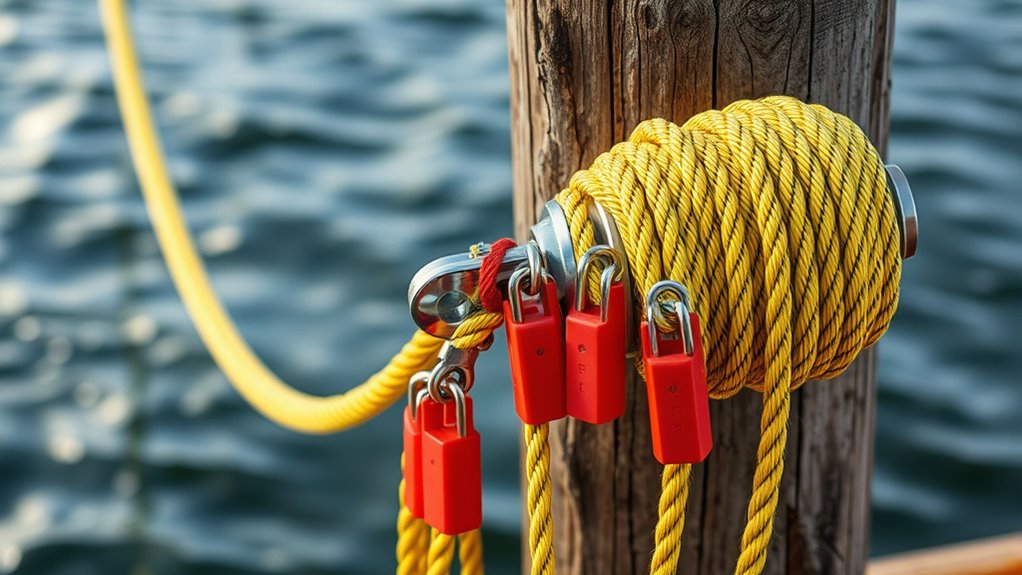
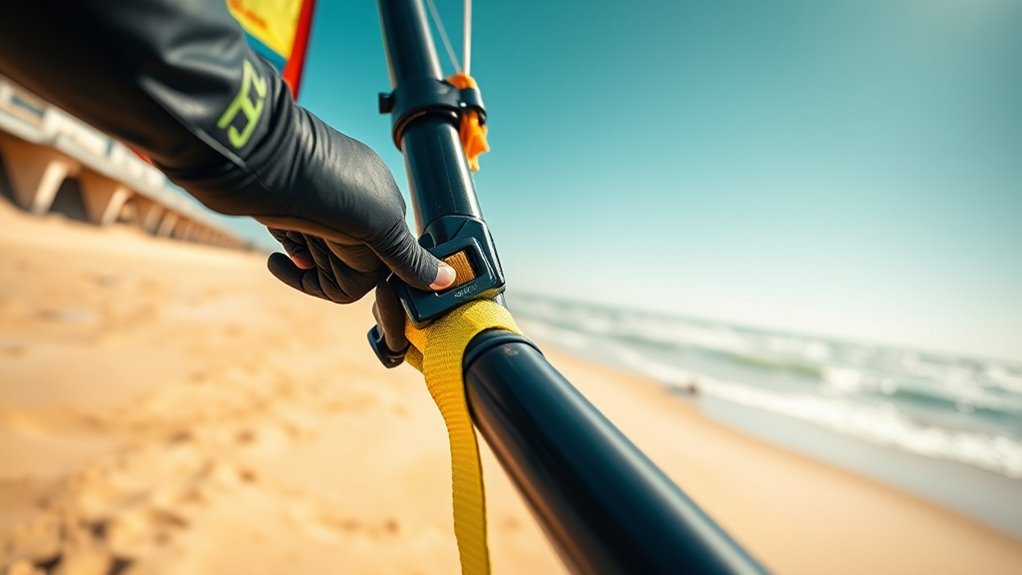
Using Carabiners to Simplify Gear Attachment
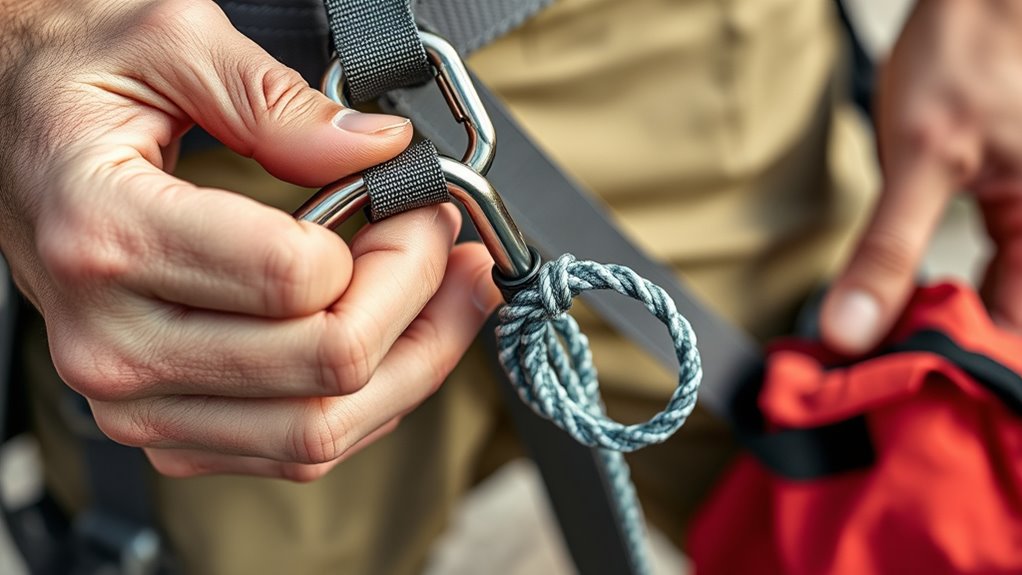
Using carabiners makes attaching gear quick and hassle-free. You can clip items securely and easily swap them out when needed. This simple hack keeps your gear organized and ready to go at a moment’s notice. Incorporating paint sprayer accessories like extension wands or strainers with carabiners can further streamline your setup process.
Quick Clip Attachments
Carabiners offer a quick and reliable way to attach gear, making your setup more efficient and adaptable. They’re perfect for clip on accessories, allowing you to customize your gear on the fly. With a simple snap, you can add or remove items without fumbling or needing extra tools. This flexibility helps streamline your pre-launch routine, especially when working single-handed. Use different colored carabiners to identify gear quickly, or attach essentials like gloves, sunglasses, or small tools directly to your harness or boat. The ease of clip on accessories with carabiners saves time and reduces frustration, so you’re ready to launch faster. Whether you’re adjusting your gear or adding new equipment, quick clip attachments keep your setup simple, efficient, and tailored to your needs. Additionally, selecting durable and well-made carabiners ensures safety and longevity during your activities.
Secure Gear Organization
Secure gear organization becomes effortless when you leverage carabiners to keep everything in its place. Attach your gear directly to your harness or bag, reducing clutter and streamlining your prep. Use carabiners to quickly clip and unclip essential items, saving time and effort. When considering weather, opt for corrosion-resistant carabiners to withstand rain or saltwater. Master simple knot tying techniques like the figure-eight for added security, especially in gusty conditions. Proper organization prevents gear loss and keeps your focus on the task at hand. Here’s a quick guide:
| Gear Type | Recommended Carabiner Use | Weather Tips |
|---|---|---|
| Safety lines | Clip for quick access | Use stainless steel |
| Small tools | Attach to harness | Dry after rain |
| Extra lines | Secure in organized loops | Inspect regularly |
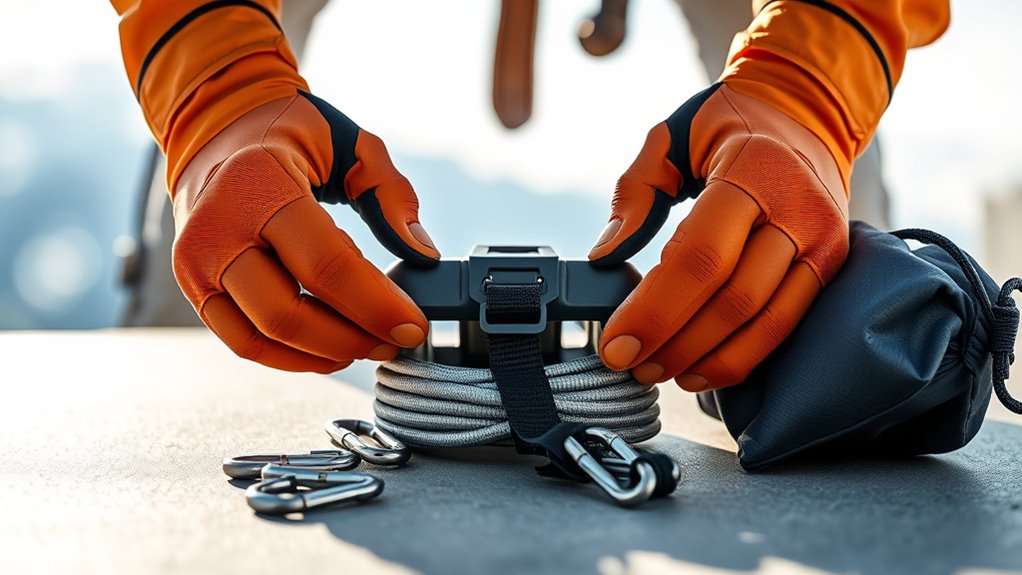
Pre-Loop Your Lines for Quicker Setup

Pre-looping your lines before your setup saves you valuable time and reduces hassle once you’re on the wall. By pre-looping your lines with quick release clips, you streamline the launch process and minimize fumbling. Here are three steps to optimize this technique:
- Attach pre loop lines to your main line using quick release clips for easy detachment.
- Organize the pre loops in a neat, accessible bundle for quick deployment.
- Practice uncliping and deploying the pre loops smoothly with one hand.
In addition, understanding your gear’s performance capabilities can help you select the right components for a safer and more efficient launch. This method ensures your lines are ready to go, allowing for rapid setup and minimizing the risk of tangles. Pre-looping your lines with reliable quick release clips makes single-handed launch prep more efficient and less stressful.
Securing Your Harness for Single-Handed Handling

To handle your harness single-handedly, it’s essential to make sure all straps and buckles are properly adjusted and snug before you start. Perform a quick harness adjustment, ensuring the leg straps, chest strap, and main harness fit securely without being too tight or loose. Proper fit prevents shifting during launch, which can be dangerous. Use safety tethering to keep the harness connected to your glider or harness points, reducing the risk of accidental unbuckling or slipping. Before launching, double-check that all buckles are securely fastened and that no straps are twisted or caught. A well-secured harness not only enhances safety but also makes handling easier when you’re managing gear on your own. Additionally, incorporating automation in safety checks can help verify that all components are correctly secured before launch. Taking these steps ensures a smoother, safer single-handed launch process.
Optimizing Your Launch Spot for Ease of Towing

Choosing the right launch spot can make towing your glider much easier and safer. First, assess launch site accessibility; select a location with clear, unobstructed pathways to prevent delays. Second, consider wind direction considerations—aim to launch into the wind or from a direction that minimizes crosswinds, making control easier. Third, evaluate the terrain: flat, firm ground reduces the risk of slips or uneven towing, ensuring smoother operations. Additionally, ensuring the site has appropriate mobile responsiveness can simplify setup and communication, especially if you rely on smartphone tools or apps during launch preparations. By prioritizing accessible sites that align with wind patterns, you reduce the effort needed for launch and improve safety. A well-chosen spot streamlines your pre-launch process, allowing you to focus on single-handed handling without added complications. Proper planning of your launch location is essential for a seamless, stress-free tow-out.
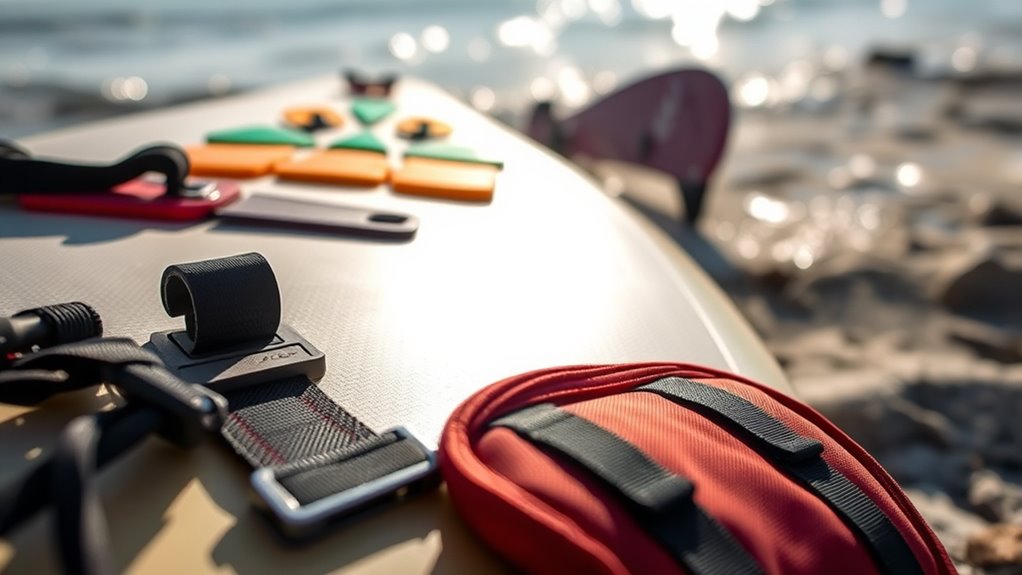
Choosing Lightweight, Compact Equipment
Opting for lightweight, compact gear makes towing easier and less tiring. You’ll appreciate how portable gear solutions save space and reduce overall weight. Choosing materials that are both durable and light will enhance your efficiency on every tow. Incorporating self-watering plant pots into your setup can also help maintain plant health with minimal effort, making your overall process more efficient.
Compact Gear Solutions
When space and weight are critical, selecting lightweight, compact gear can make all the difference on your tow-out. Efficient gear storage helps you keep essentials within reach without adding bulk. To optimize line management, choose gear that’s easy to handle solo, reducing tangles and snags. Consider these solutions:
- Use foldable or collapsible gear that easily stows away after use.
- Opt for multi-functional items to cut down on extra equipment.
- Organize gear in streamlined, labeled containers to quicken access and deployment.
- Being aware of regional resources and tools, such as local suppliers or repair services, can also streamline your prep process.
These choices ensure your gear remains manageable, lightweight, and accessible, simplifying your solo launch prep. Compact gear solutions help you stay organized and focused, making tow-outs smoother and more efficient.
Lightweight Material Benefits
Using lightweight materials in your gear can substantially enhance your tow-out efficiency by reducing overall weight and bulk. Opting for lightweight fabrics and portable materials means less strain when preparing solo. These materials make packing easier and allow for quicker setup, especially when launching single-handedly. Lightweight fabrics like ripstop nylon or polyester provide durability without added weight, while compact gear saves space. The right choice of portable materials ensures your equipment stays manageable and efficient. Here’s a quick overview:
| Material Type | Benefit | Example |
|---|---|---|
| Lightweight fabrics | Reduce weight, easy to pack | Ripstop nylon, polyester |
| Portable materials | Compact, easy to carry | Collapsible paddles, mini pumps |
| Durability | Lasts through use | Reinforced seams |
| Flexibility | Fits in small spaces | Foldable kite frames |
| Ease of setup | Fast deployment | Quick-attach straps |
Additionally, selecting appropriate materials can help maintain the integrity and performance of your gear during demanding conditions.
Labeling Your Gear for Rapid Identification
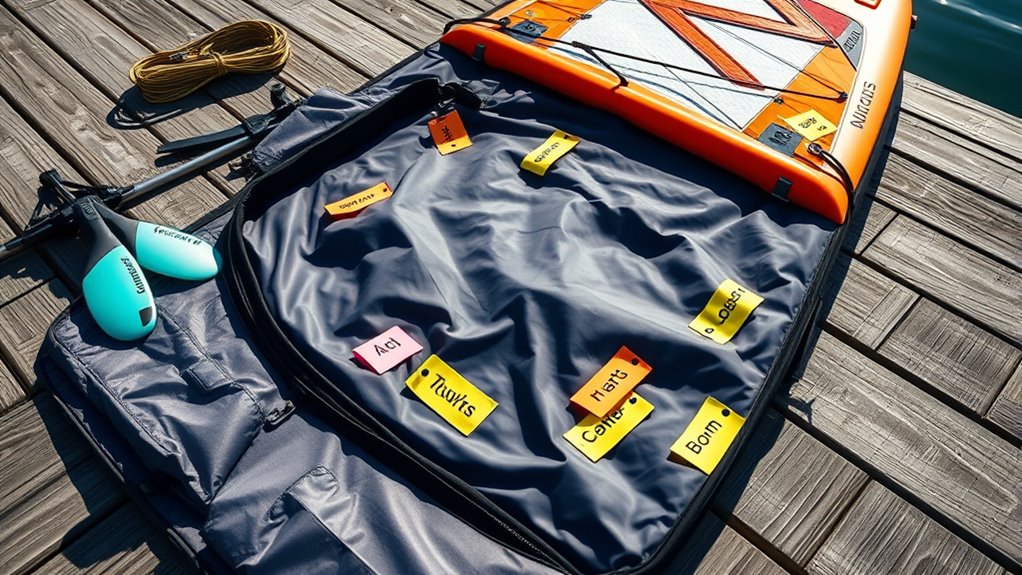
Labeling your gear clearly and efficiently can save valuable time during a rapid gear-up or emergency situation. To streamline identification, consider these strategies:
- Use color coding to instantly distinguish gear types or sizes, making it easier to grab the right item quickly.
- Implement RFID tagging for high-tech, automated identification, especially useful when multiple people share gear or in low-light conditions.
- Combine both methods by assigning specific colors to RFID tags, adding an extra layer of organization and reducing search time.
This approach guarantees your gear is immediately recognizable, minimizing delays. Proper labeling not only improves efficiency but also reduces stress during critical moments, keeping your focus where it needs to be — on a safe, successful launch.
Practicing a One-Hands Launch Routine
Practicing a one-hands launch routine is essential for ensuring quick, smooth gear deployment in high-pressure situations. By honing your launch techniques, you build muscle memory, making single-handed launches more reliable. Focus on controlling your paragliding gear efficiently, from bridle management to brake handling. Regular practice helps you anticipate and troubleshoot issues swiftly, reducing stress during actual launches. Use this table to visualize key ideas:
| Step | Action |
|---|---|
| Gear Inspection | Check for tangles or damage |
| Proper Positioning | Set up for balance and stability |
| Brake Control | Practice smooth, controlled pulls |
| Launch Timing | Develop consistent, confident cues |
| Recovery | Practice quick, safe relaunch moves |
Mastering these steps enhances your confidence and safety, ensuring you can execute a reliable one-handed launch every time. Additionally, understanding the cultural heritage behind your gear can help you connect more deeply with your equipment and improve your overall confidence during launches.
Employing Quick-Release Systems for Safety and Speed
Using secure quick-release mechanisms can save you critical seconds during setup and in emergencies. Make sure your release systems are properly secured to prevent accidental detachment. Streamlining safety checks with reliable quick-release gear helps you stay confident and efficient on the water.
Secure Quick-Release Mechanisms
Quick-release mechanisms are essential for guaranteeing both safety and efficiency when managing tow-out gear. Properly securing quick-release systems minimizes accidental disconnections and streamlines gear attachment methods. To optimize your setup, focus on these key points:
- Choose high-quality quick-release safety components that meet industry standards.
- Ensure the mechanism is easy to operate single-handedly, reducing launch prep time.
- Regularly inspect and maintain the release system to prevent wear and fatigue.
Streamline Safety Checks
Streamlining safety checks is essential for quick and reliable tow-out operations, especially when time is tight. Using portable tools allows you to perform quick inspections without cumbersome equipment, saving valuable seconds. Before launching, double-check all quick-release systems to guarantee they’re secure but easy to disengage when needed. Keep weather considerations in mind—wet or windy conditions can affect the stability of your gear and safety checks. A rapid visual inspection can prevent delays or hazards, so develop a consistent routine. Simplifying your safety process with clear, pre-packed kits and portable tools minimizes the risk of forgetting critical steps. By integrating these strategies, you’ll save time without compromising safety, ensuring a smooth, swift tow-out every time.
Maintaining Your Gear for Reliable Performance

To guarantee your gear performs reliably when it matters most, regular maintenance is essential. Proper gear maintenance ensures everything functions smoothly and prolongs your equipment’s lifespan. Start by periodically inspecting your gear for wear and tear, replacing any damaged parts promptly. Next, prioritize equipment calibration; accurate calibration prevents malfunctions and ensures safety. Finally, keep all moving parts well-lubricated to reduce friction and prevent corrosion.
Regular gear maintenance ensures optimal performance, safety, and longevity when it matters most.
In summary:
- Conduct routine inspections for damage or wear
- Calibrate equipment regularly for precision
- Lubricate moving components to maintain smooth operation
Following these steps keeps your gear in prime condition, minimizing surprises during critical moments and maximizing your confidence on the water.
Frequently Asked Questions
What Are the Best Materials for Lightweight, Durable Launch Gear?
When choosing materials for lightweight, durable launch gear, you should focus on material selection that balances strength and weight. Look for high-performance fabrics like ripstop nylon or Dyneema, which undergo durability testing to guarantee resilience against wear and tear. These materials provide the perfect combination of lightweight properties and durability, making your gear reliable during launches. Prioritizing tested, proven fabrics helps you achieve consistent performance and longevity in your launch gear.
How Can I Troubleshoot Common Issues During Single-Handed Launch Prep?
When troubleshooting common issues during single-handed launch prep, focus on gear maintenance first. Check for tangled lines, damaged components, or wear and tear that could hinder performance. Use troubleshooting techniques like inspecting connectors, re-tying knots, or tightening fittings. Keep your gear in top condition, and always carry a small repair kit. This proactive approach helps you quickly identify and fix problems, ensuring smooth and safe launches every time.
Are There Specific Brands Recommended for Quick-Release Safety Systems?
You wonder which brands excel in quick-release mechanisms for safety systems, right? Choosing the right safety system brands can make all the difference during your launch. Some top contenders include GIN, Ozone, and Advance. These brands offer reliable quick-release mechanisms designed for ease and safety. Keep an eye on their latest models to find a system that’s both secure and effortless to operate single-handedly, ensuring confidence every time you launch.
What Techniques Improve Confidence in Single-Handed Launch Procedures?
To boost your confidence in single-handed launch procedures, focus on thorough pre-flight checklists and mental rehearsal. These techniques help you stay organized and reduce errors. Practice each step regularly, visualizing successful launches to build muscle memory and calm nerves. By integrating these habits into your routine, you’ll become more comfortable and efficient, making single-handed launches smoother and safer every time.
How Often Should I Inspect and Replace Tow-Out Gear Components?
You can’t afford to let things slide when it comes to tow‑out gear. Follow a strict maintenance schedule, inspecting components regularly for wear and tear. Typically, replace parts based on their component lifespan and manufacturer recommendations, usually every 6 to 12 months. Don’t wait until it’s too late—stay proactive to guarantee safe launches. Remember, a stitch in time saves nine, so keep your gear in top shape.
Conclusion
Mastering these tow-out gear hacks will transform your single-handed launch into a seamless symphony of efficiency. With everything perfectly organized and effortlessly accessible, you’ll launch faster than a lightning bolt striking the sky. Say goodbye to fumbling and hello to a new level of confidence and mastery. Soon, you’ll be so smooth and swift, you’ll leave onlookers dazed, wondering if you’ve secretly harnessed the power of the wind itself.